How Can We Help?
Search for answers or browse our knowledge base.
Uninstall Nodes
Windows
The Platform, Collector, Aggregator, and Aggregator-Collector uninstallation steps are identical.
Method One
1. Open the Control Panel on the localhost machine.
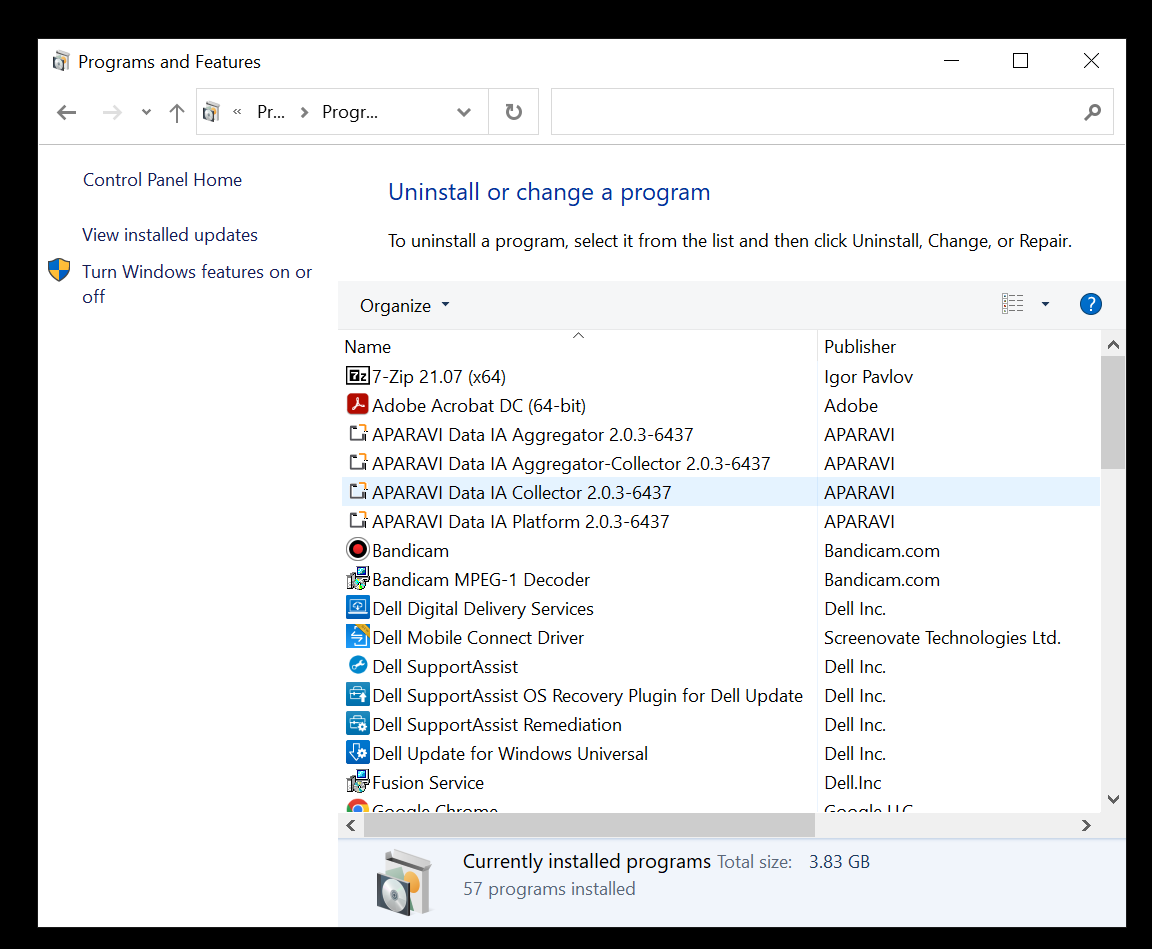
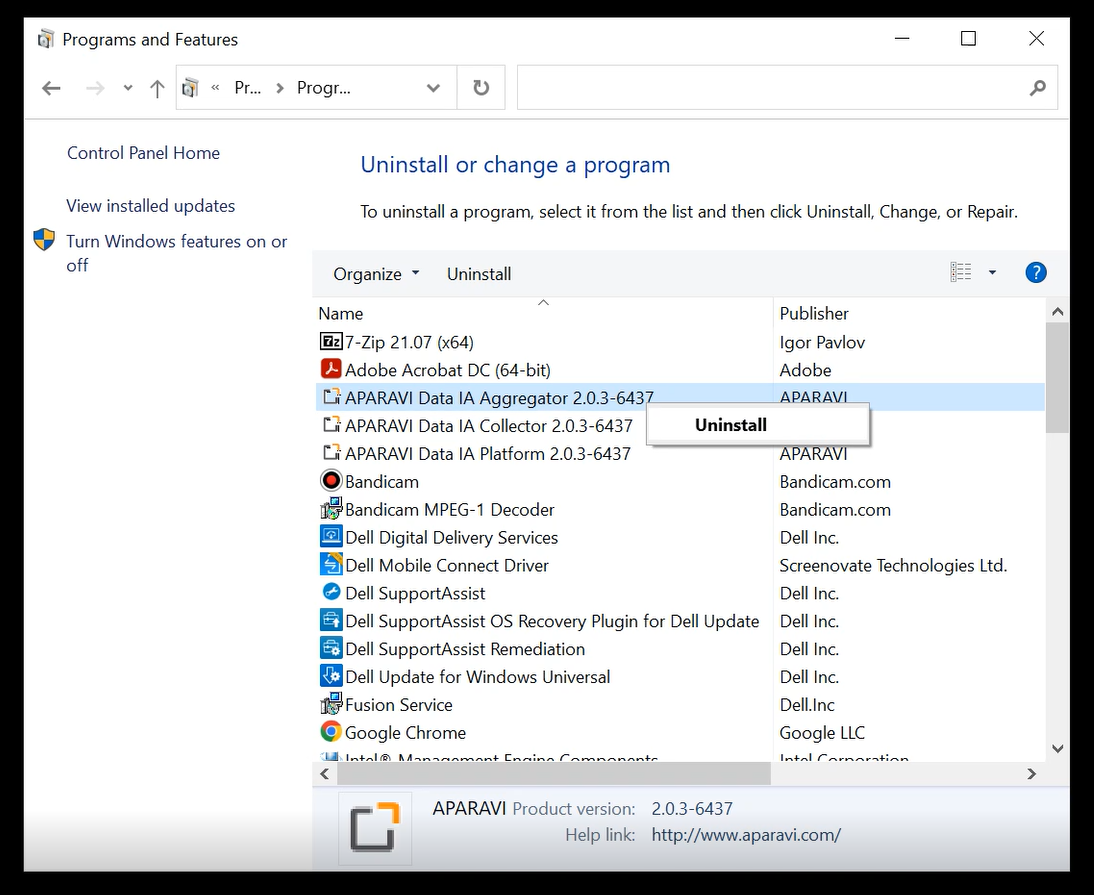
2. Right-click on the node that should be removed and select [Uninstall] from the drop-down menu.
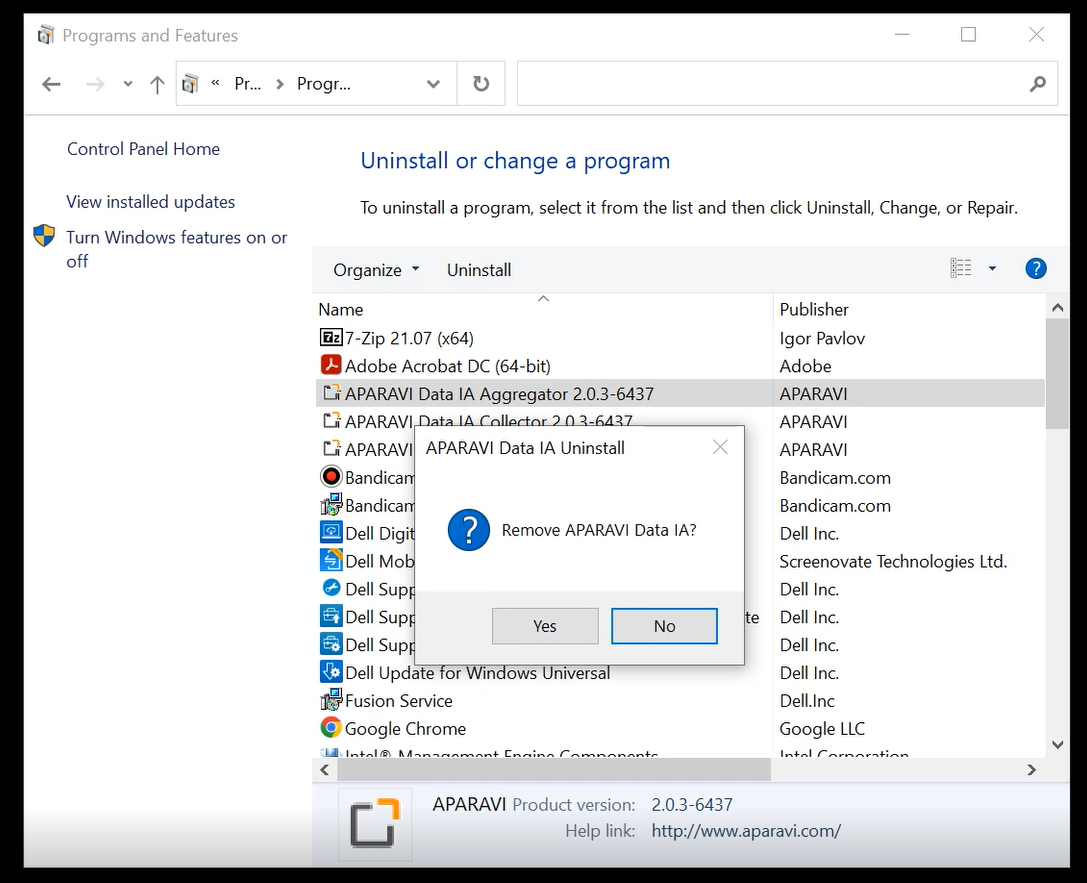
3. Click the Uninstall option and then click on the confirmation pop-up box that appears.
4. Click on the [Yes] option located in the confirmation pop-up box.
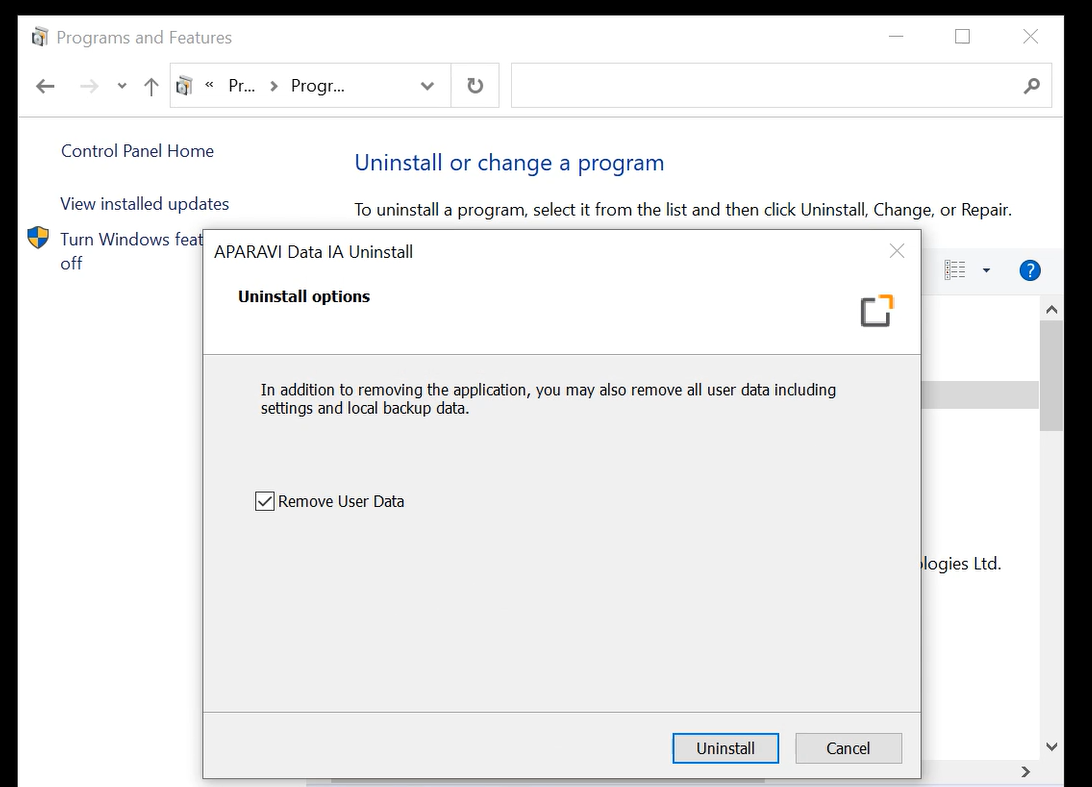
6. Click the [Uninstall] option to begin the uninstallation process.
6. When the uninstallation has been completed, click OK to close the final confirmation screen.

Method Two
Please Note: The Access Apps and Features section will be utilized using the two methods below.
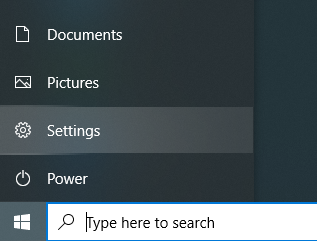
1. Left-click the Window start icon on the lower-left corner of the desktop, then click the gear icon for settings.
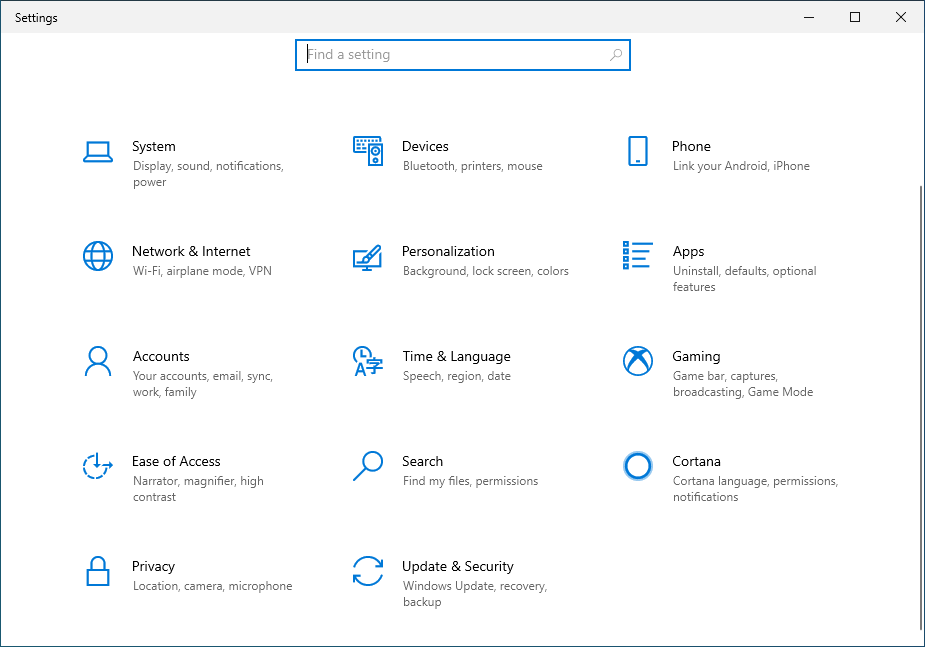
2. After clicking Settings, the list of categories will appear. From this list, select Apps.
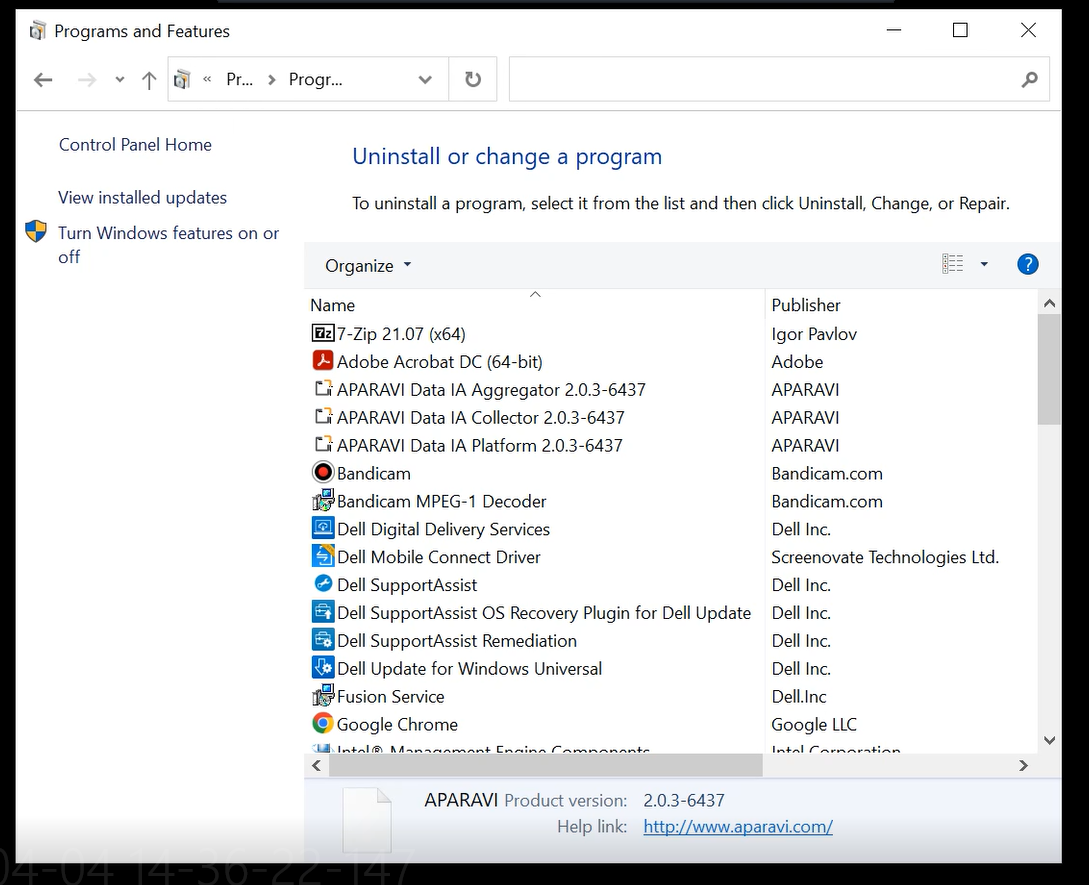
3. The Apps & Features screen will appear, showing the list of installed applications after using either of the two above methods. Find the item in the list showing the application to uninstall. This entry will contain the node’s version indicated and the name. Once located, click on that item to show the Uninstall button.
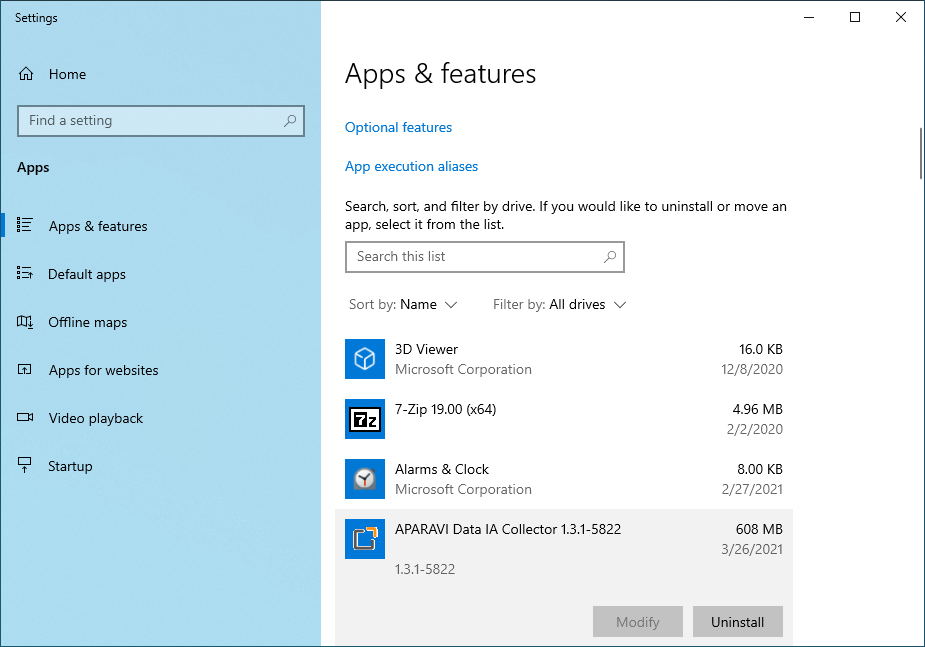
4. Click the Uninstall button just below the selected application.
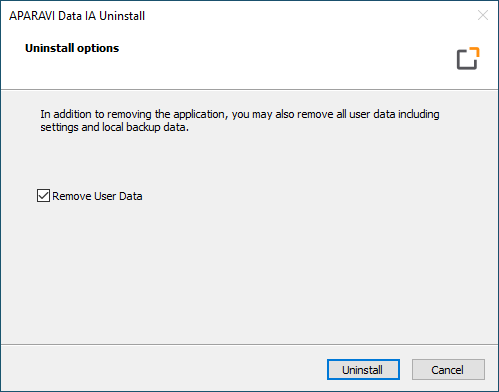
5. After confirming prompts to uninstall, a screen appears for final confirmation including the Remove User Data option which is the default. Leave that option checked unless you wish to retain user data for any reason after the application has been uninstalled. After deciding, click the uninstall button to begin the uninstallation process.
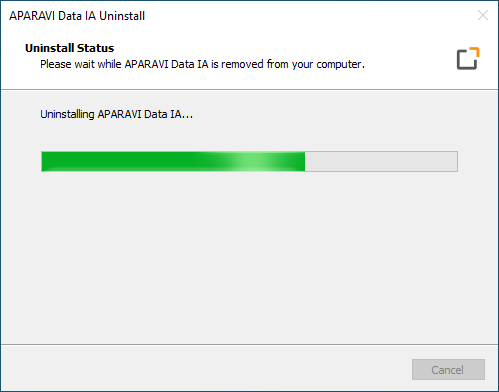
6. The uninstallation process will begin and run to completion.
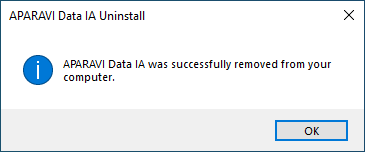
7. When the uninstallation has been completed, click OK to close the final confirmation screen.
Method Three
1. Right-click the [Window start icon] on the lower-left corner of the desktop and click the [Apps and Features] menu option at the top of the list shown.

2. The Apps & Features screen will appear, showing the list of installed applications after using either of the two above methods. Find the item in the list showing the application to uninstall. This entry will contain the node’s version indicated and the name. Once located, click on that item to show the Uninstall button.
3. Click the Uninstall button just below the selected application.
4. After confirming prompts to uninstall, a screen appears for final confirmation including the Remove User Data option which is the default. Leave that option checked unless you wish to retain user data for any reason after the application has been uninstalled. After deciding, click the uninstall button to begin the uninstallation process.
5. The uninstallation process will begin and run to completion.
6. When the uninstallation has been completed, click OK to close the final confirmation screen.
Dropping Database Post Uninstall
Regardless of the uninstallation method used for Platforms, Aggregator-Collector hybrids, or Standalone Aggregators, it is important to drop the node from the MySql workbench that was previously configured.
Please Note: Uninstalling a Standalone Collector does not require this step to be completed.
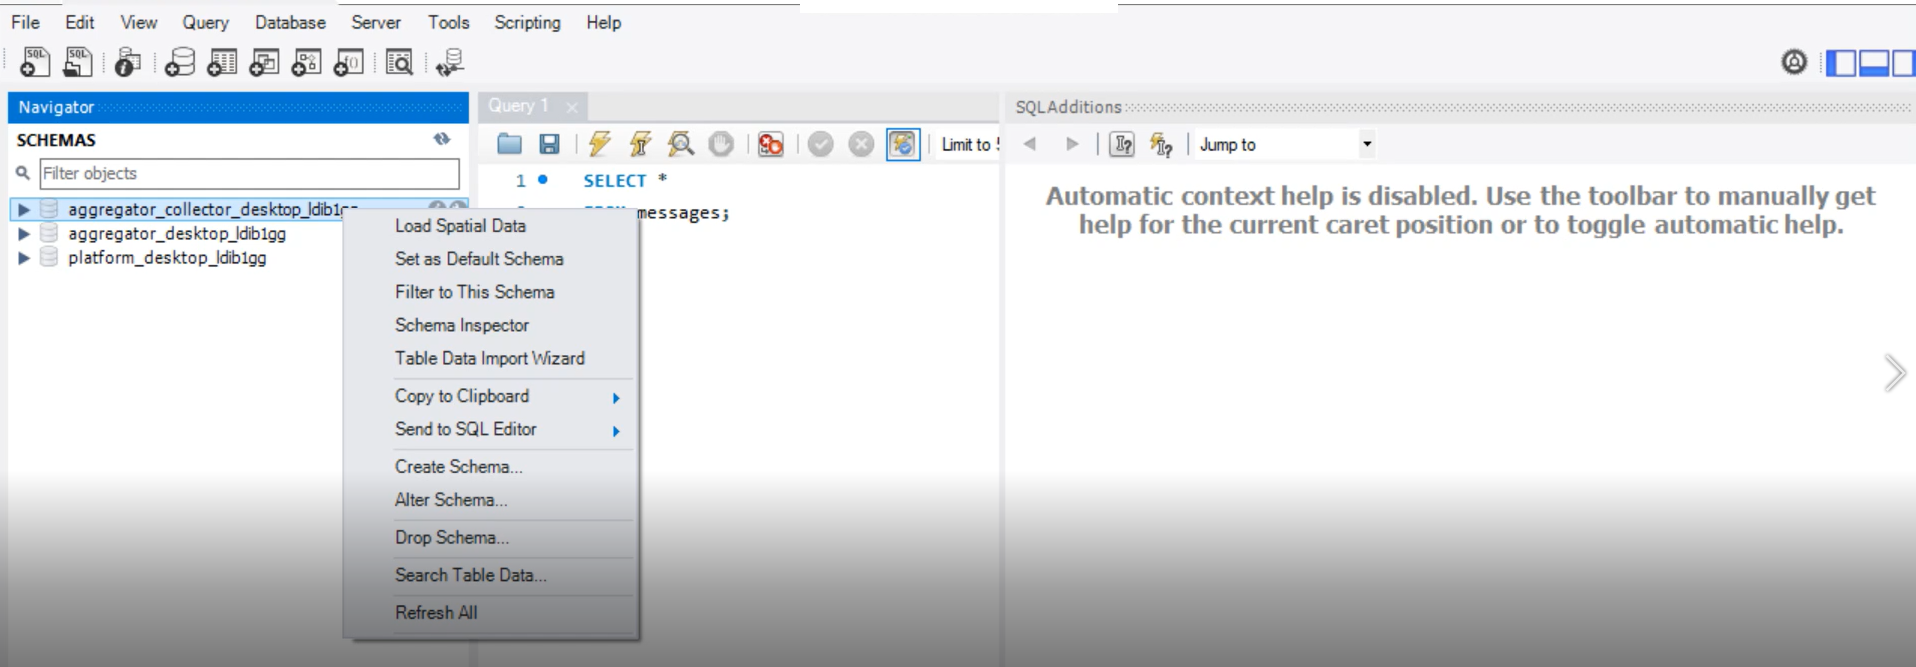
1. Open the [MySQL Workbench] application on the local host computer.
2. Located inside the left window pane titled [Schemas] right-click on the node’s entry and select [Drop Schema] from the options that appear.
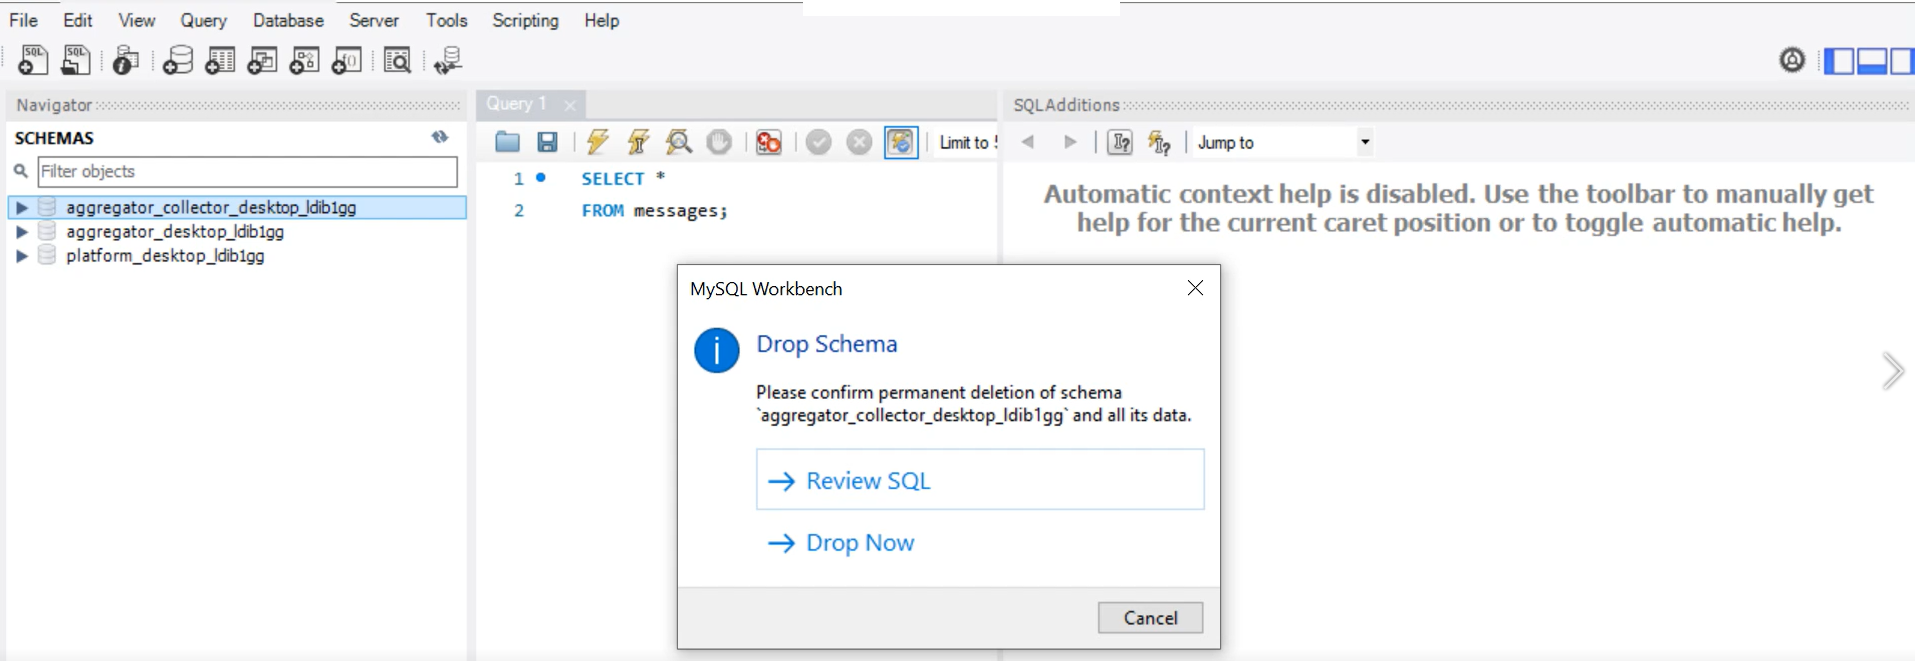
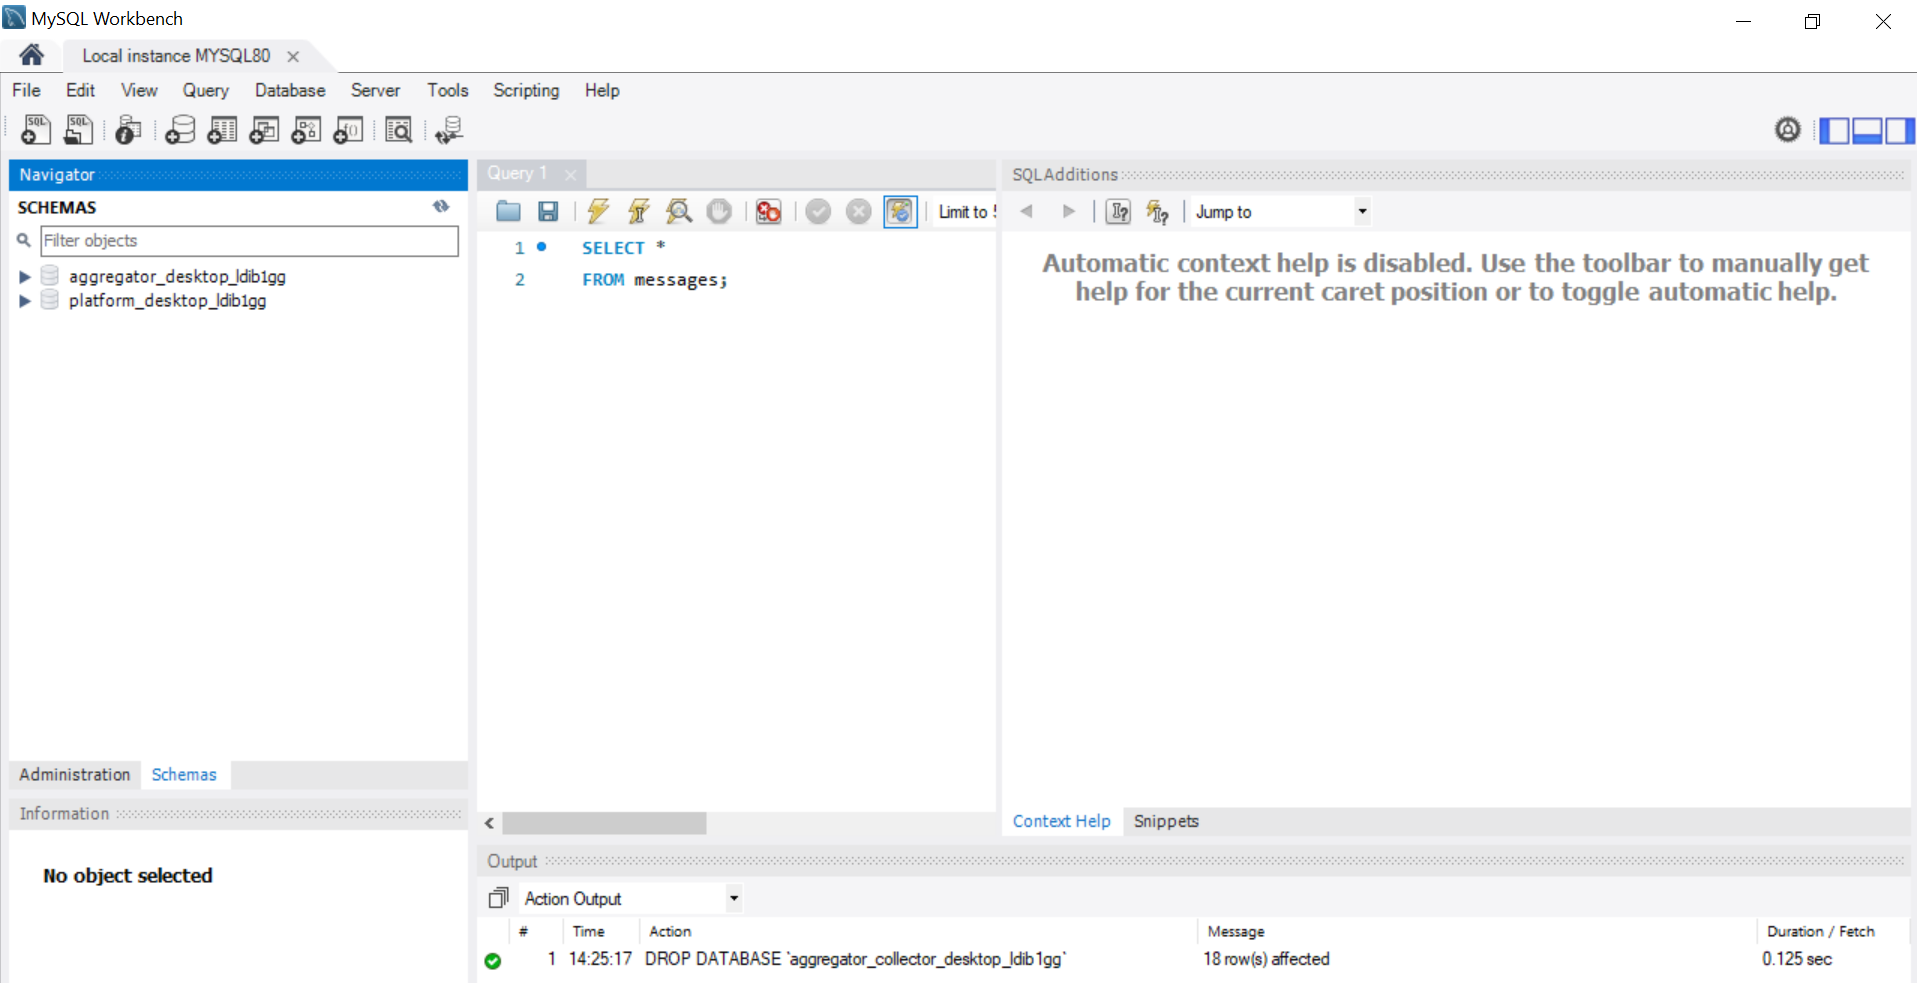
3. A pop-up box will appear, requesting confirmation to drop the node from the database. Click the OK button to complete the process.
Please Note: If any other nodes are uninstalled, this process will need to be completed for each node that is dropped.
Linux
This is the uninstallation outline for the Linux platform.
Uninstalls require that a terminal window is available where commands may be entered. One of two commands included with Linux distribution are used, depending on which distribution the application is installed, and the package name for your application.
- For Debian based distributions, use dpkg –r {packagename}
- For RPM based distributions, use rpm –e {packagename}
See Supported Platforms for the list of currently-supported Linux distributions.
This chart shows the package name to use for each application type:
| Application | Package Name |
| Platform | aparavi-data-ia-platform |
| Collector | aparavi-data-ia-collector |
| Aggregator | aparavi-data-ia-aggregator |
| Aggregator-Collector | aparavi-data-ia-aggregator-collector |
The command to uninstall must run as root or as a sudo command. Here are two examples using each of the two possible command types.
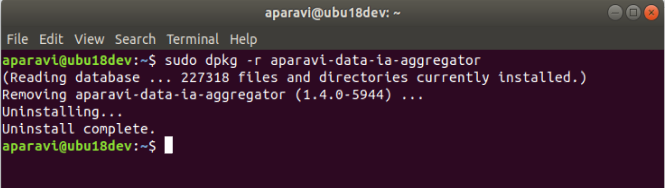
- On Ubuntu, the command to uninstall an Aggregator:
sudo dpkg –r aparavi-data-ia- aggregator collector
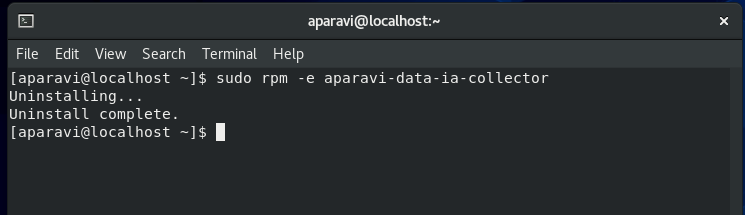
- On CentOS, the command to uninstall a Collector:
sudo rpm -e aparavi-data-ia-collector