How Can We Help?
Search for answers or browse our knowledge base.
MySQL Install
Purpose
MySQL database 8.0.28 or higher is a pre-requisite for deploying an Aggregator or Aggregator-Collector. This database houses all of the indexed data collected from your environment. MySQL 8.1 was released July 18, 2023.
MySQL 8.0 is the final series with MySQL Installer. MySQL 8.1, referred to as MySQL 8.1.0 Innovation, uses the MySQL product’s MSI or Zip archive for installation. MySQL Server 8.1 and higher also bundle MySQL Configurator, a tool that helps configure MySQL Server.
Both installations shall be described, leaving the option for which to install on preference or compatibility with possible other uses.
Usage
Install requirements
- Supported OS – Windows and Linux
- MySQL 8.1 download – refer to MySQL 8.1 official documentation portal for installation guidelines
- MySQL 8.0 download – refer to MySQL 8.0 official documentation portal for installation guidelines
Windows install process (MySQL 8.1)
Download the MySQL server 8.1.0 or higher installer directly from here. The msi installer package is preferred as it makes installation straightforward. Once download is complete, launch the installer to get started.
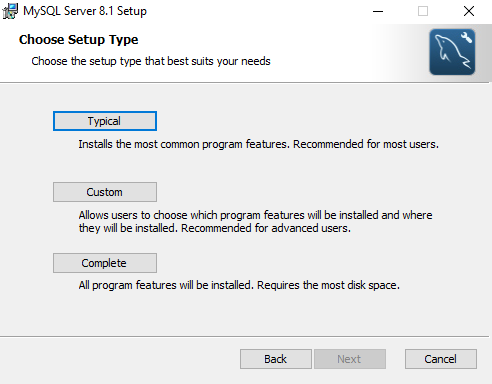
Select the Typical setup type unless Custom or Complete is preferred for other uses. Click Next to continue once the selection is made. Then proceed to click Install in the following screen.
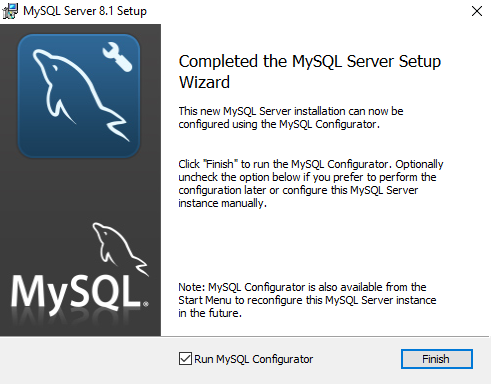
Once the installation has completed, the final screen appears with the option to Run MySQL Configurator. Click Finish to continue, which will launch that process offering a few steps to complete the MySQL configuration.
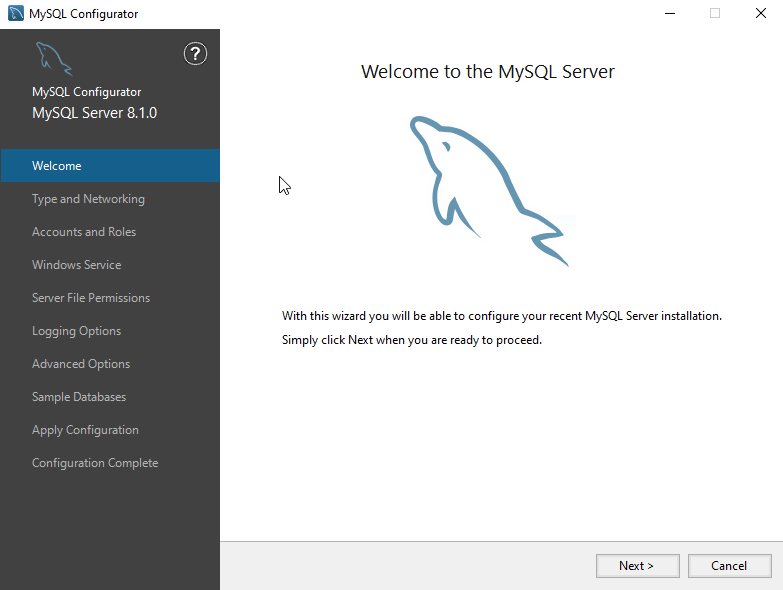
The MySQL Configurator is launched by after finishing the initial file installation process just described. Click Next to continue.
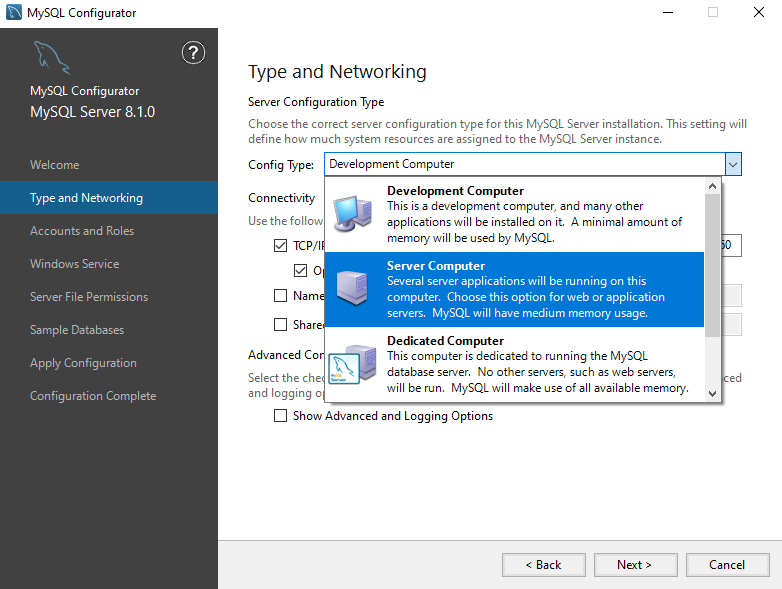
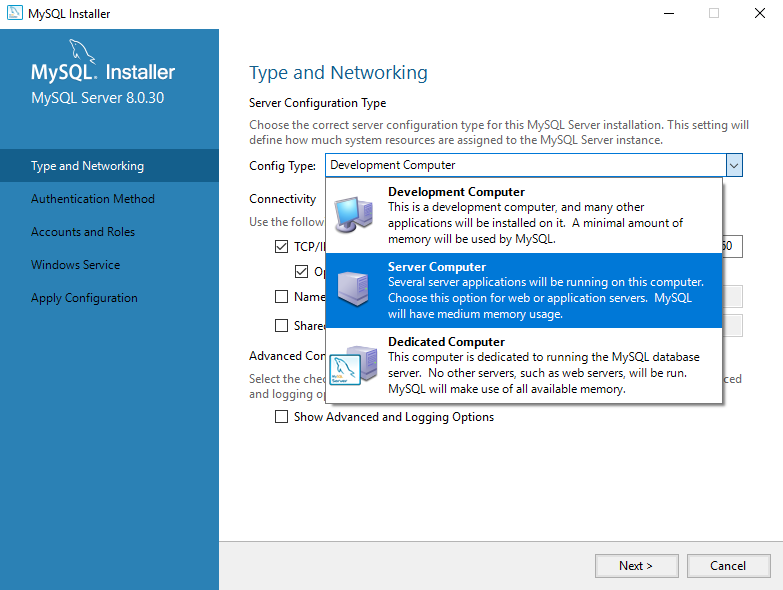
The next step is to configure the computer type and networking. For Config Type, select the type of server configuration, for our purposes select Server Computer. Unless there is a requirement to change the Port or other settings due to your environmental needs, the rest of the settings can be left at default. Click Next to proceed.
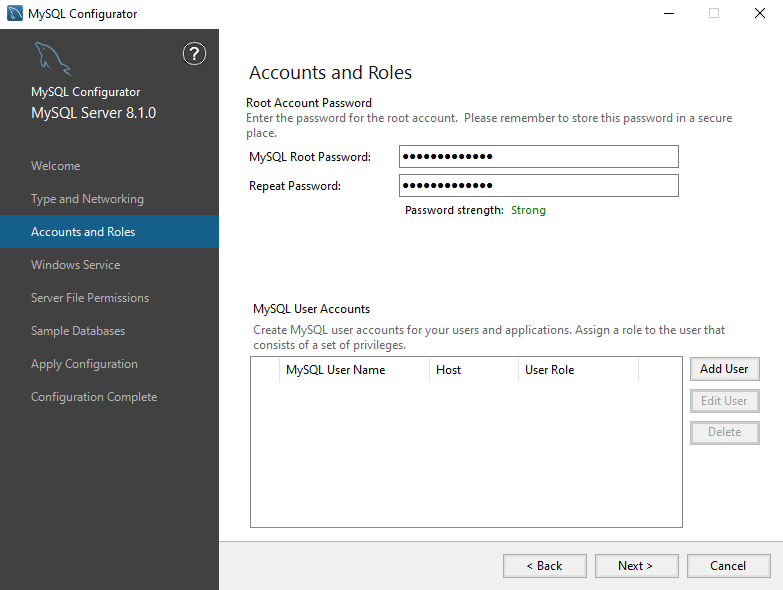
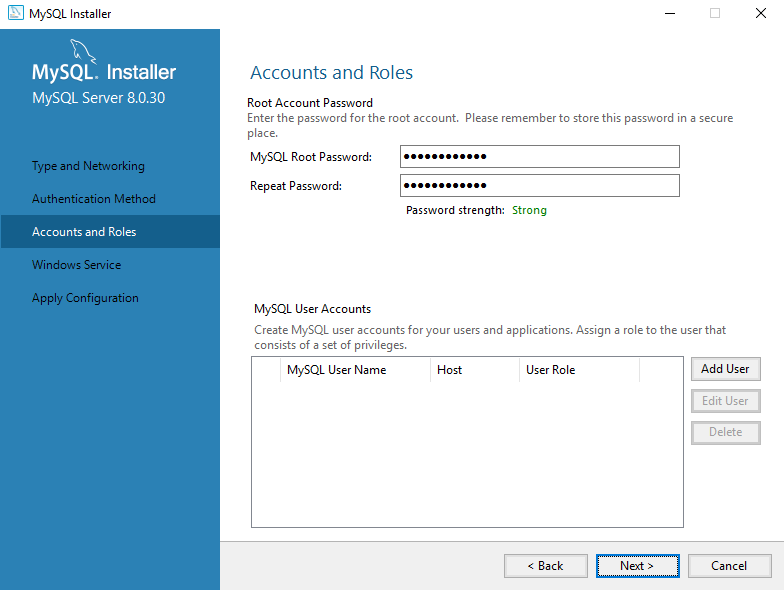
Now you will need to provide a password for the root access account and if desired, an additional user account can be created as well. Once completed, click Next to continue.
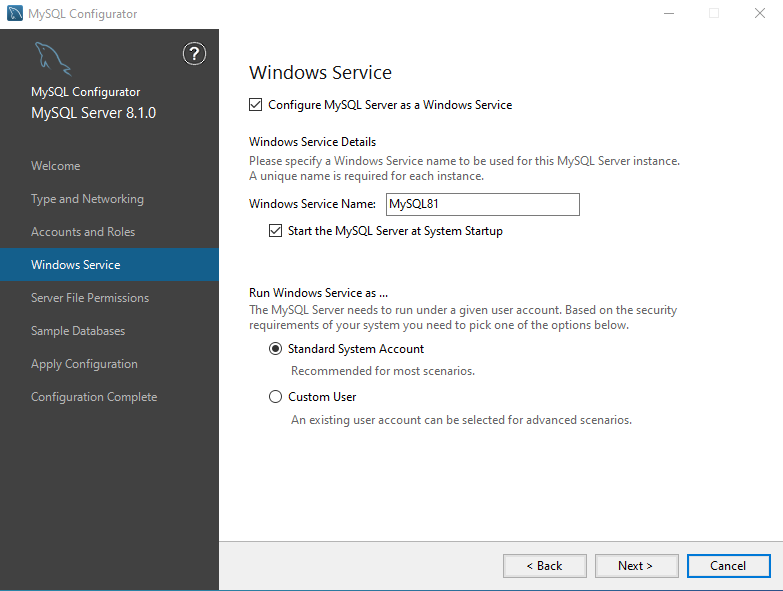
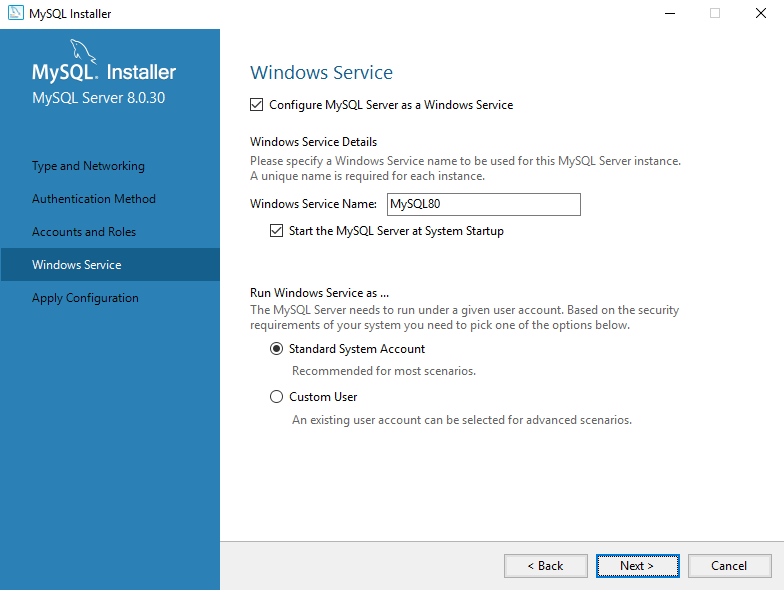
Unless there is a need to change any of the Windows service settings, accept the defaults and click Next.
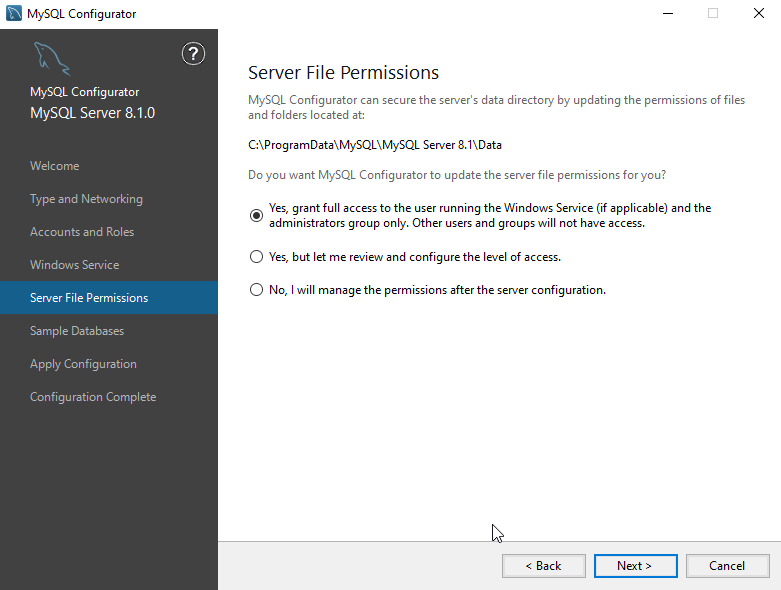
Unless there is a need to change any of the Server File Permissions, accept the defaults and click Next.
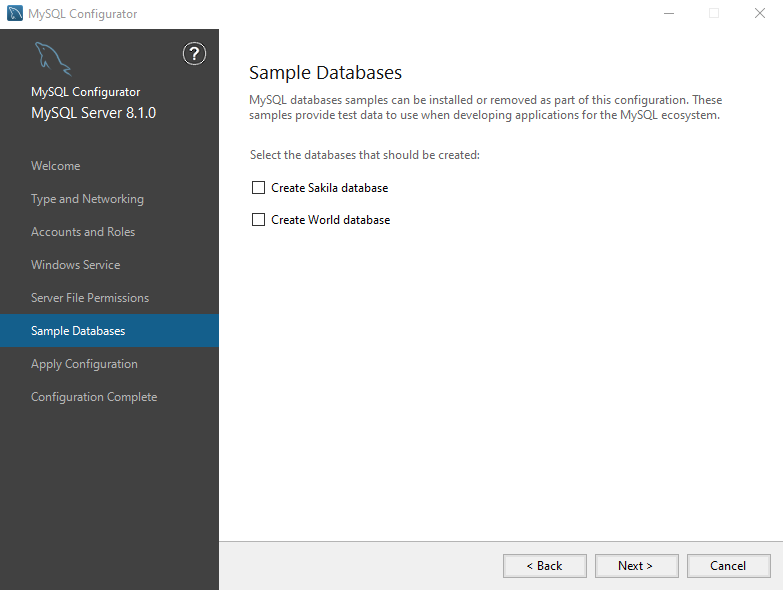
Unless interested to have sample databases installed, accept the defaults and click Next.
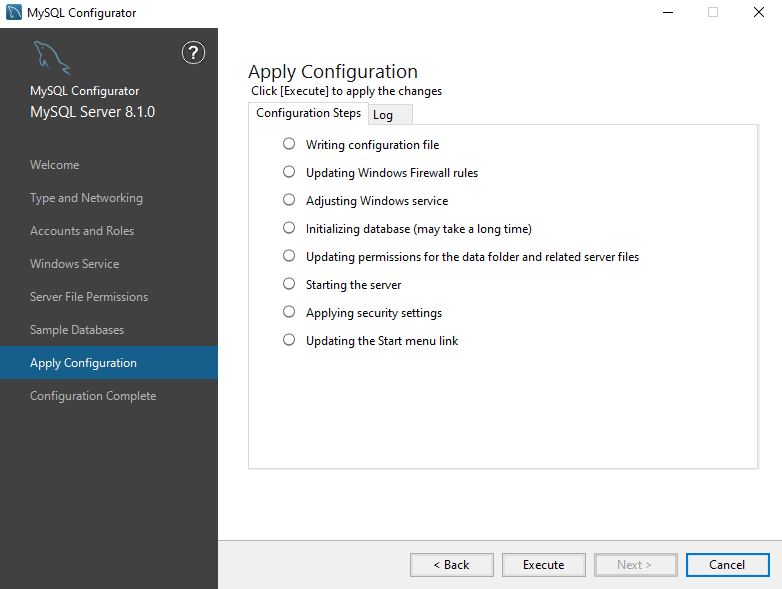
One all settings have been chosen, the configuration is ready to be applied, with this screen to show the pending process. Click Execute to continue.
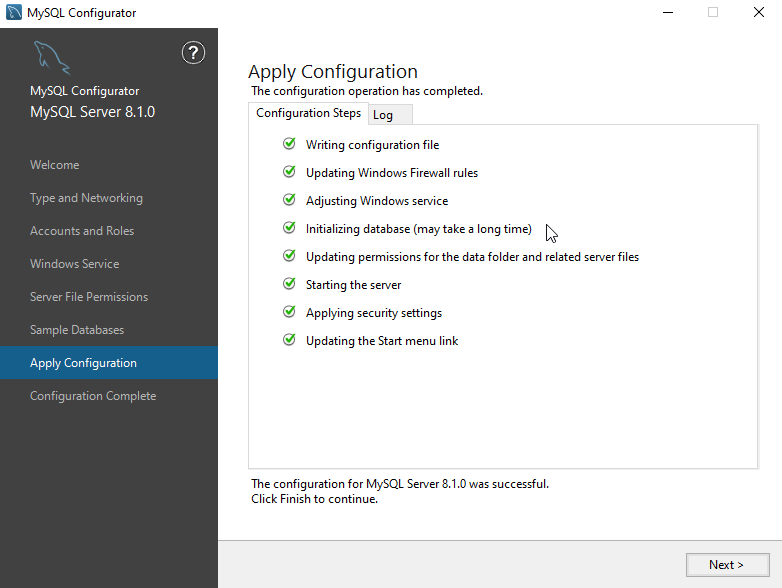
Once the configuration settings have been applied, the confirmation screen follows. Click next to continue.
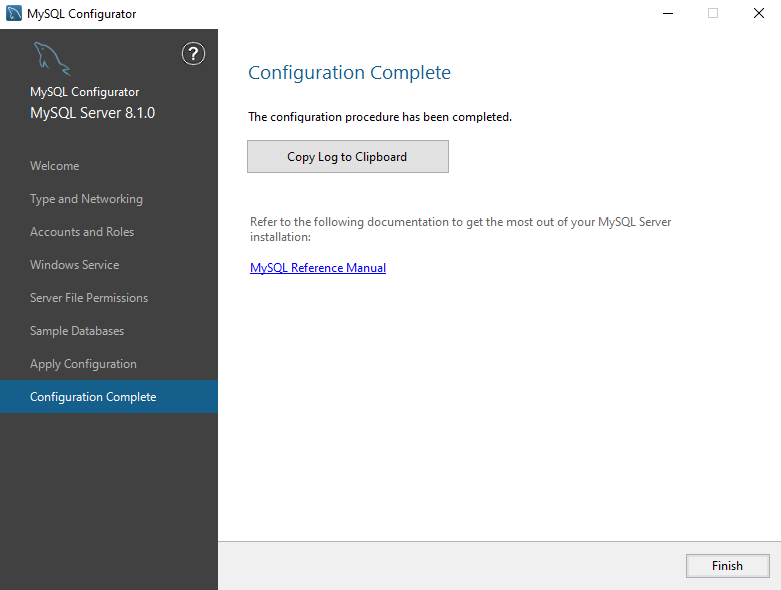
The last screen appears showing final complete status. Click Finish to close and exit.
Windows install process (MySQL 8.0)
- Download the MySQL server 8.0.28 or higher installer directly from here. The msi installer package is preferred as it makes installation straightforward. Once download is complete, launch the installer to get started.
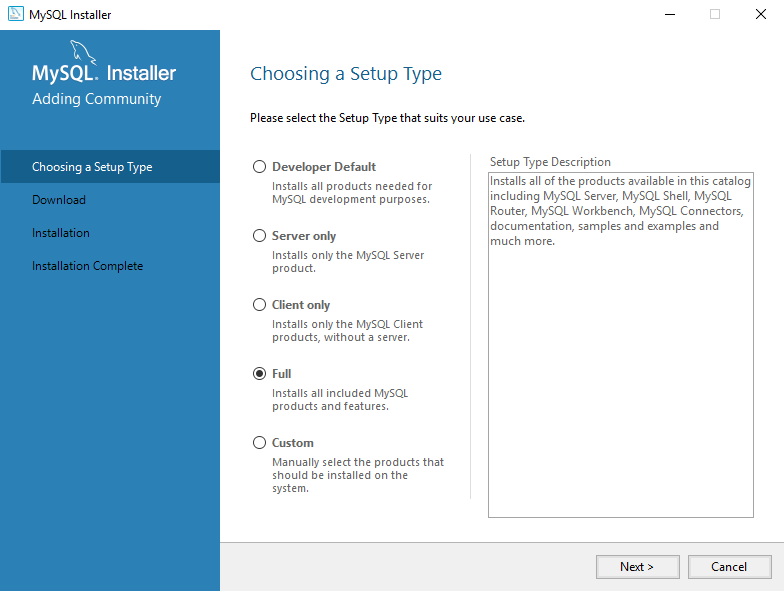
- To make sure we cover all the needed dependencies select the Full setup type. Click Next to continue once the selection is made.
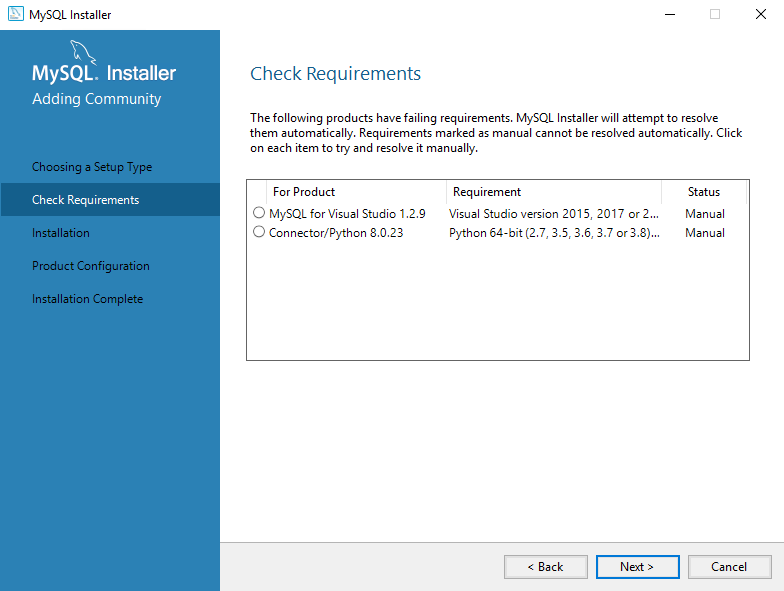
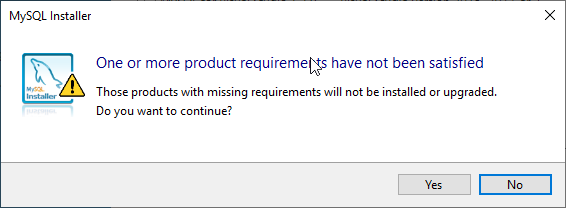
- The installer will automatically check for requirements, the missing requirements can be ignored for our purposes as we will not need these for the subsequent Aparavi component installs. Clicking Next to proceed will result in a popup warning, click Yes to accept the warning and proceed.
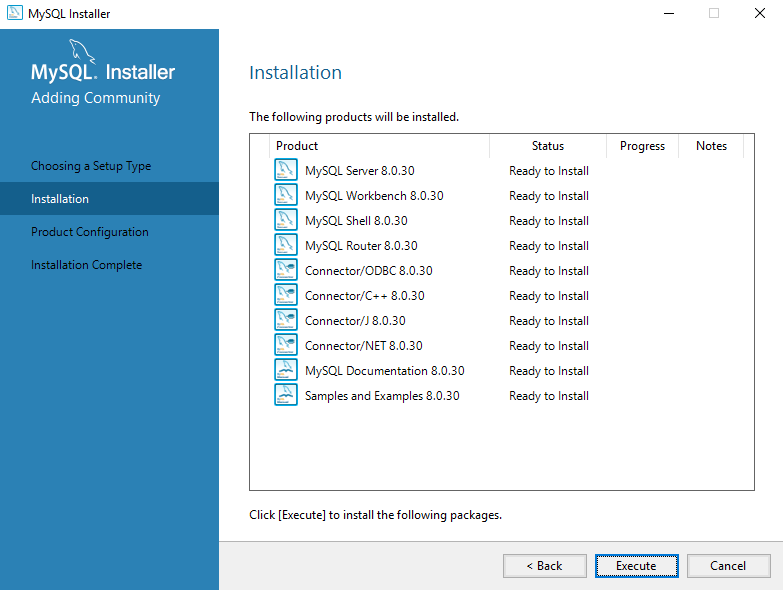
- The next step is the actual installation, you can review all the products that will be installed and select Execute to begin the installation process.
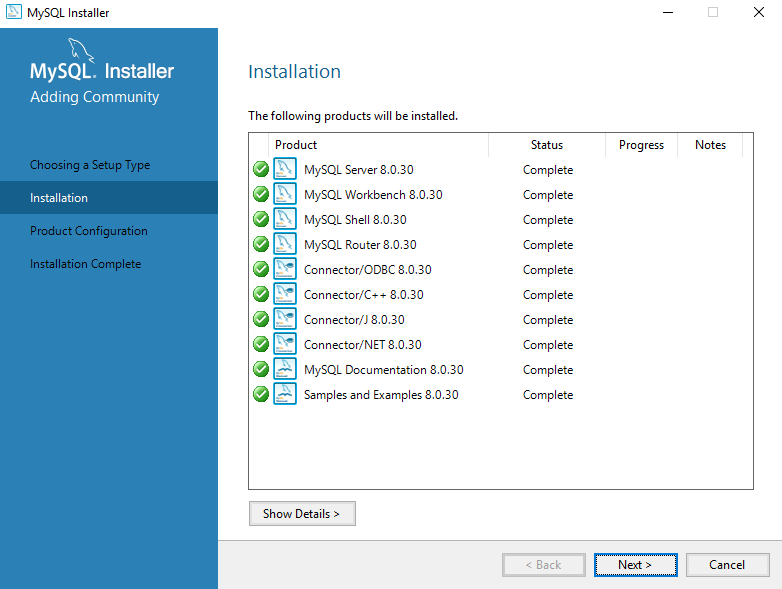
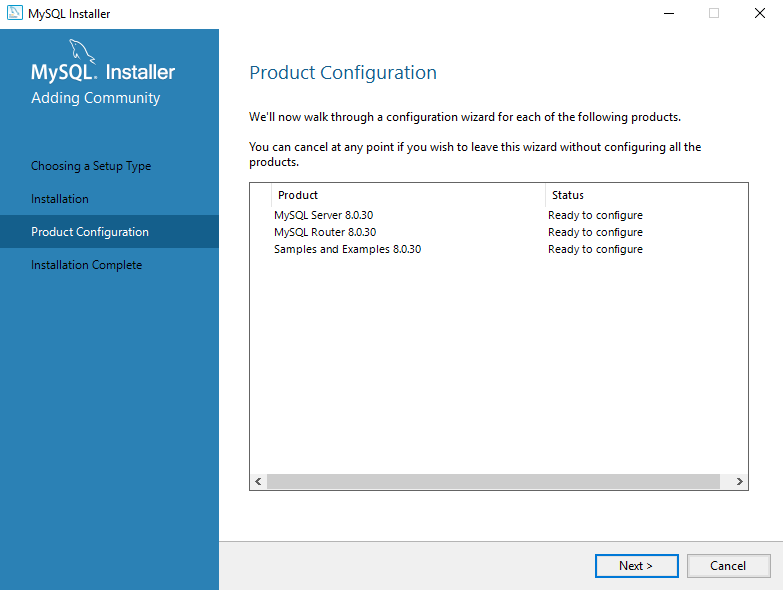
- The MySQL installer will begin installing the products one by one, once completed, verify all products are successfully installed and click Next to move on.
- Now that the installation step is complete, you will need to configure the MySQL Server installation. Click Next to proceed to the configuration step.
- The next step is to configure the computer type and networking. For Config Type, select the type of server configuration, for our purposes select Server Computer. Unless there is a requirement to change the Port or other settings due to your environmental needs, the rest of the settings can be left at default. Click Next to proceed.
- The next step will be to select an authentication method for accessing the MySQL database, select Use Legacy Authentication Method and click Next to proceed.

- Now you will need to provide a password for the root access account and if desired, an additional user account can be created as well. Once completed, click Next to continue.
- Almost complete, unless there is a need to change any of the Windows service settings, accept the defaults and click Next to move onto the final step.
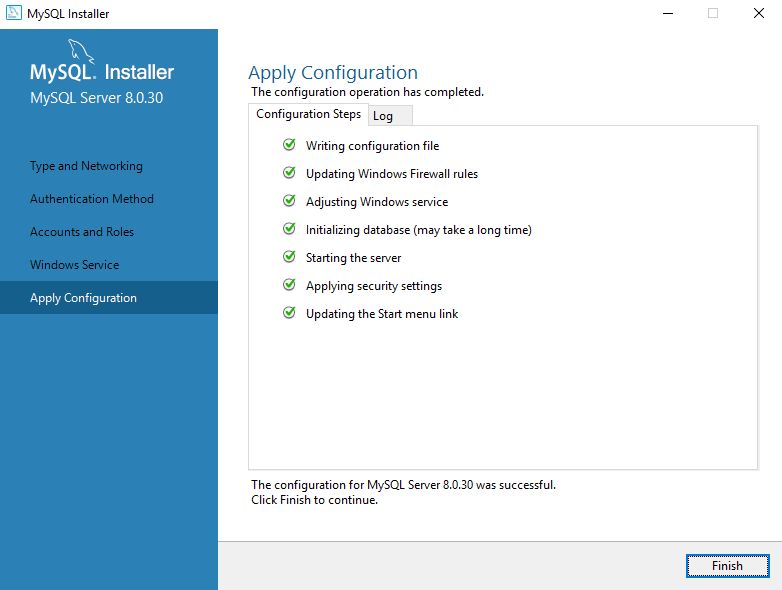
- The final step is to apply the configuration settings, click Execute to begin the configuration process. Once the configuration is complete, you will see all nice green checkmarks and can click Finish.
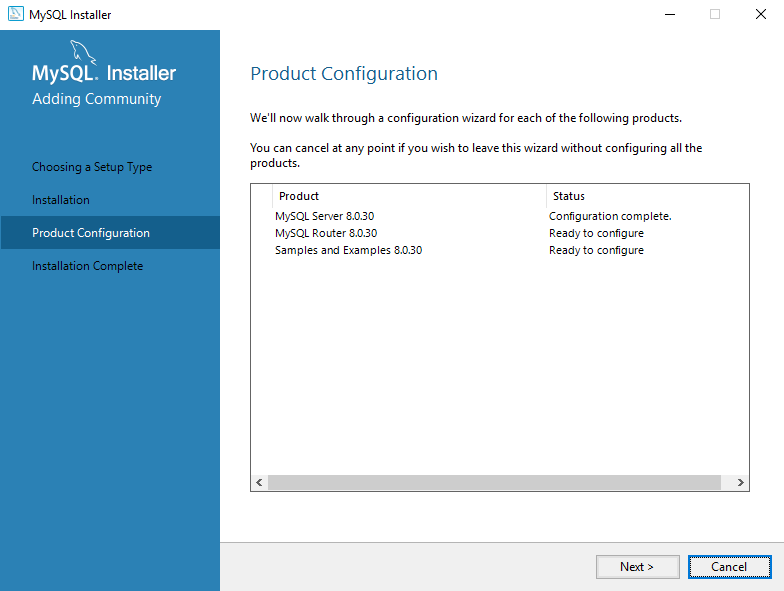
- Now that the server configuration is complete, the installer will return you to the remaining product configurations. There is not a need to configure them for the Aparavi installations to follow, click Cancel. A confirmation box popup to confirm you wish to cancel, select Yes to exit the installer.
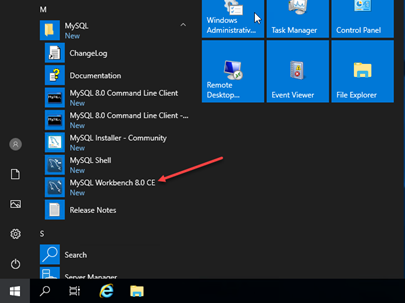
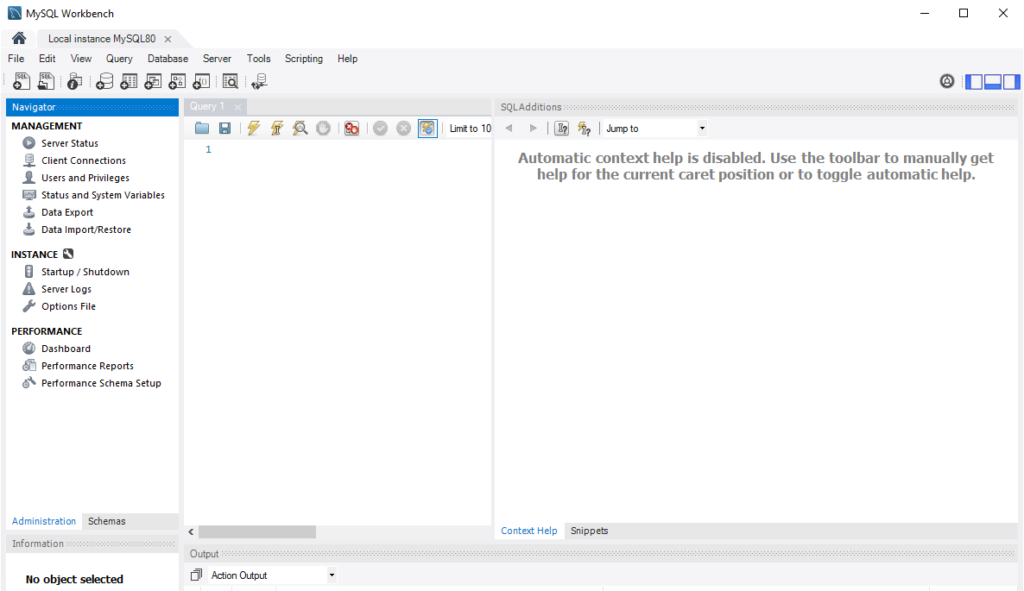
- Now that MySQL server has been installed, verify that you can connect to the new database by launching MySQL Workbench.
- The MySQL Workbench application will launch and in the lower left-hand corner will be the database instance we configured in the previous steps. Select the instance by clicking on the box, you will need to provide the root user password to connect.
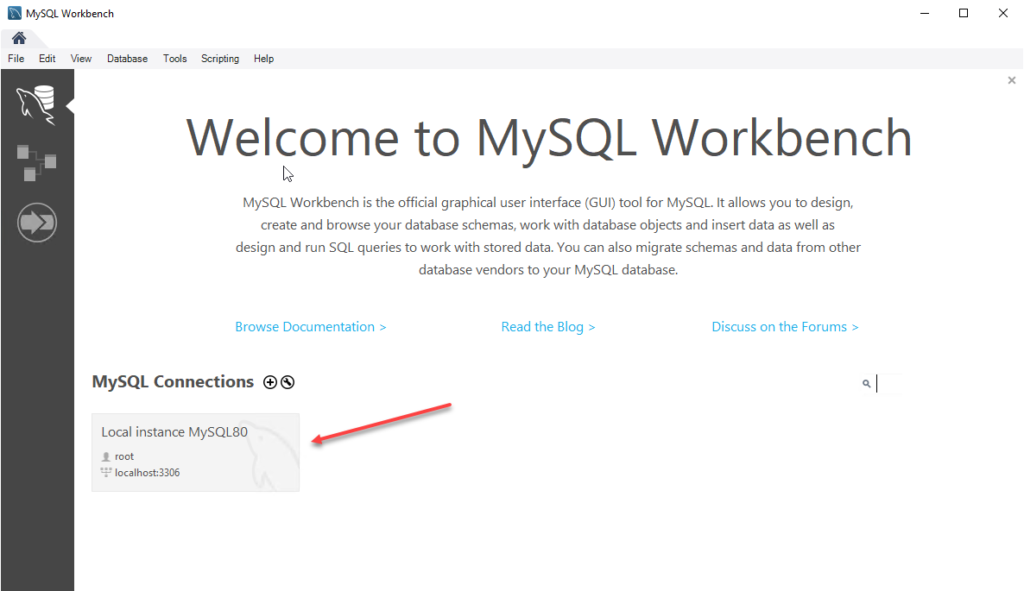
- If you are able to connect to the local instance, your installation and configuration of MySQL is now complete.
Install differences for Linux
- The installation steps outlined above were performed in a Windows operating system. For Linux, ensure that you are installing MySQL 8.0.28 or higher. For example: Ubuntu 18.x does not install MySQL 8.x by default instead it looks for MySQL 5.x. Make sure your repository is updated with the correct version or obtain an updated URL with the correct dpkg version.
- The installation must be secure – you may want to create a new user with secure password access to the database.
Refer to the MySQL documentation for any related installation questions or issues: https://dev.mysql.com/doc/