How Can We Help?
Search for answers or browse our knowledge base.
Manually Delete Files
Purpose
After files have been scanned by the system, they can also be deleted individually or in bulk.
By default, the files will be hidden from all searches and query reports when removed. This however will not delete all instances of the file being scanned, and the hidden files can be viewed using the query filter. The system generates deleted file reports to provide an audit trail of when files are removed. This allows administrators the ability to query the audit trail and thus can be utilized to show chain of custody, as to what happened to a file and when.
Please Note: Files will be removed from the local host or target service when deleted from the platform. This selection cannot be reversed, as this action will bypass the trashcan and instantly remove the file from the source it was scanned from.
Deleting Files
Manually deleting files can be performed after a file search or locating a folder in the navigation tree.
File Search
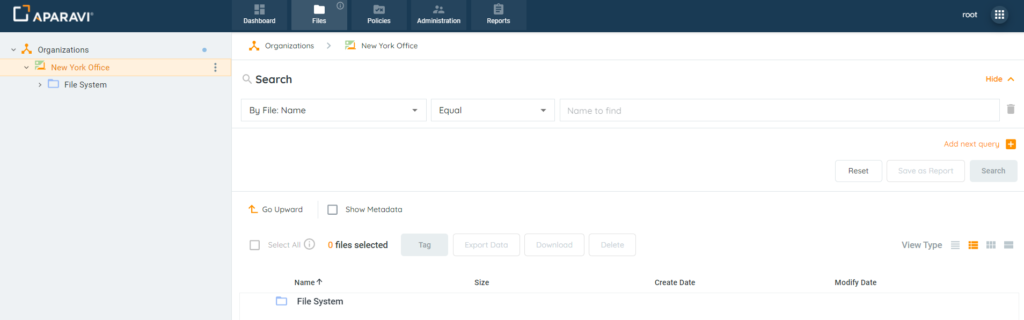
1. Click on the Files Tab, located in the top navigation menu.
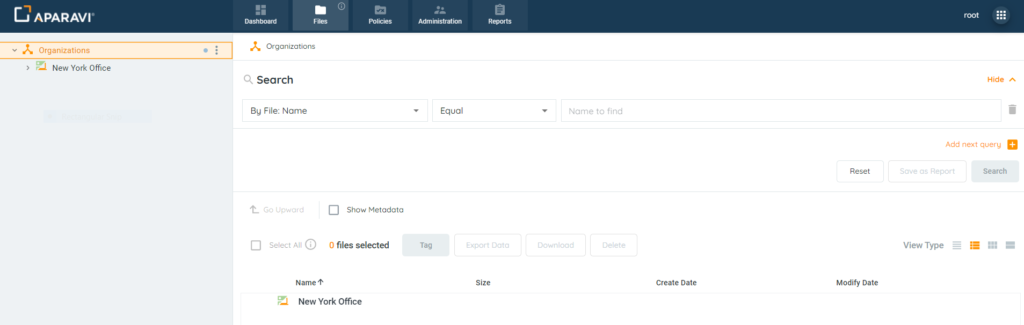
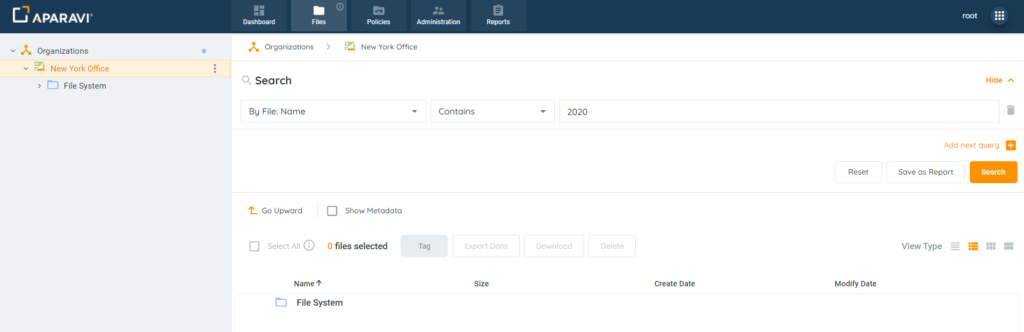
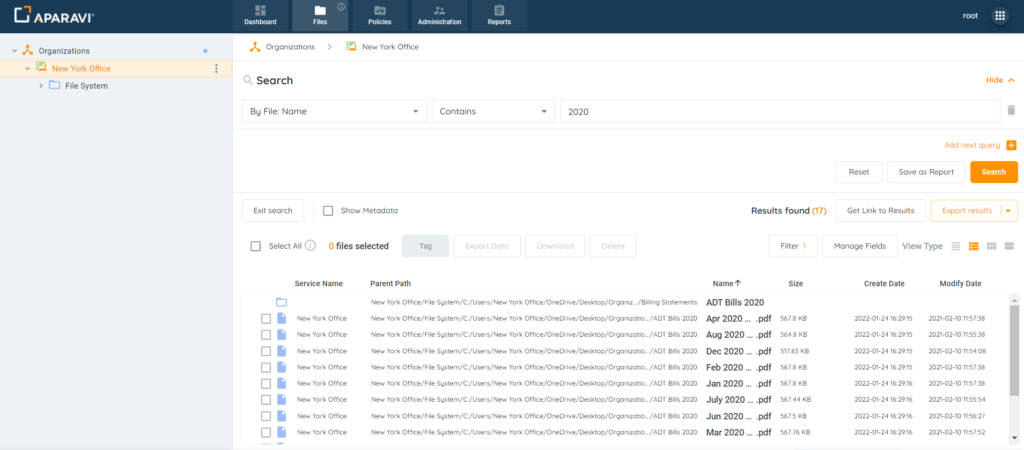
2. Using the three search filters, create a file search that will produce the file(s) to be deleted.
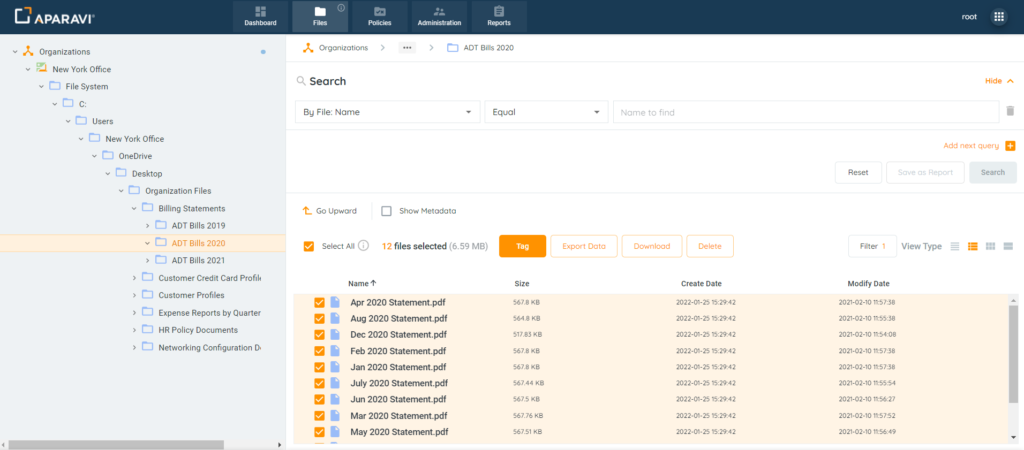
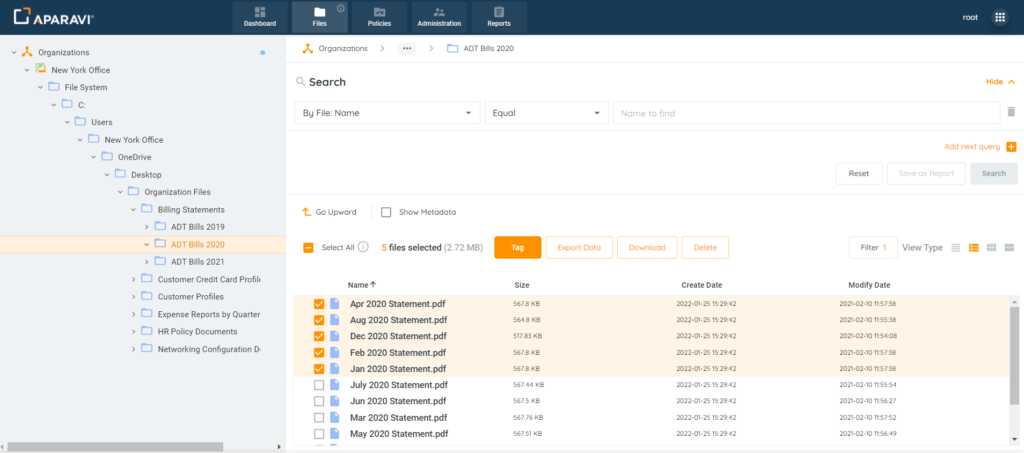
3. Once the file results are displaying, click the checkbox located to the left of the file that needs to be deleted.
Please Note: One or multiple files can be chosen to be removed.

Bulk File Deletion: Located above the file results, the system offers a Select All Checkbox. This feature will select up to 25k files at once, but folders cannot be removed from the system once scanned.
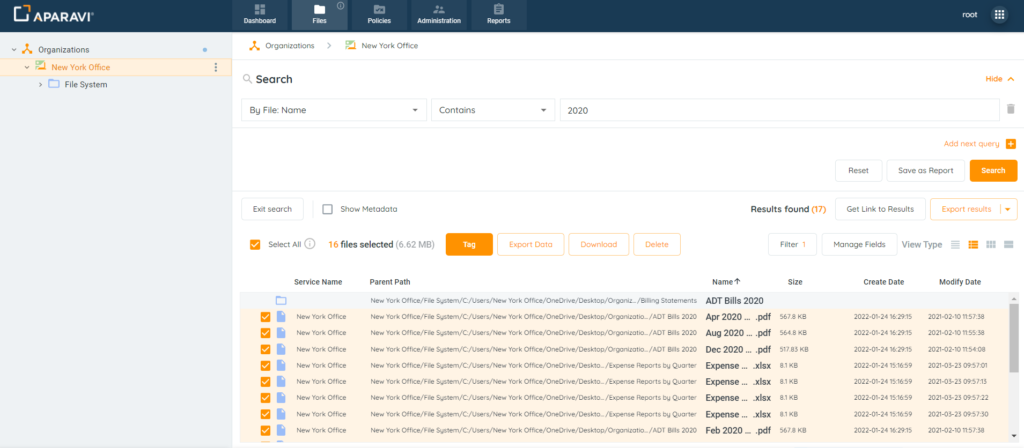
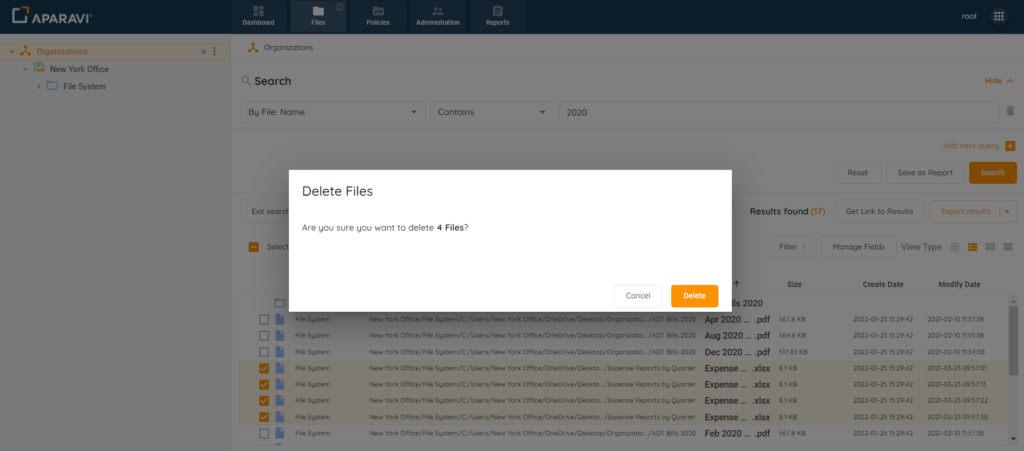
4. When the first file is selected, the Delete button will highlight to indicate it is active. After all files have been selected, click on the Delete button.
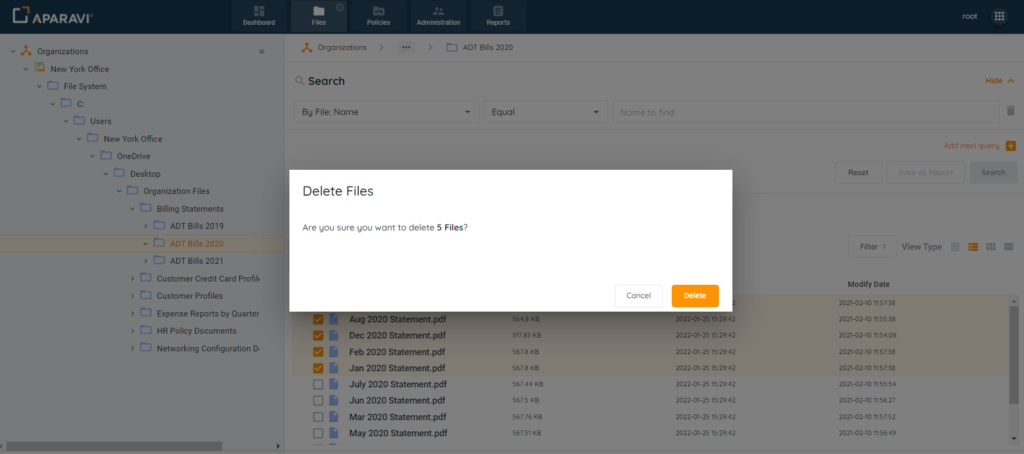
5. After the Delete button is selected, a warning message will appear containing the number of files to be deleted. Click on the Ok button, located in the bottom right-hand side of the pop-up box to confirm the file’s deletion.
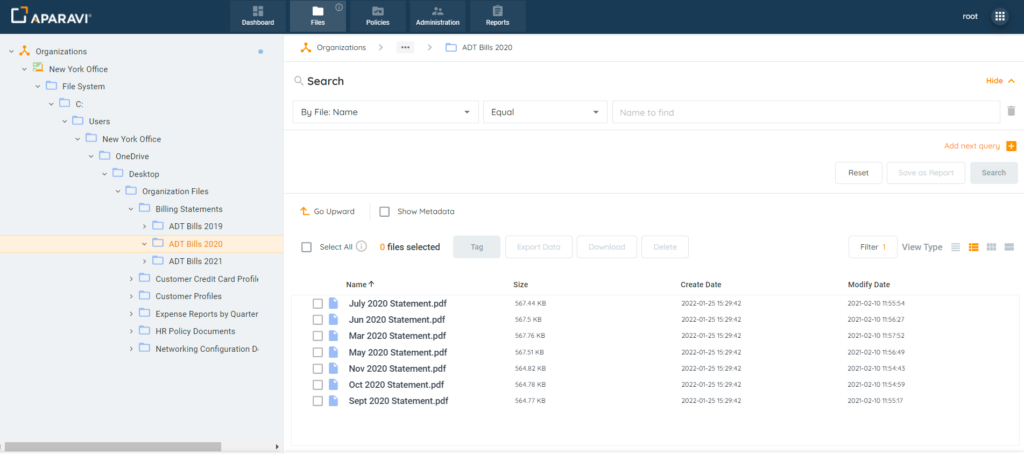
Unless the option to view hidden files is selected, the files will no longer be searchable in basic queries.
Navigation Tree
1. Located on the left-hand side of the screen, a navigation tree appears, displaying the system’s node/folder structure. Click on the arrows located to the left of each node/folder to expand it.
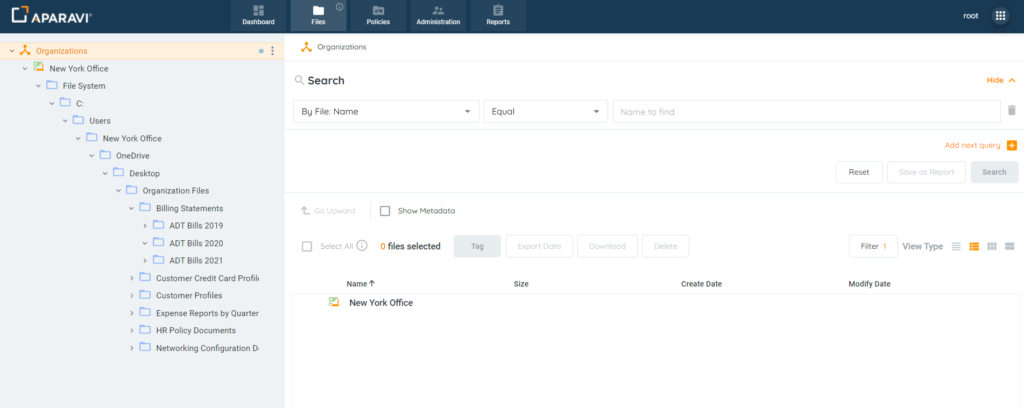
2. Once the folder is displaying in the navigation tree, click on it and the system will display the file contents.
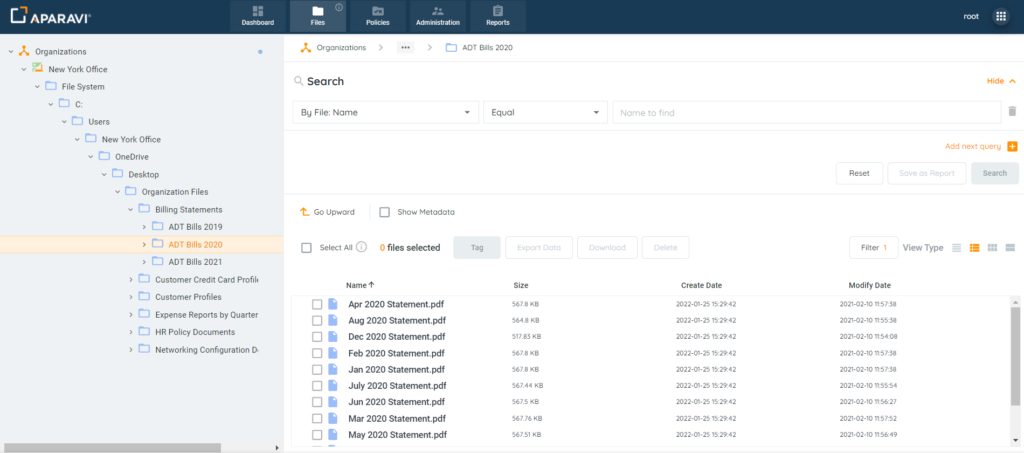
3. Once the file results are displaying, click the checkbox located to the left of the file that needs to be deleted.
Please Note: One or multiple files can be chosen to be removed.

Bulk File Deletion: Located above the file results, the system offers a Select All Checkbox. This feature will select up to 25k files at once, but folders cannot be removed from the system once scanned.
4. When the first file is selected, the Delete button will highlight to indicate it is active. After all files have been selected, click on the Delete button.
5. After the Delete button is selected, a warning message will appear containing the number of files to be deleted. Click on the Ok button, located in the bottom right-hand side of the pop-up box to confirm the file’s deletion.
From this point, the files will no longer be visible by clicking on the folder in the navigation tree.
Reporting on Deleted Files
Deleted file reports can be generated from a files search or query report. These queries can provide administrators the ability to instantly view files that have been deleted, as well as when it was removed and by who.
File Search
1. Click on the Files Tab, located in the top navigation menu.
2. Using the three search filters, create a file search.
4. Once the file results are displaying, click the filter button located in the toolbar. Inside the Filter pop-up box, expand the Deleted files selection and deselect the Hide deleted files checkbox.
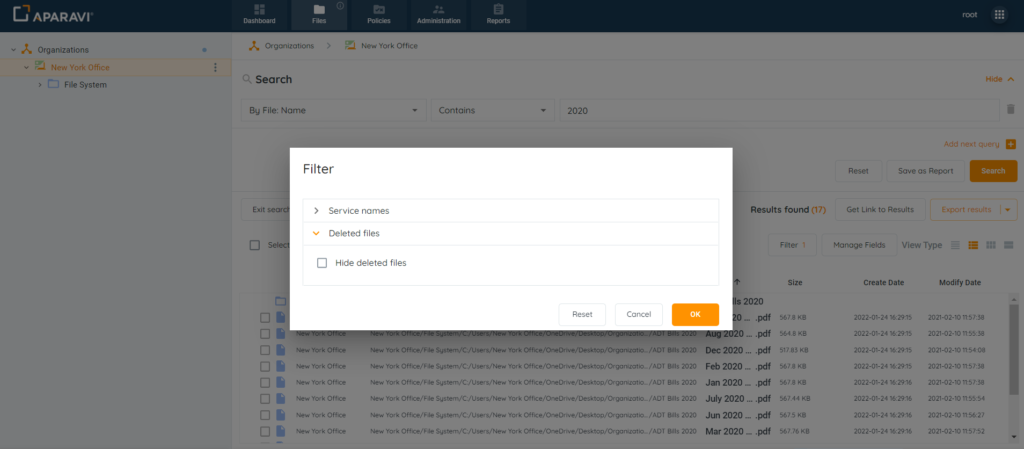
5. After the changes have been saved, all files matching the search criteria will display, regardless if the file has been deleted.
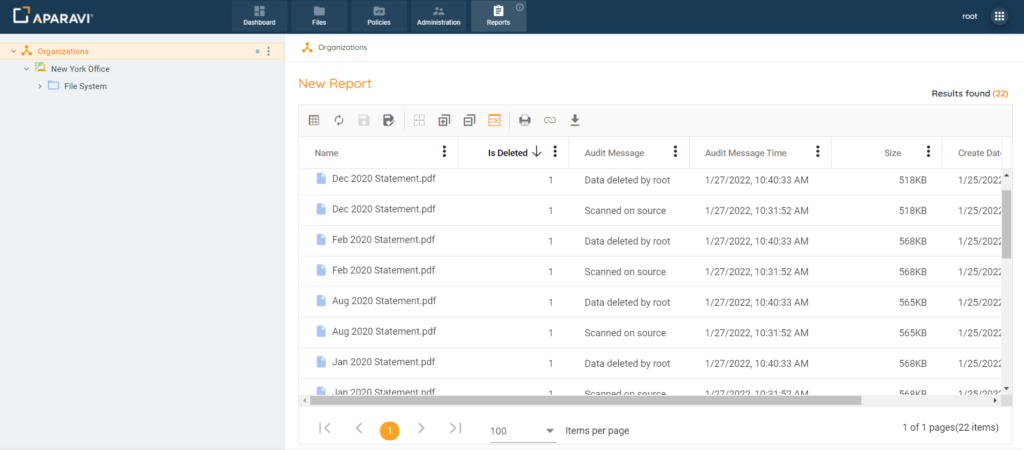
Please Note: Adding the (1) Audit Message (2) Audit Message Time & (3) IsDeleted fields will offer a chain of custody report. These fields allow administrators the ability to view when a file was deleted and who removed it. All additional fields are located under the Advanced fields section and can be added to the search by customizing the fields displayed.

Query Repot
1. Click on the Reports Tab, located in the top navigation menu.
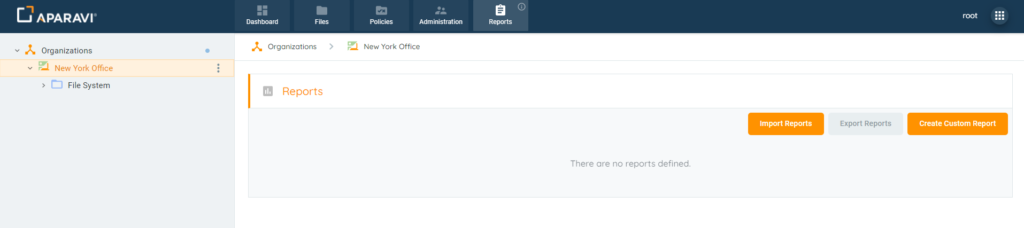
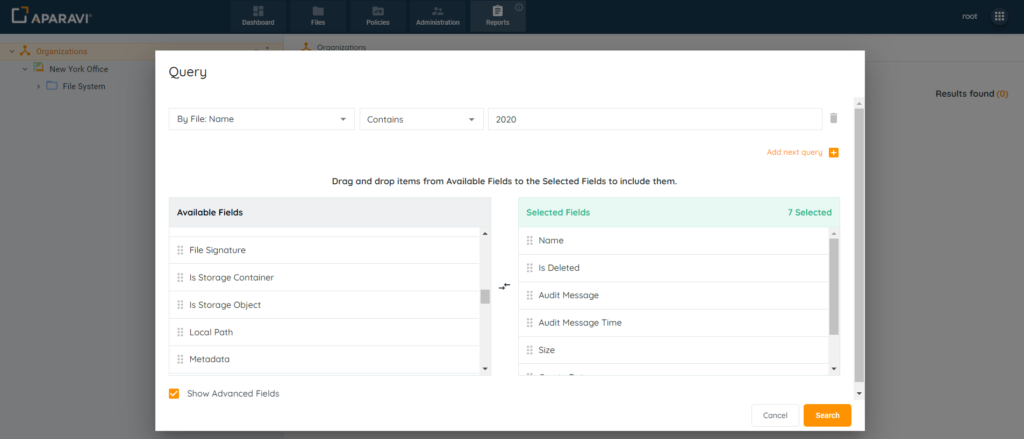
2. Click on the Create Custom Report button. Once clicked, a query pop-up box will offer filter and field selections to customize the report.
Please Note: Adding the (1) Audit Message (2) Audit Message Time & (3) IsDeleted fields will offer a chain of custody report. These fields allow administrators the ability to view when a file was deleted and who removed it. All additional fields are located under the Advanced fields section and can be added to the search by customizing the fields displayed.
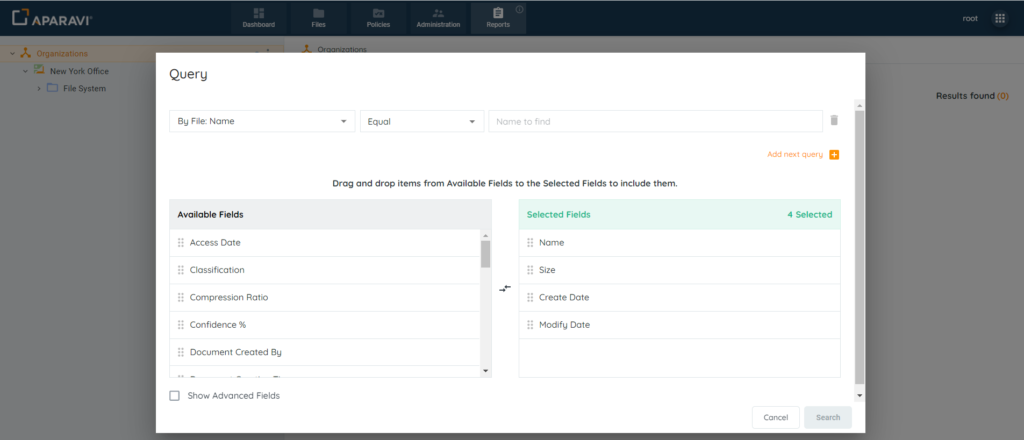
3. Using the three search filters, create a query report that will produce the file(s) to be deleted.
4. Once the file results are displaying, click the show deleted files button located in the toolbar.
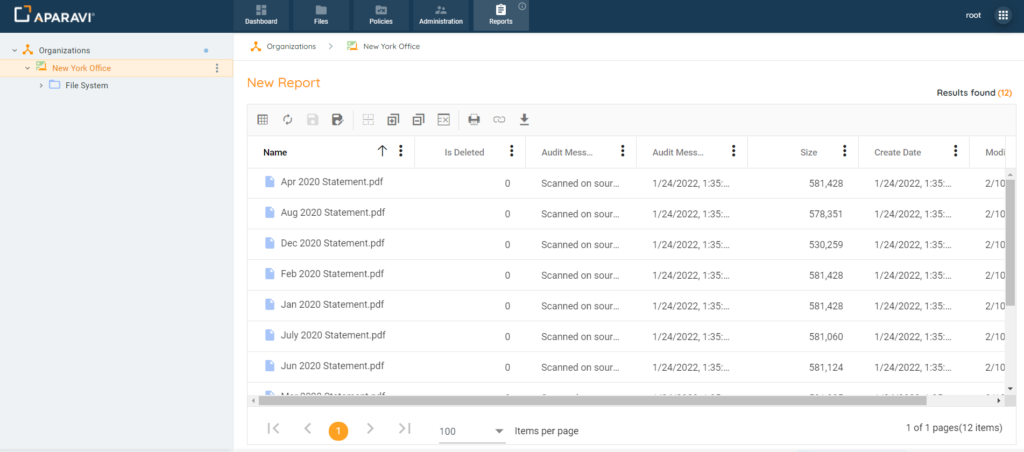
The files matching the search criteria will display, regardless if the file has been deleted. These reports can be exported and shared with other users, or saved for future use without having to continually repeat the same steps.