How Can We Help?
Search for answers or browse our knowledge base.
Logging In
Purpose
This article will detail how to log into the Aparavi platform for the first time.
Usage
Accessing the Aparavi Platform
- To access the Aparavi platform, an administrator will have created your account. An email will be sent from noreply@aparavi.com to your mailbox.
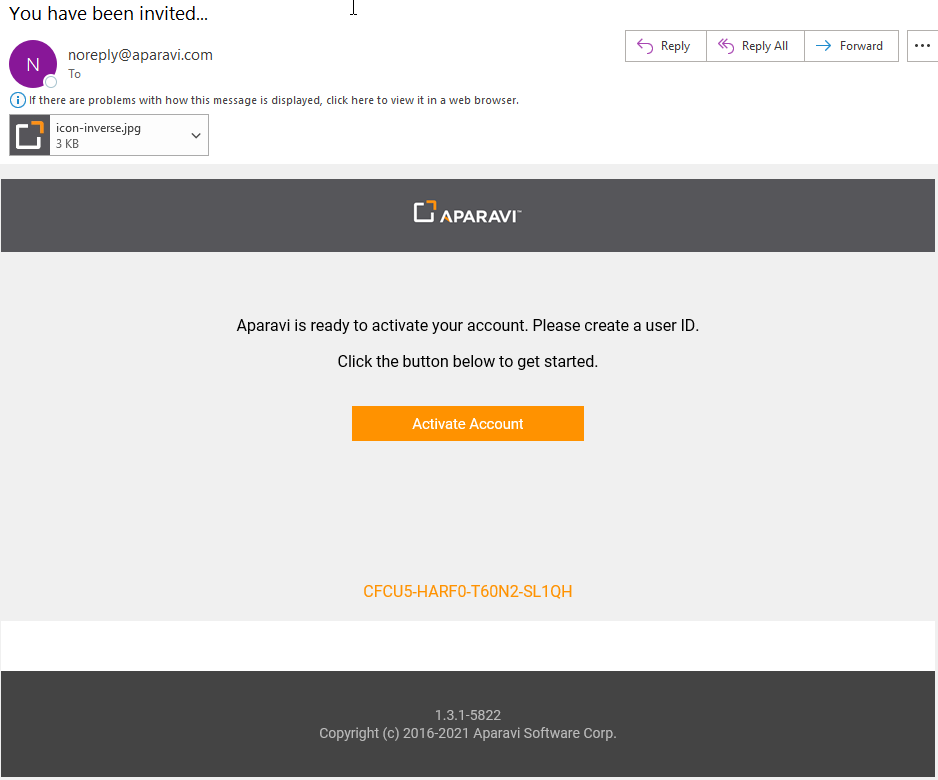
- Click on the Activate Account link within the email to get started. This will open up a web browser session.
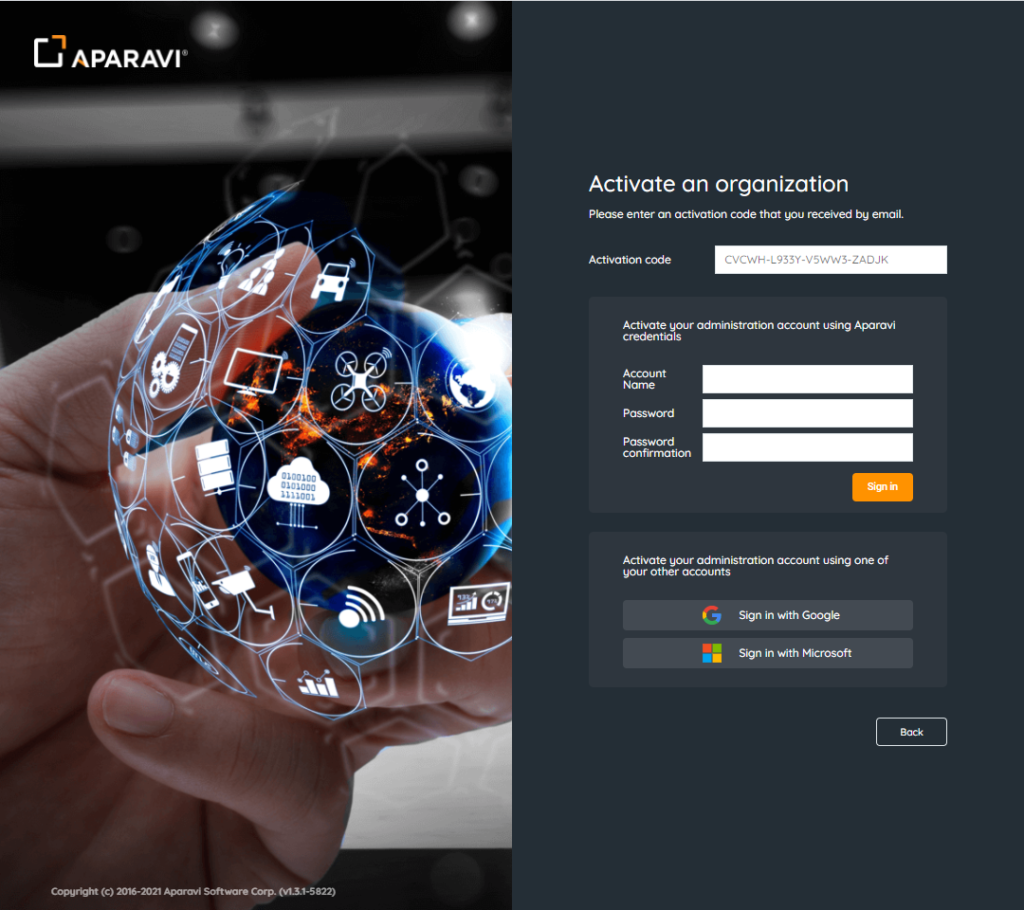
- You will be accessing the Aparavi portal where the activation code in the email should already be populated. The next step is to create your login credentials. There are three options here:
– Use Aparavi credentials
– Sign in with Google
– Sign in with Microsoft
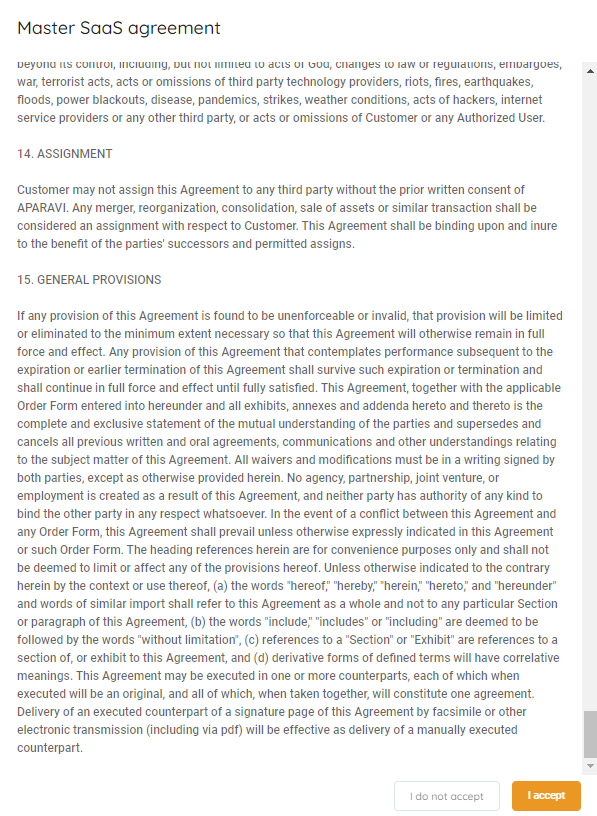
- Once you’ve selected your preferred sign in method and began the sign in process, the next step is reading and accepting the Master SaaS agreement. You will need to scroll all the way to the bottom in order to be able to click I accept.
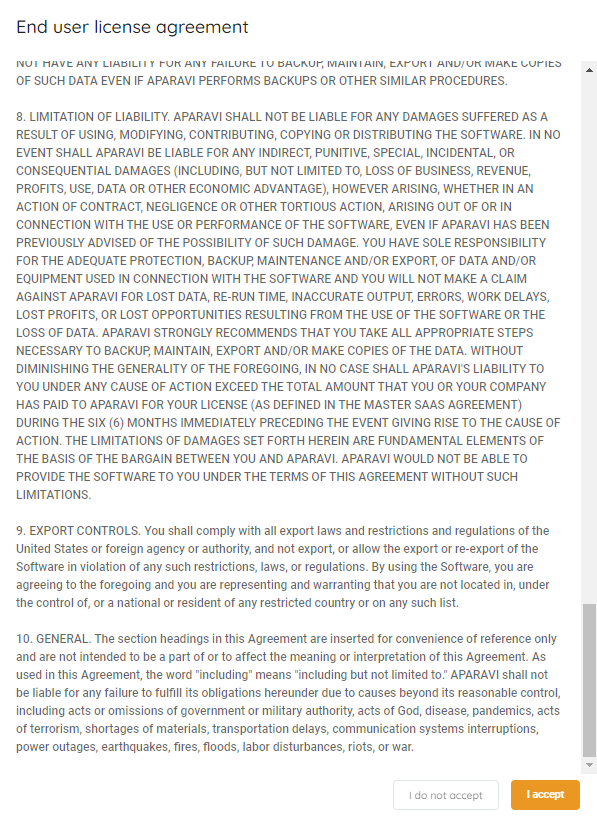
- Once the Master SaaS Agreement has been accepted the next step is to read and accept the End user license agreement. You must scroll all the way to the bottom in order to be able to click I accept.
- Now that the End user license agreement has been accepted, you will be logged into the Aparavi platform. Now you can begin the administration and deployment processes, see other articles in the Getting Started and Installation sections of the support website for further guidance.
- Once your desired infrastructure has been deployed and configured, you will need to navigate to the Policies section and define all the data sources you would like to scan, index and classify. More information can be found under the Policies section of the support webpage.