How Can We Help?
Search for answers or browse our knowledge base.
File System as a Source
Purpose
Aparavi allows business users to automate data actions by linking File System sources and targets, no code or command line necessary.
Configuring pre-defined File System sources allows users to easily manage their entire data footprint while providing a rich user experience where non-technical users can build custom workflows for data hygiene, compliance, and retention use cases.
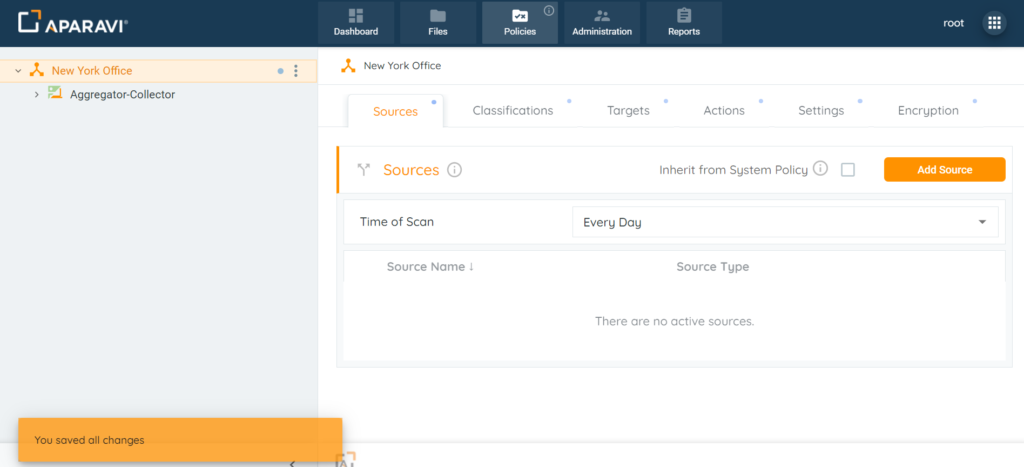
The Sources subtab offers the ability to add and manage configured File System sources within the system. The ability to alter the time of scan intervals, include and exclude paths, and settings for scanning features, all reside within this section.
Please Note: Configuring the File System source and at least 1 include path must be completed before the system will begin scanning.
Scan Time Intervals
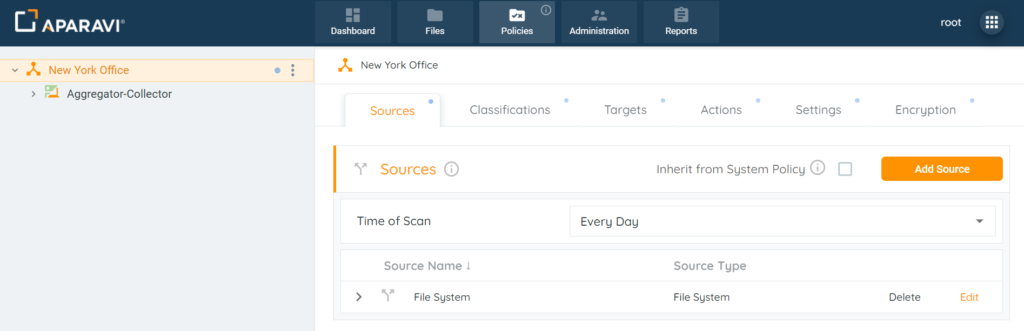
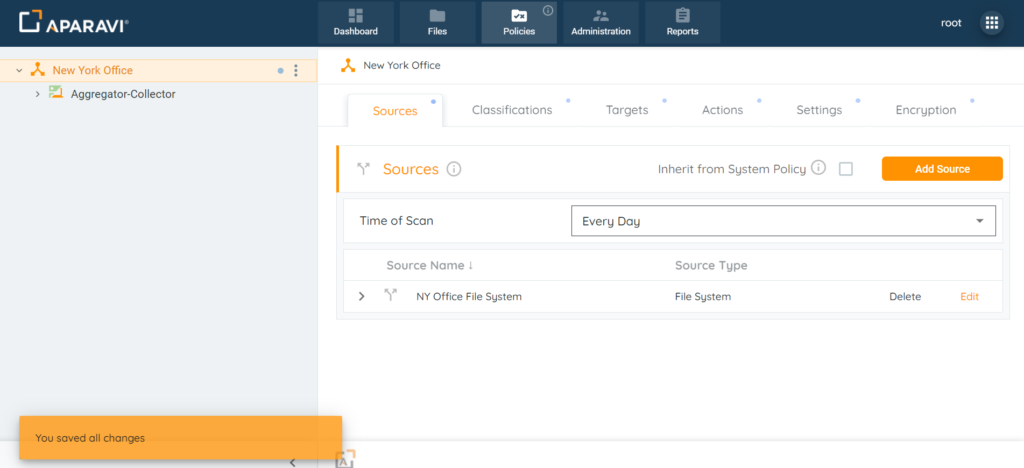
By default, the system sets the scan time interval to once per day. However, this setting can be customized to scan at another interval or by manually performing a scan from the navigation tree.
1. Click on the Policies tab. By default, the system will navigate to the Sources subtab.
2. Click on the drop-down menu next to the Time of Scan section. Once selected, the system will display a list of preset intervals to choose from.
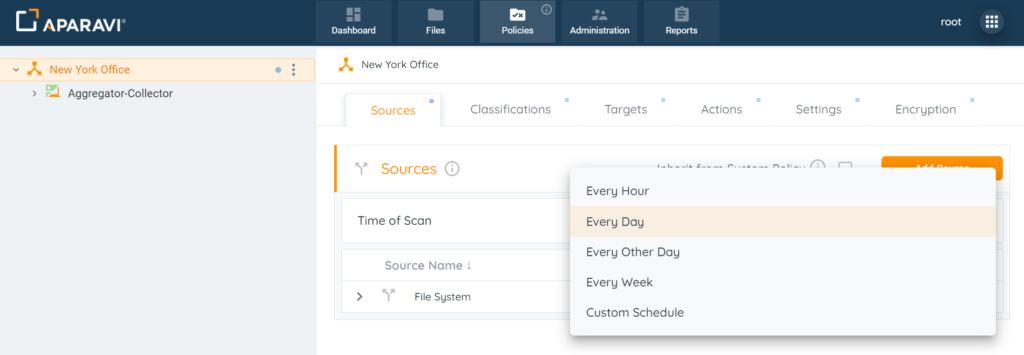
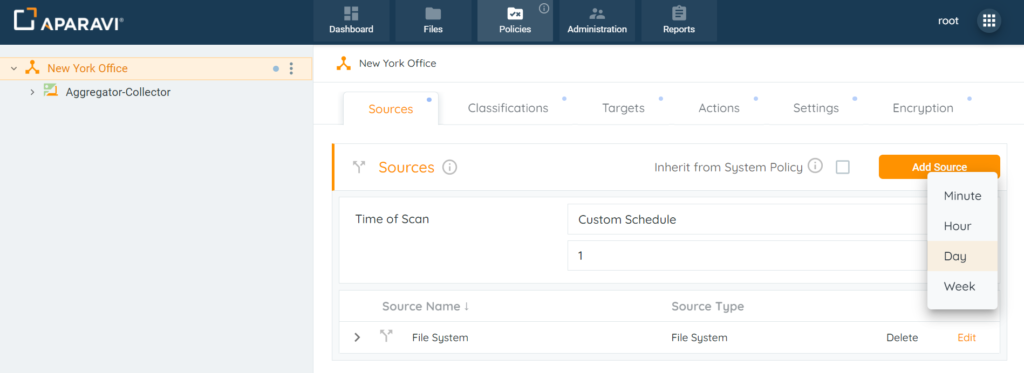
The ability to customize the time interval is also available by choosing Custom Schedule from the drop-down menu. Once this option is selected, two additional fields will appear to set the time of the scan.
3. Click on the Save All Changes button to save the settings.

4. Click the Ok button to confirm the scan time interval changes.
Once the changes have been saved, all configured sources will scan at the time interval chosen.
Configuring Sources
When configuring a source, this triggers the system at the time interval chosen to scan all folders and files within the folder path specified. The platform allows for all nodes to inherit identical settings for the Sources subtab. If the various nodes should have their own set of specifications instead, disabling this feature is also available.
Adding File System Sources
Please Note: The system needs at least one source and one include path to complete a file scan. Multiple include paths can be customized as well, but the path entries follow an order of precedence that must be adhered to.
1. Click on the Policies tab. By default, the system will navigate to the Sources subtab.
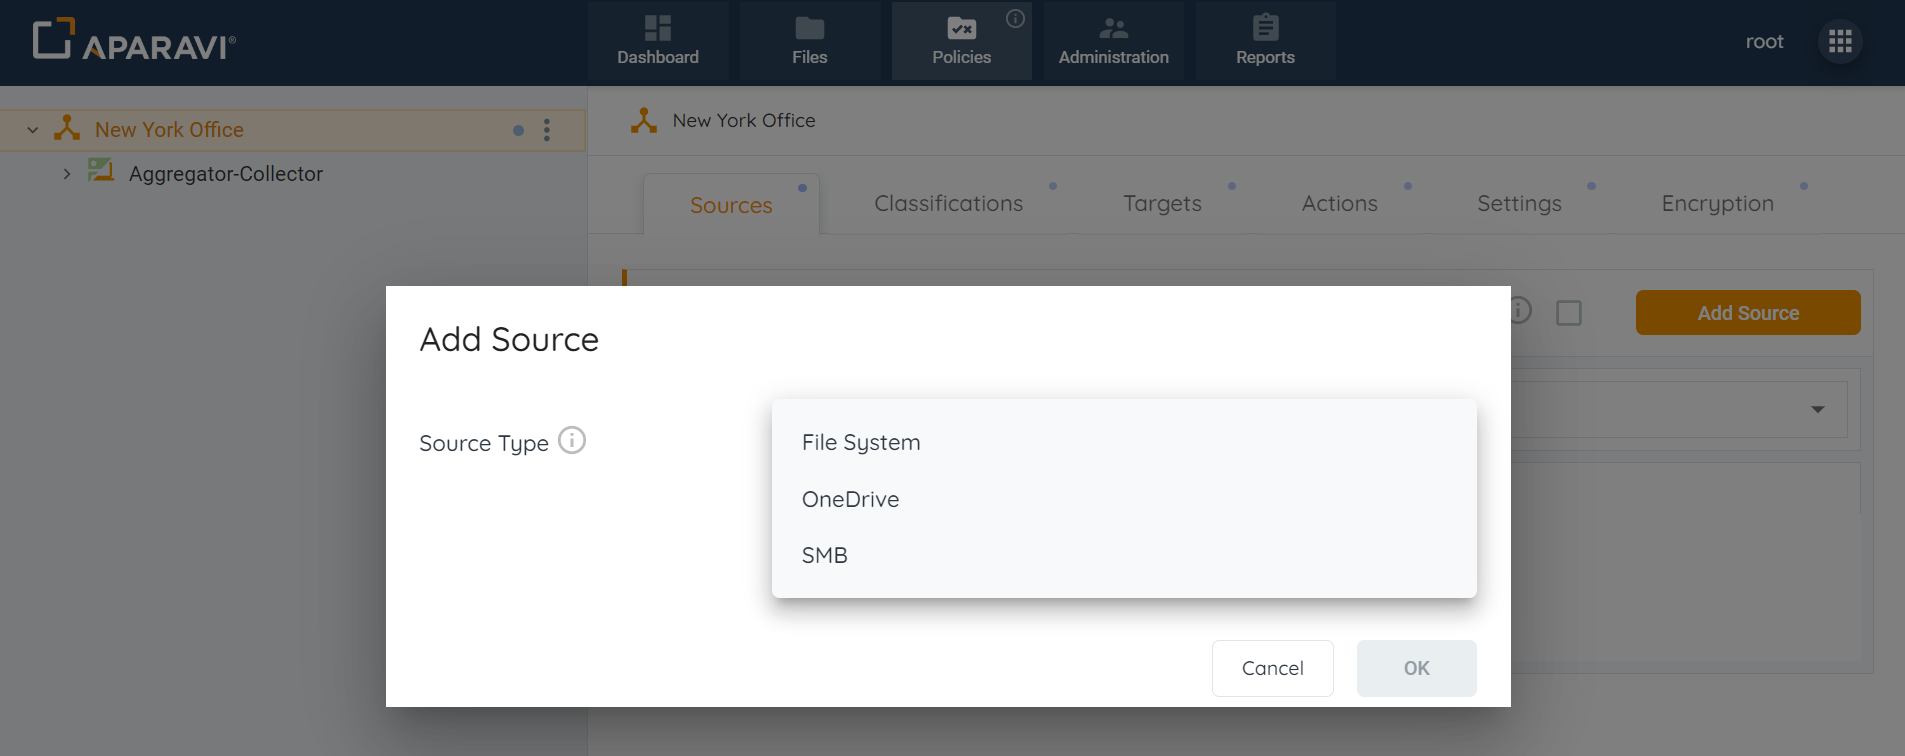
2. Click on the Add Source button, located in the upper right-hand corner of the screen.
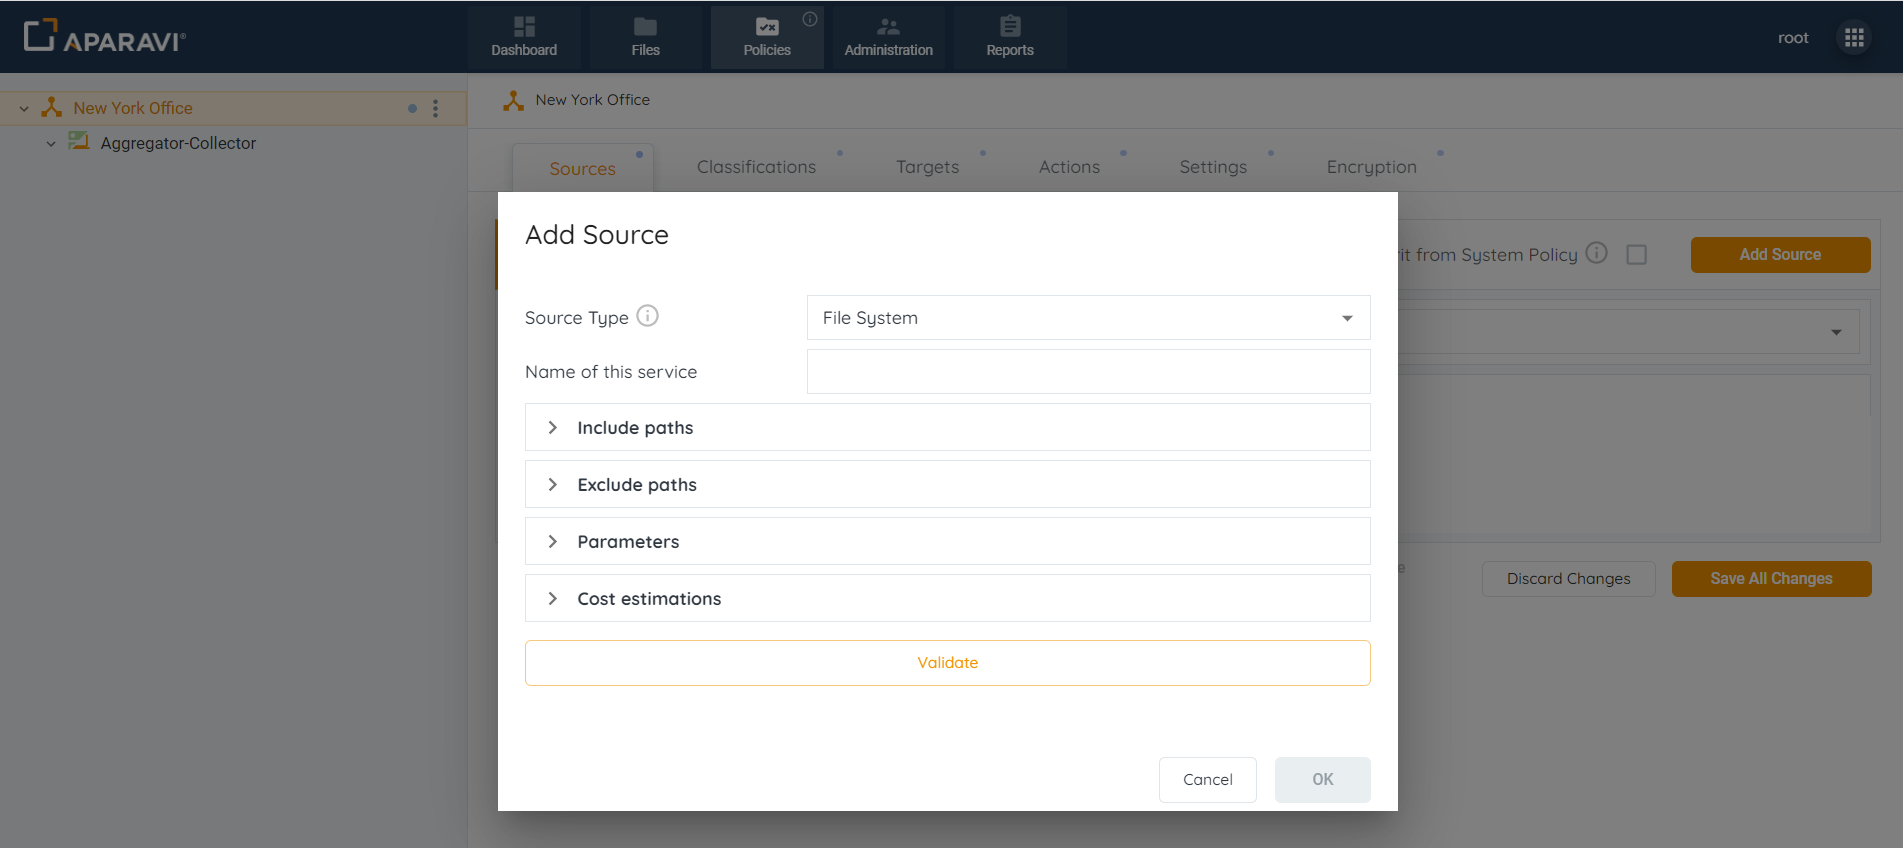
3. When selected, the Add Source pop-up box will display, offering several sources to choose for configuration. Choose the File System option.
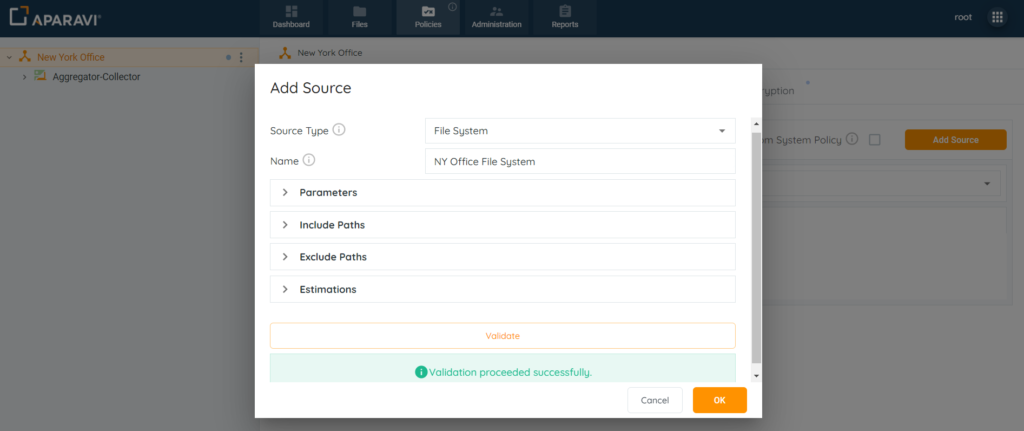
4. Inside the Add Source pop-up box, enter the fields to configure the File System source.
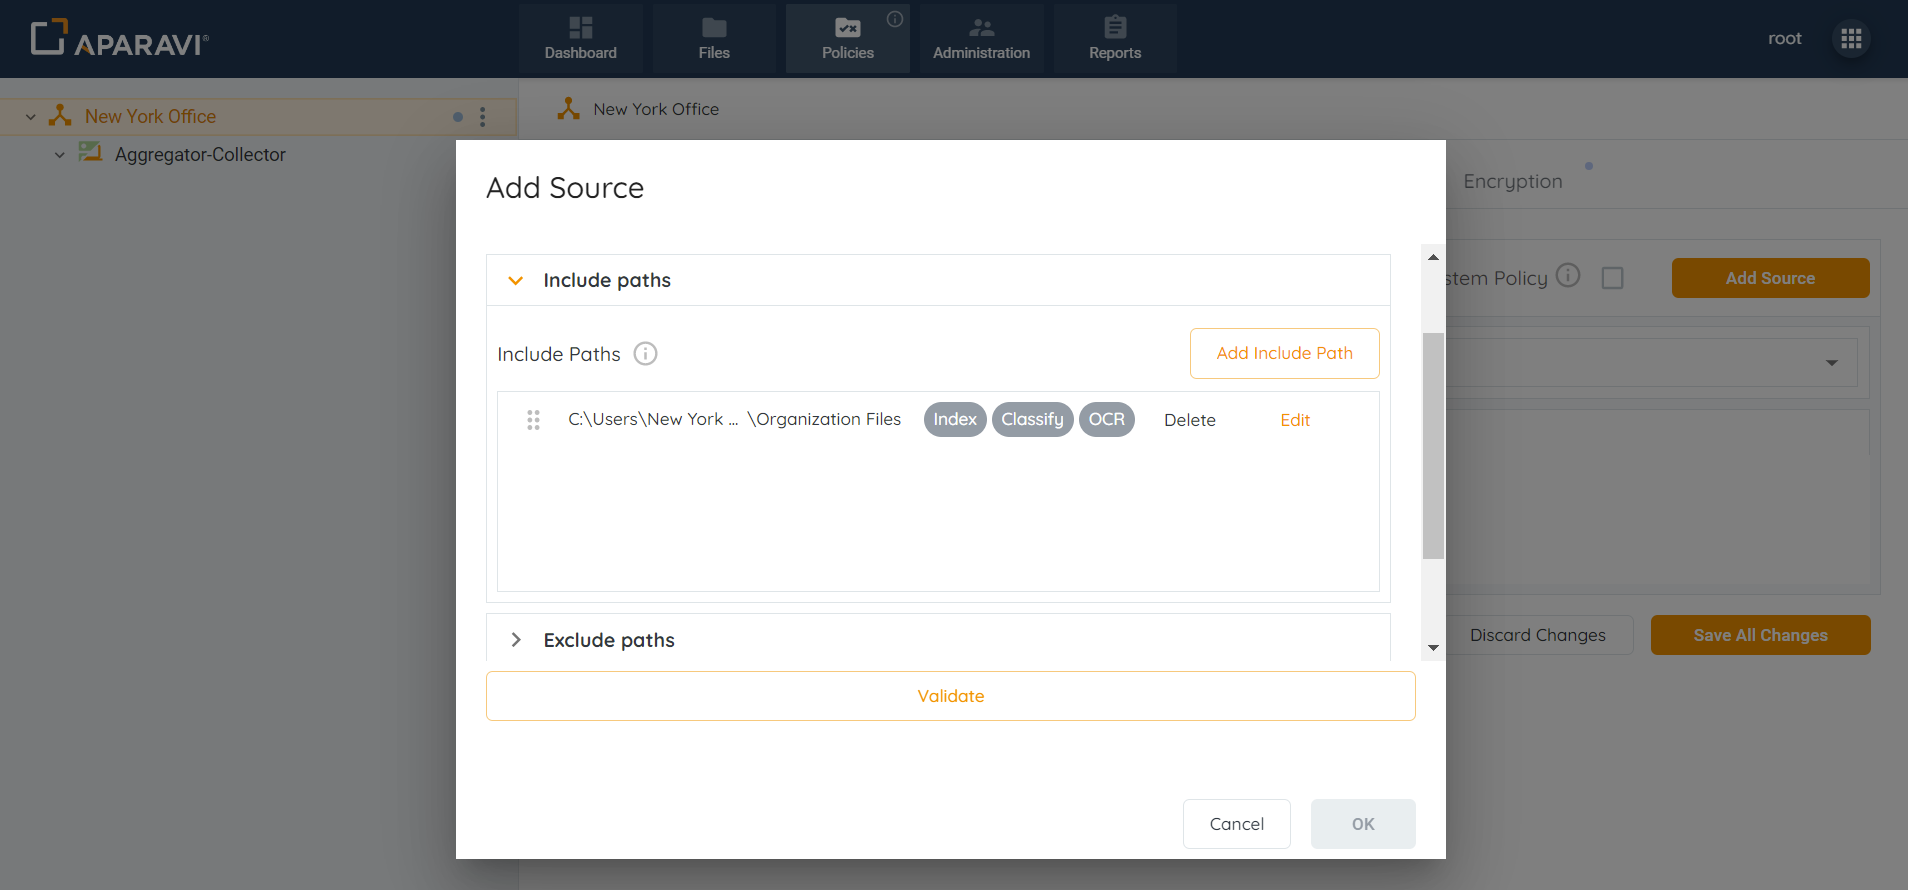
- Click on the Include Paths section and include at least one path. Although multiple include paths can be entered, the system has an order of precedence for the paths that must be followed. In addition to configuring include paths, an optional step is to enter an exclude path within the section below. When entered, the system will skip the path and not scan the folders and files within it.
- Parameters: this section allows for configuring the settings for the Exclude Enable Global & Exclude External Drives File System features. These features customize boundaries to specify what the platform should scan.

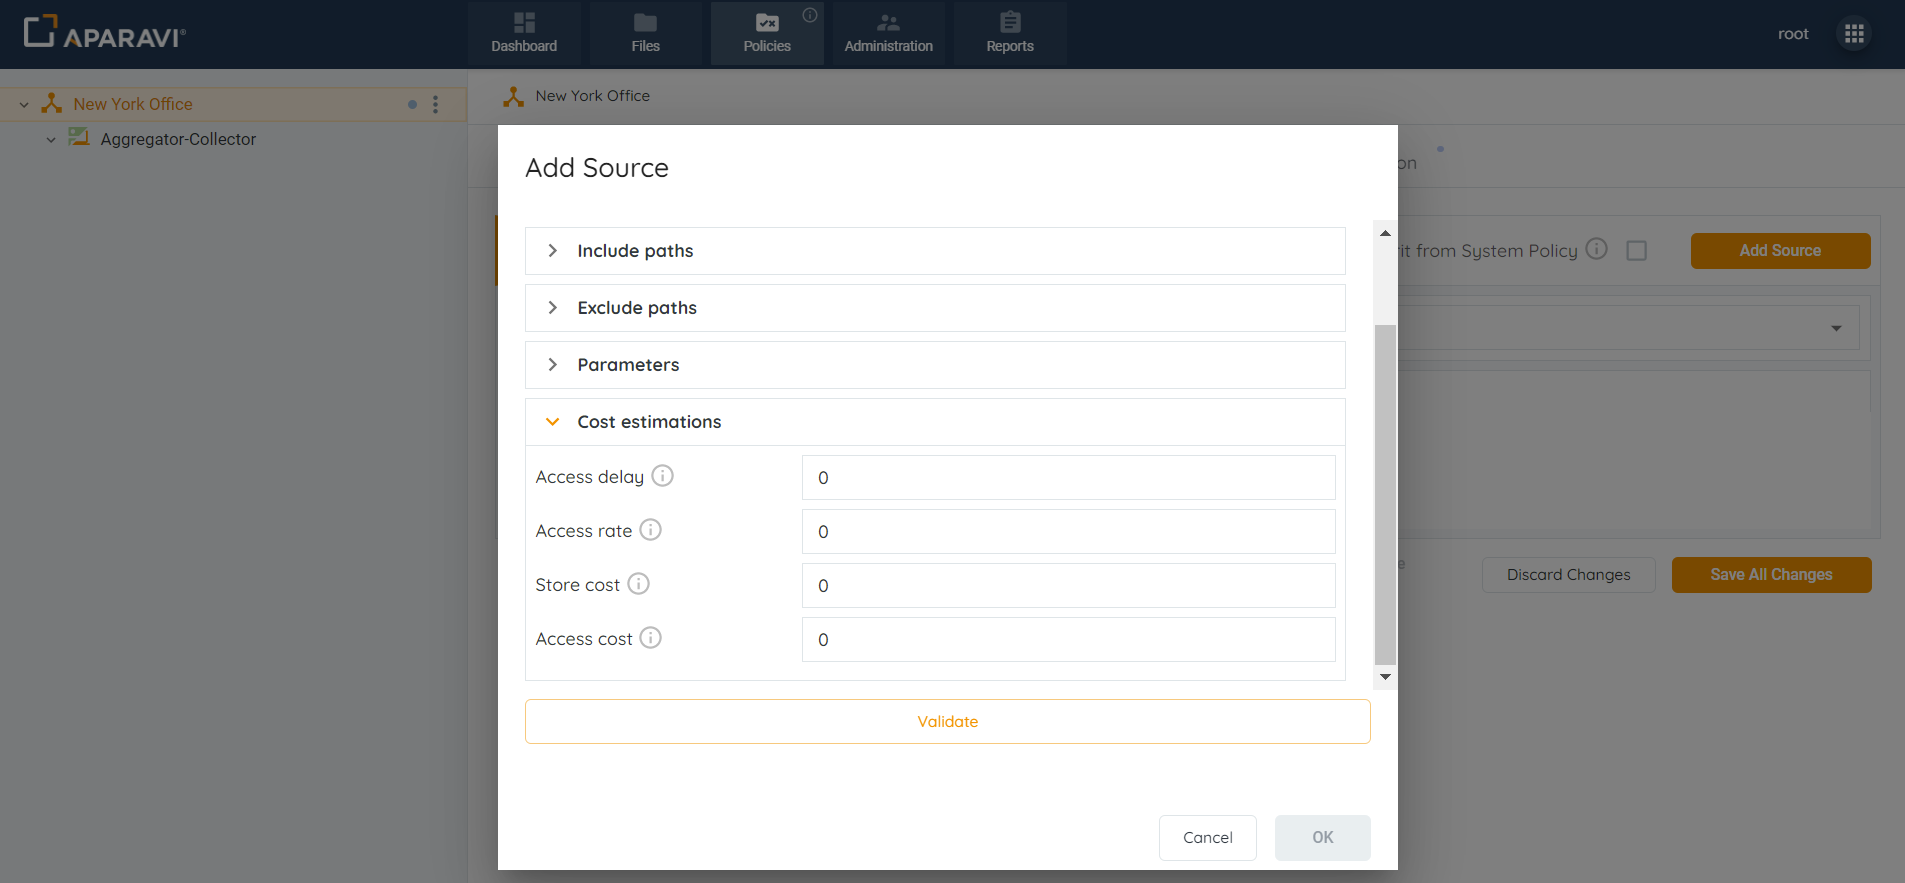
- Click on the Estimations Section and enter the File System data.
- Access Rate: Time required to recall a file in MB per second.
- Access Delay: Elapsed time before access to a file starts.
- Access Cost: The egress cost per MB to recall a file.
- Storage Cost: The cost per MB to store a file per month.
- After completing all sections within the Add source pop-up box, select the Validate button. If the validation was successful, the Ok button inside the pop-up box will become active.
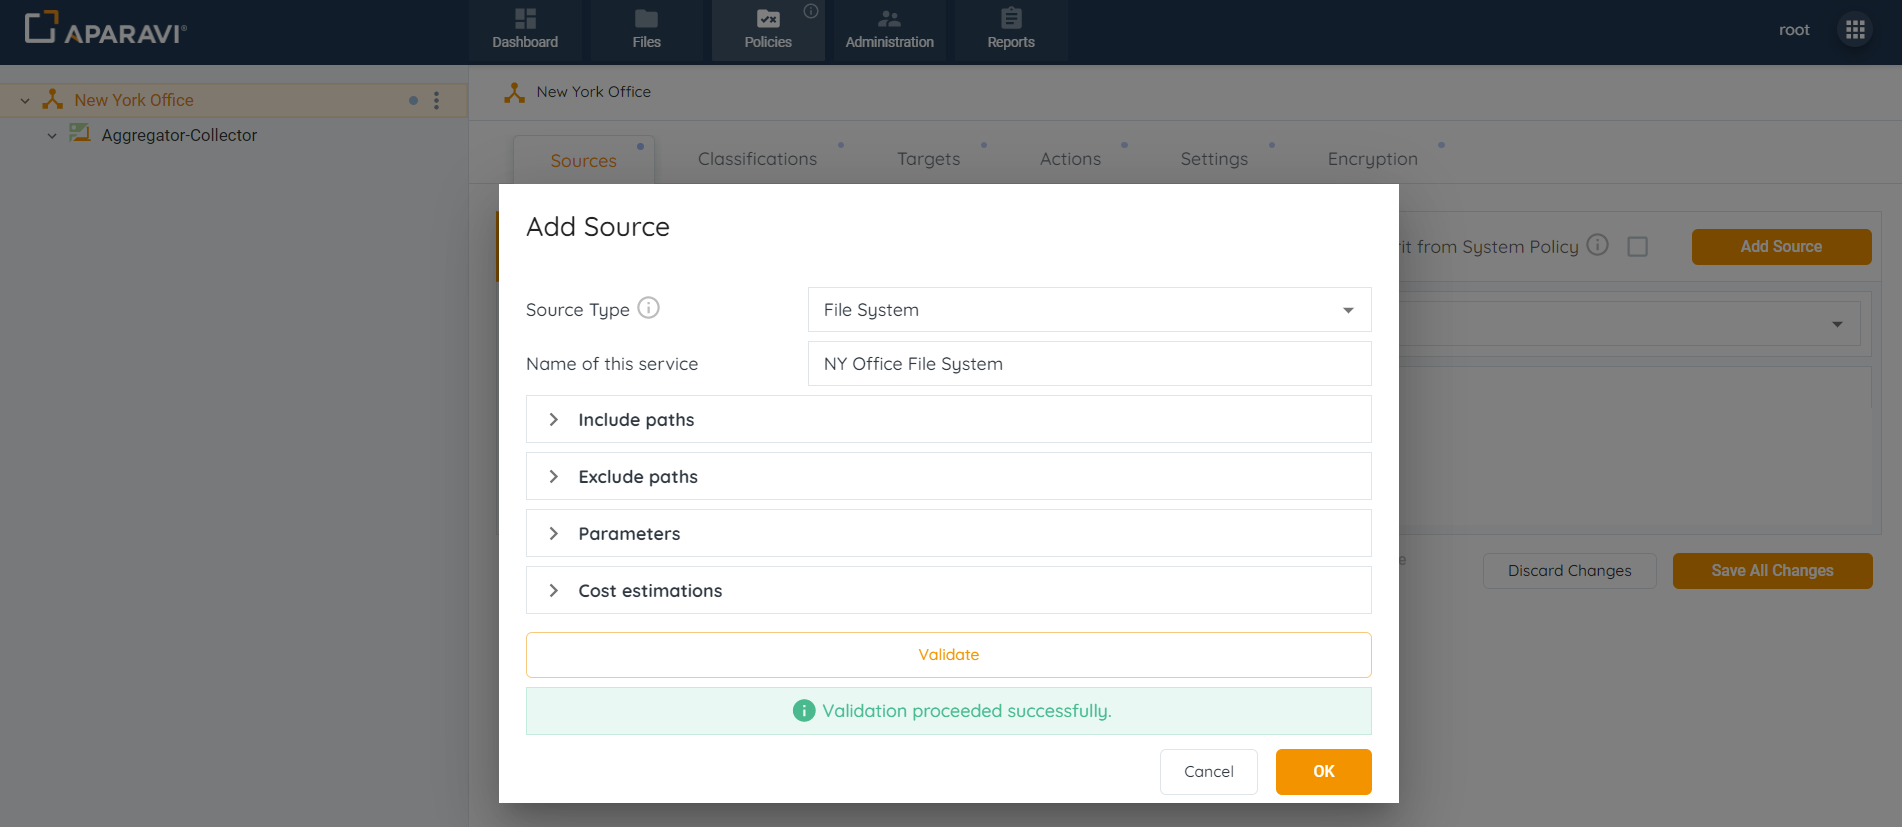
- Click on the Ok button to save the changes.
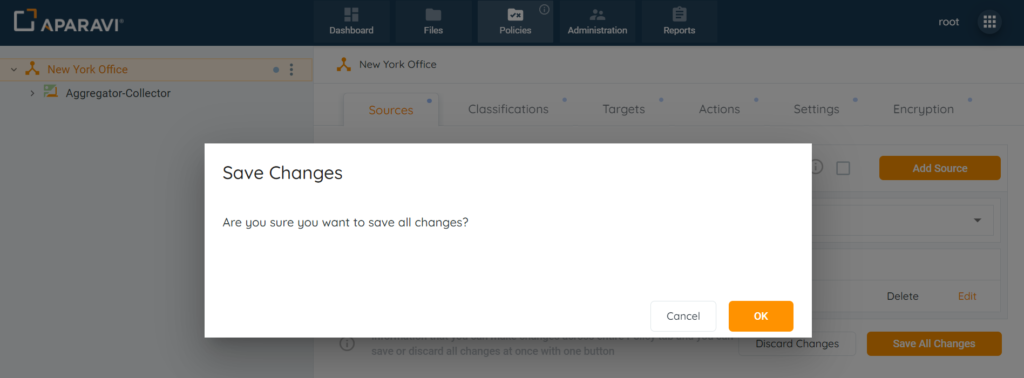
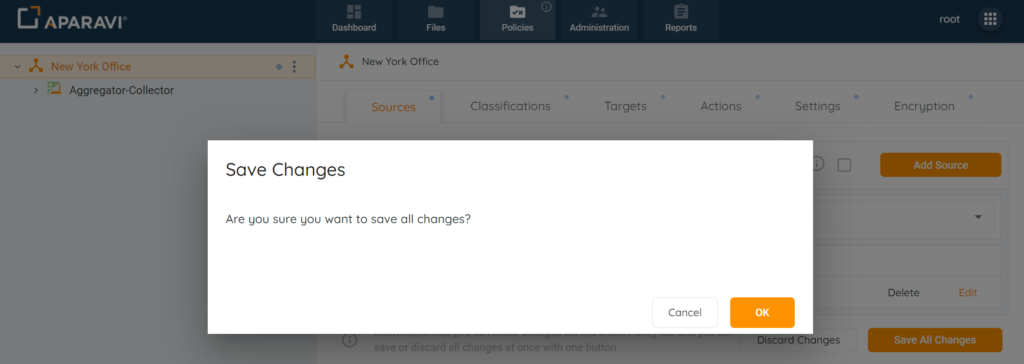
5. Click on the Save All Changes button, located in the bottom right-hand corner. Once clicked a pop-up box will appear requesting to confirm all changes.

6. Click the Ok button to confirm the saved changes.
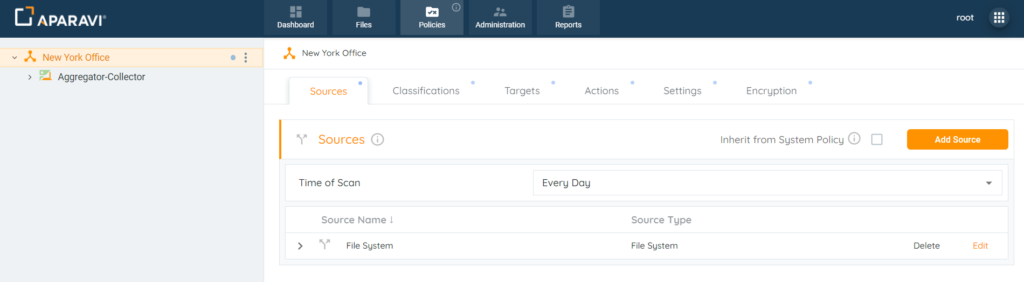
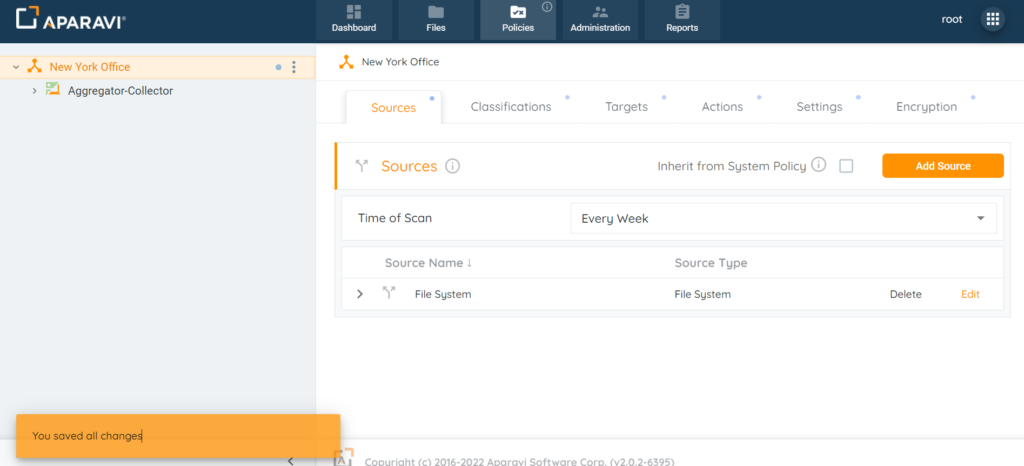
Once the Source has been configured, the system will display an alert message and begin scanning from the source.
Editing File System Sources
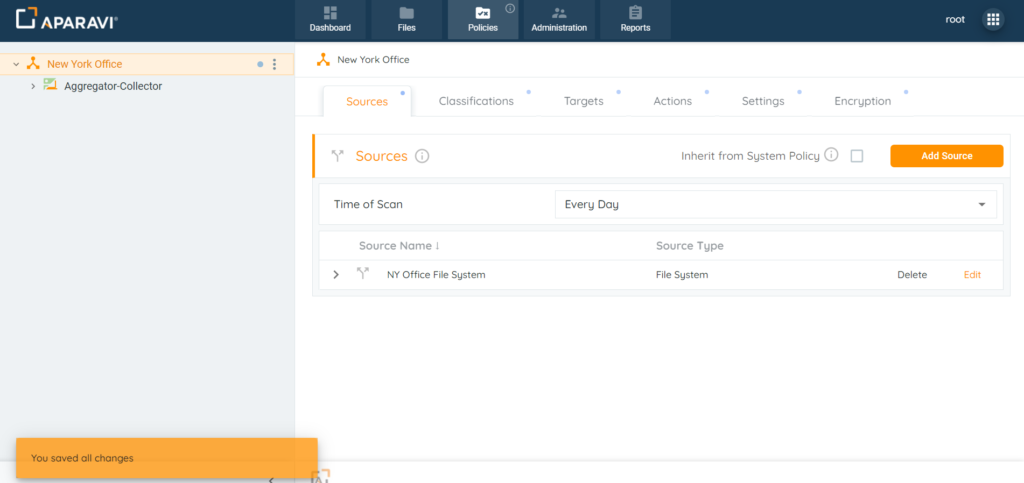
1. Click on the Policies tab. By default, the system will navigate to the Sources subtab.
2. Click on the Edit button to the right of the configured File System source.
3. Inside the Edit Source pop-up box, edit the previously configured File System fields.
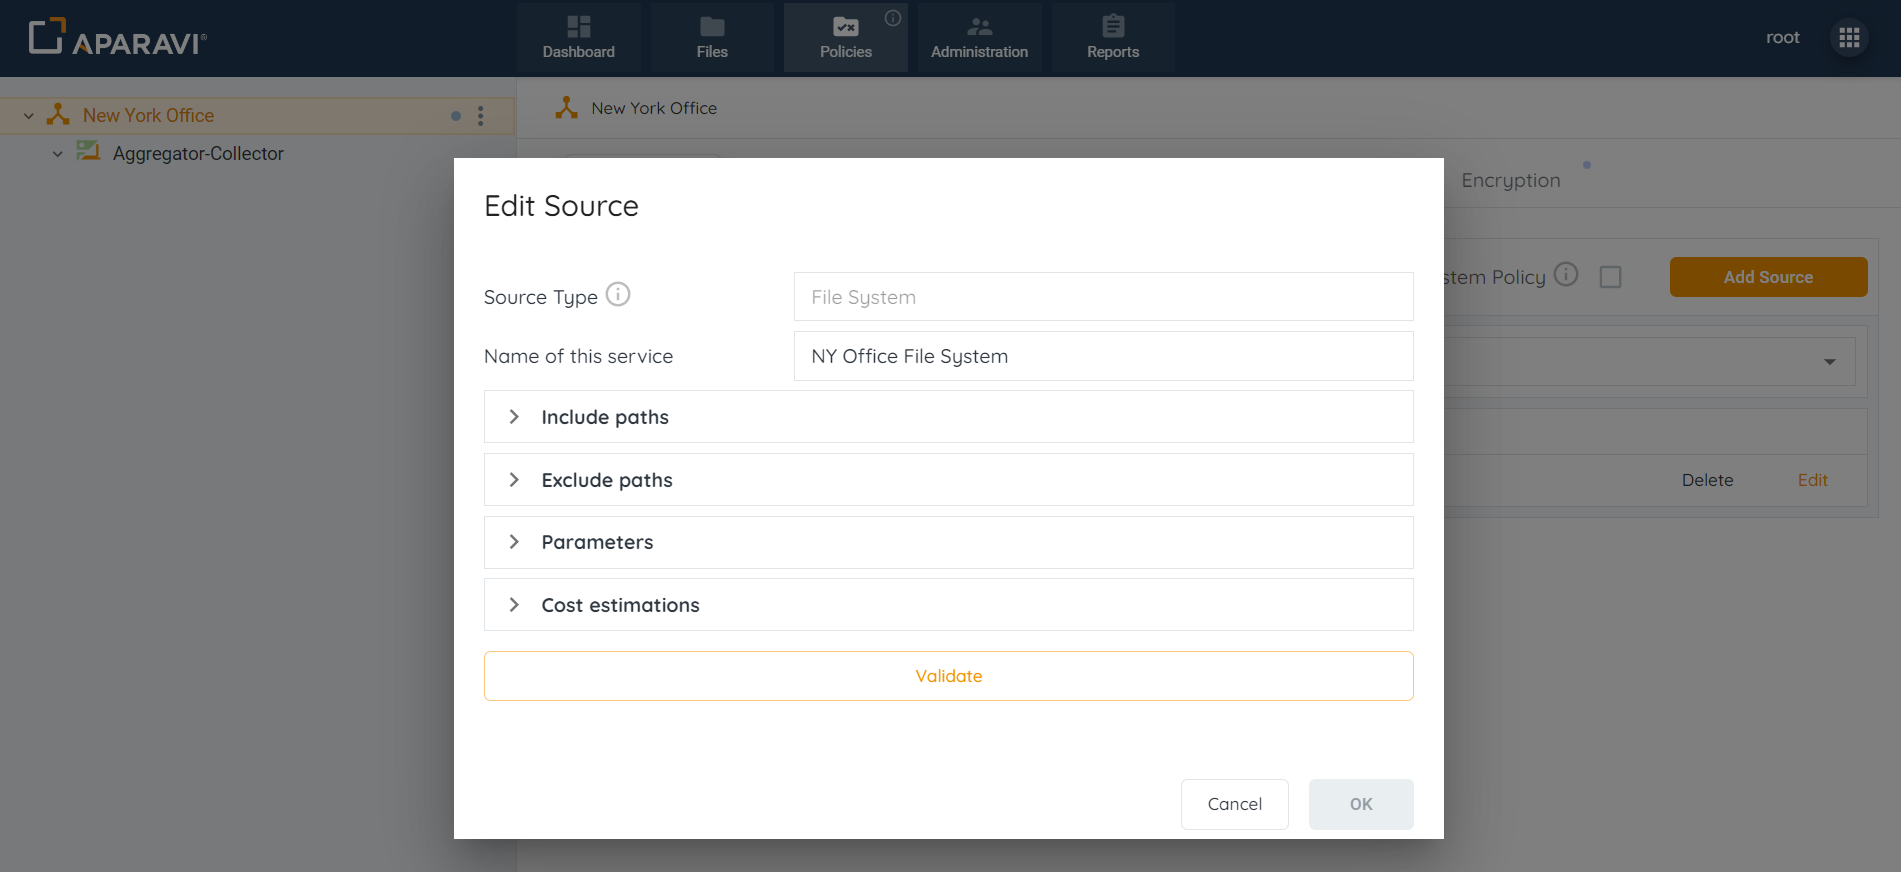
4. Once the sections within the Edit source pop-up box are updated, select the Validate button. If the validation was successful, the Ok button inside the pop-up box will become active.
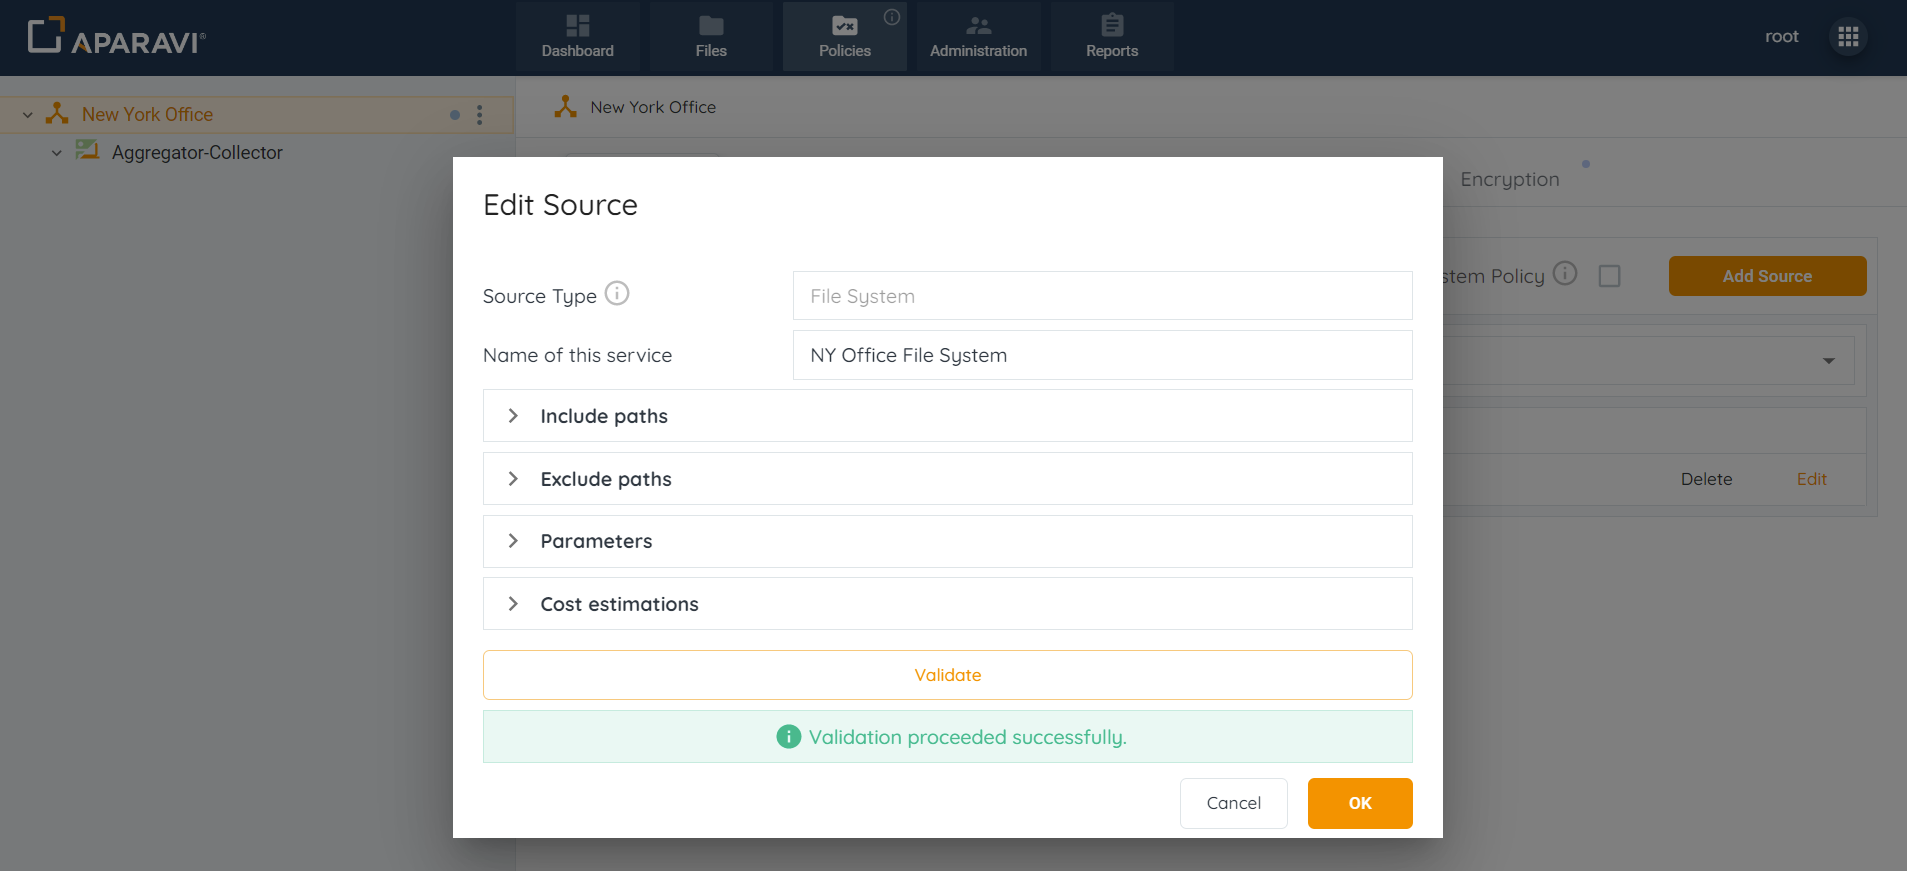
5. Click on the Ok button to save the changes.

6. Click on the Save All Changes button, in the bottom right-hand corner. Once clicked, a pop-up box will appear requesting to confirm all changes.
7. Click the Ok button to confirm the saved changes.
Once the File System source has been updated, the system will display an alert message and begin scanning using the updated source settings.
Deleting File System Sources
1. Click on the Policies tab. By default, the system will navigate to the Sources subtab.
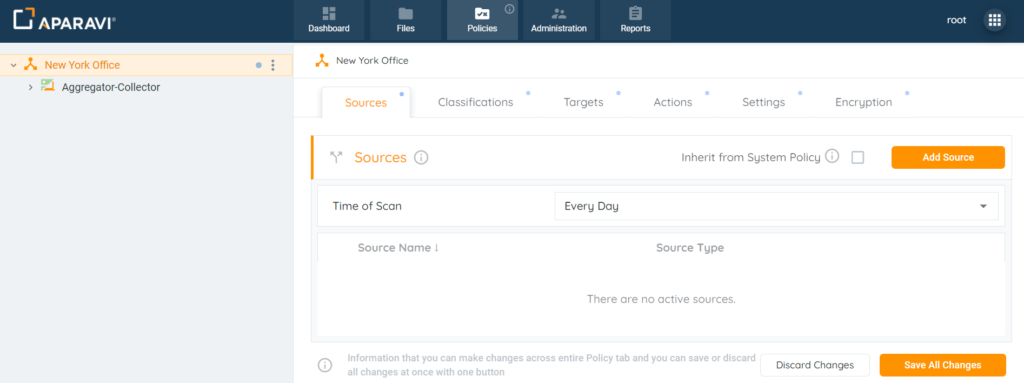
2. Click on the Delete button to the right of the configured File System source. Once selected, the source will disappear from the subtab.
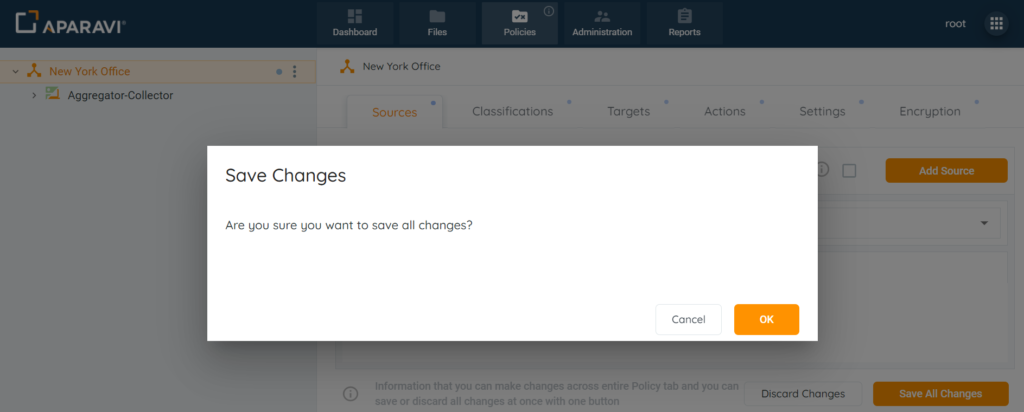
3. Click on the Save All Changes button, in the bottom right-hand corner. Once clicked, a pop-up box will appear requesting to confirm all changes.
4. Click the Ok button to confirm the saved changes.
From this point forward, the system will no longer scan from the File System source that was deleted.