How Can We Help?
Search for answers or browse our knowledge base.
Configuring Include & Exclude Paths
Include Paths
Adding Include Paths
Only folders and files included in the source’s include paths will be scanned by the system. The platform also offers the ability to customize which features should be enabled/disabled for each include path entered.
To Add an Include Path:
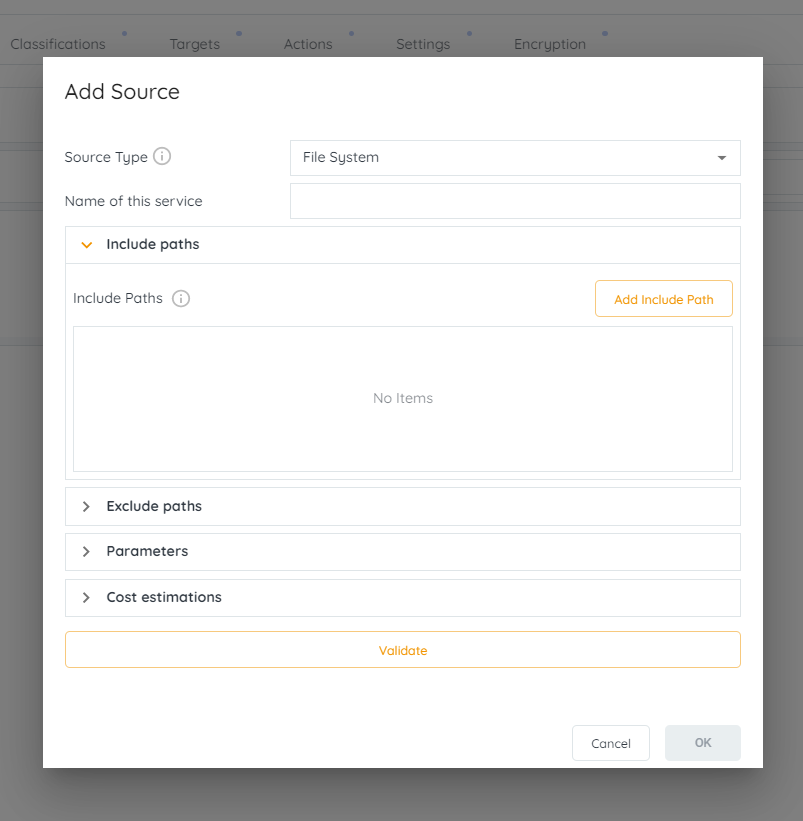
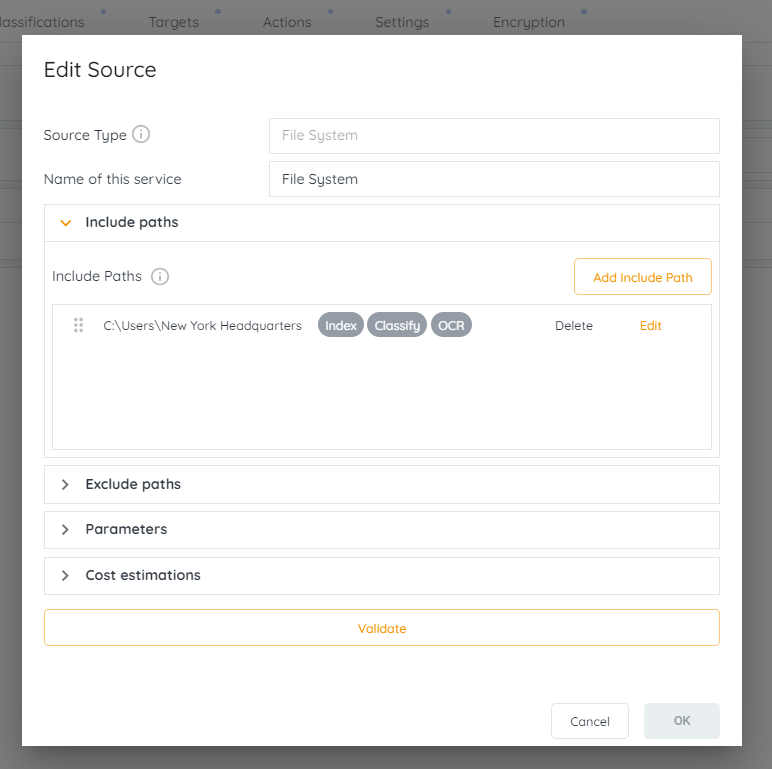
1. Click on the down facing arrow located to the left of the Include Paths section. Once clicked, the section will expand to offer additional fields.

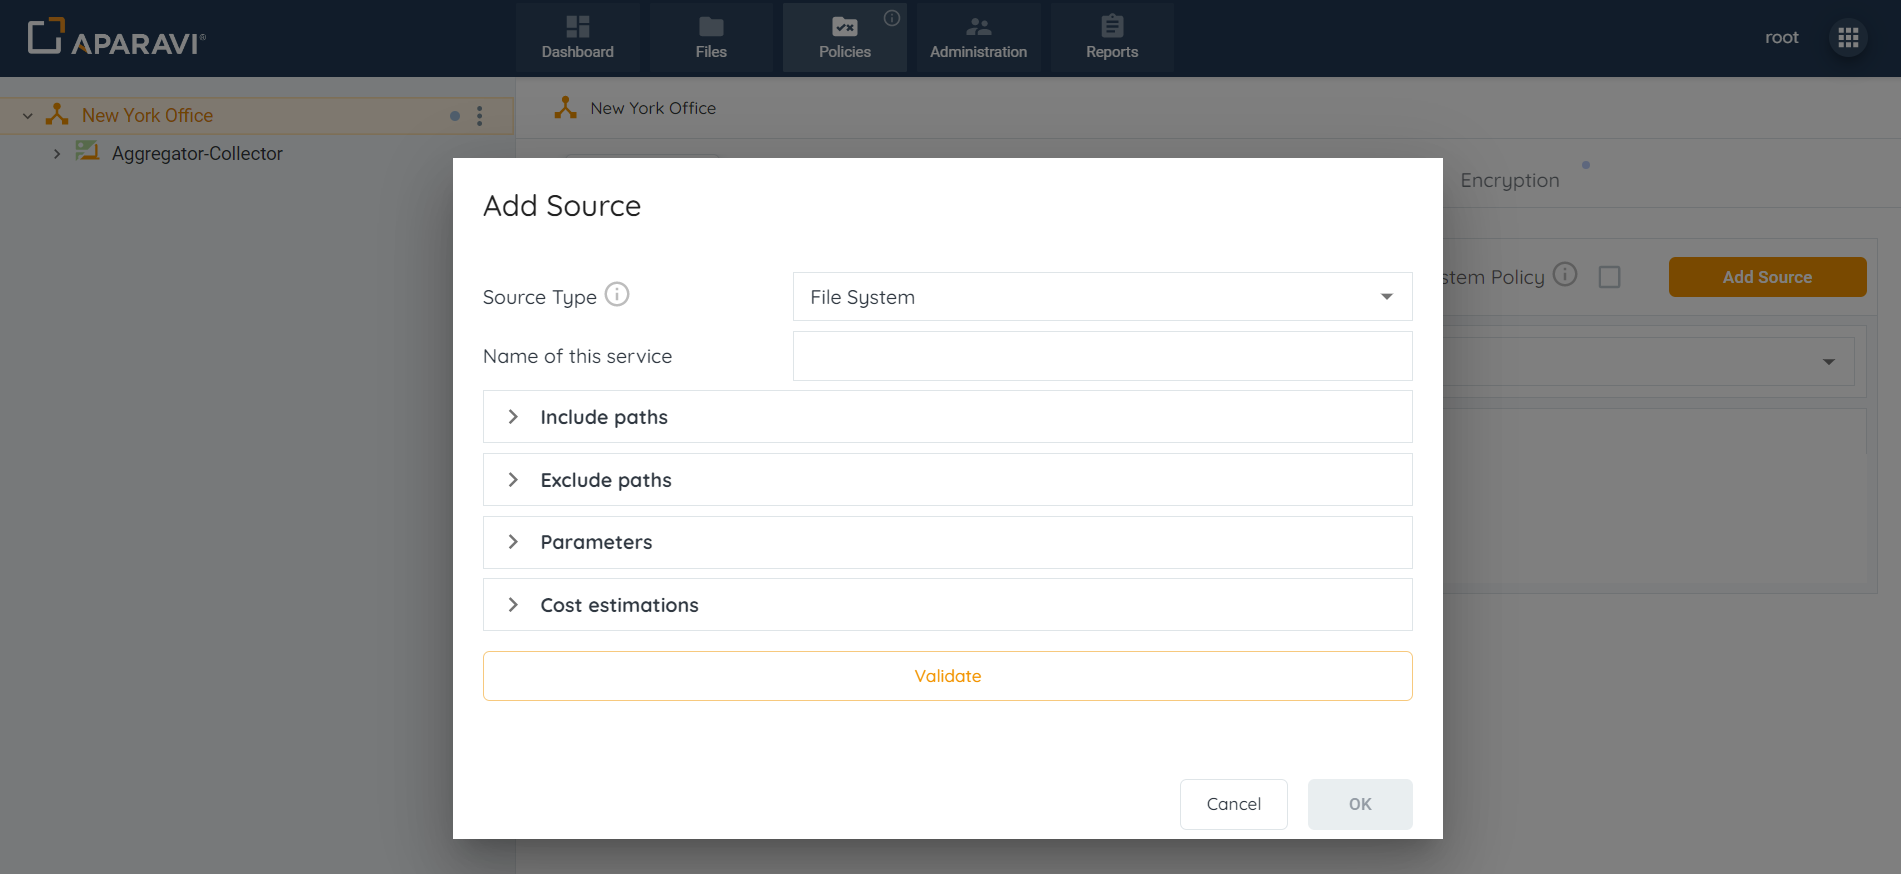
2. Click on the Add Include Path button. Once clicked the Add Include Path pop-up box will appear.
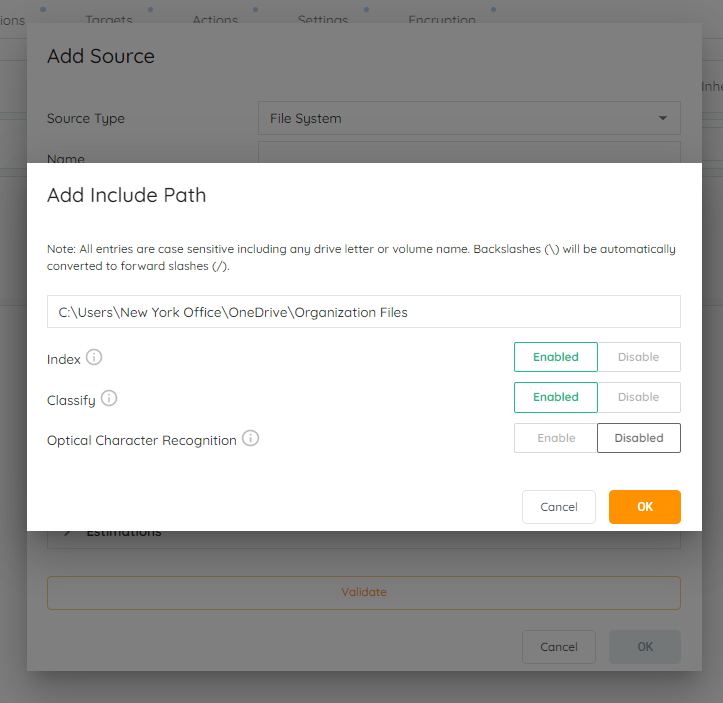
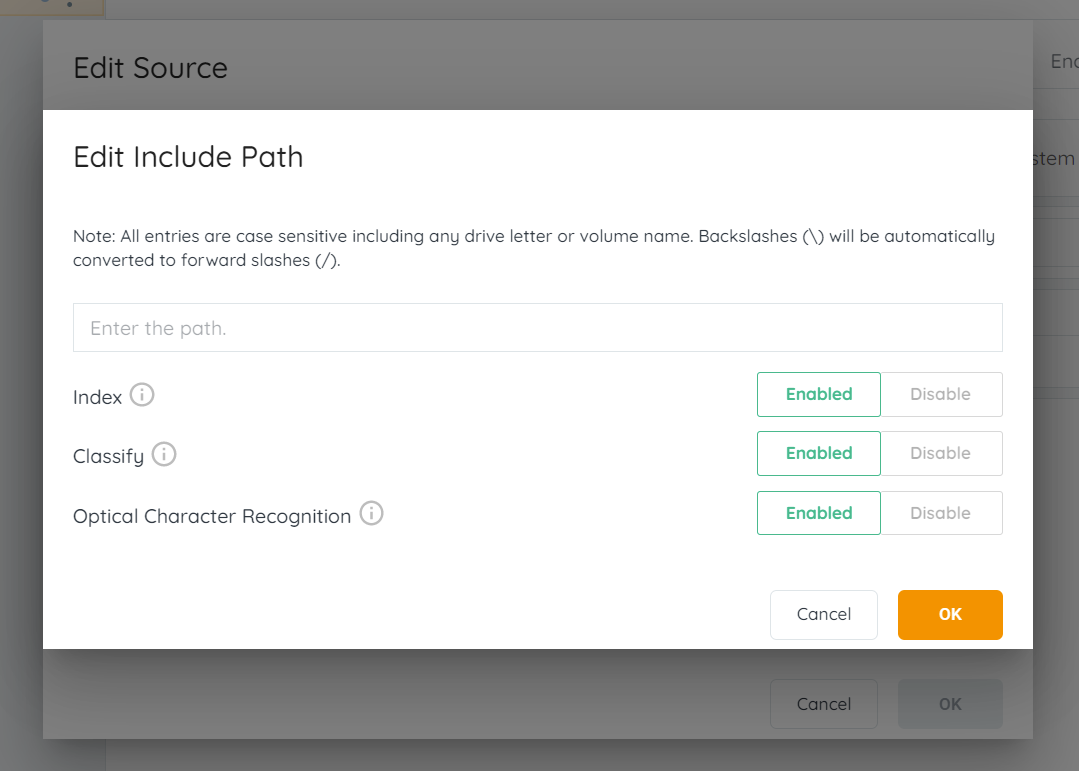
3. Enter the folder path that will be scanned by the system into the [Enter the Path] text field.
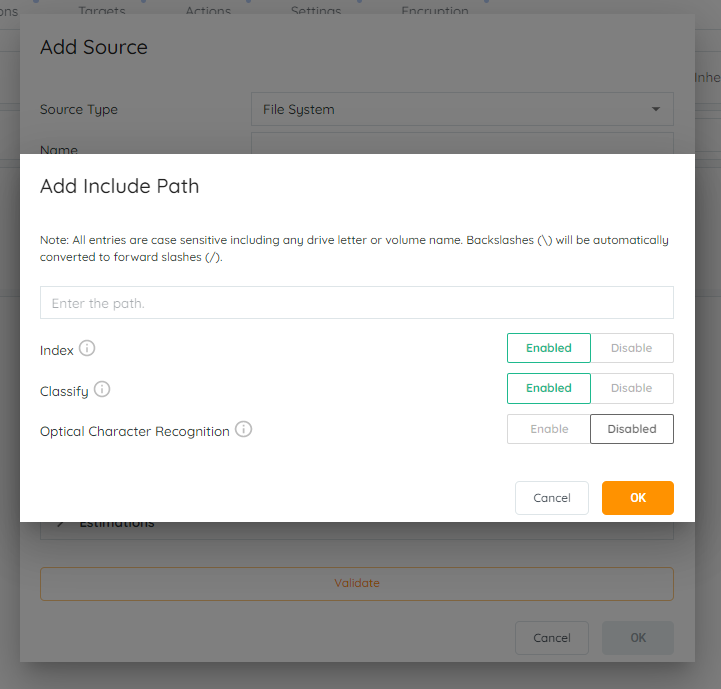
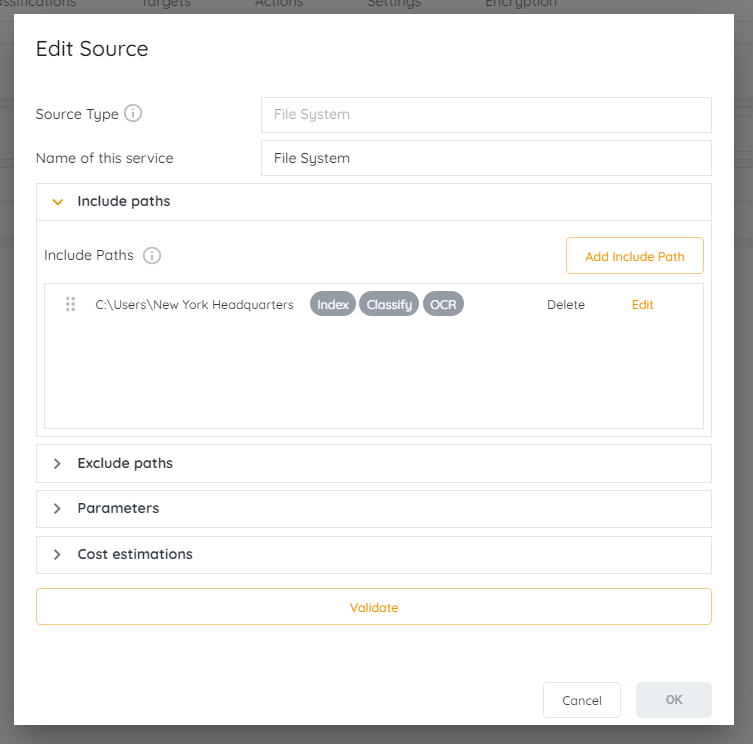
4. During the process of configuring the include path(s), the system offers the ability to select features depending on the preference. These file scanning attributes are disabled by default and the settings can be reversed by altering the selections before future scans.
Please Note: Index must be enabled before Classify or Optical Character Recognition (OCR) features can be selected.
- Index: allows for a full-text search of all scanned files and is utilized when performing file searches or query reports.
- Classify: once enabled, all files will be classified into one or more of the activated classification policies.
- Optical Character Recognition: enables the system to convert typed or handwritten letters found in images into text that can be extracted for use in classification and file searching.
- OCR is supported for the 5 languages below:
- English
- French
- Italian
- German
- Spanish
- OCR is supported for the 5 languages below:

Please Note: Optical Character Recognition (OCR) is required to be enabled during the first scan of the file system. The option to enable this feature and rescan existing files can only be achieved using the work around outlined below:
- Return to the source settings and disable the Index feature.
- Manually force a file scan to complete.
- Return to the source settings and reenabled the Index and OCR features.
- Manually force a file scan to complete.
At this point the OCR option should function correctly.
5. Once all settings have been configured for the include path, click the OK button located in the bottom right-hand side of the Add Include Path pop-up box to close it.
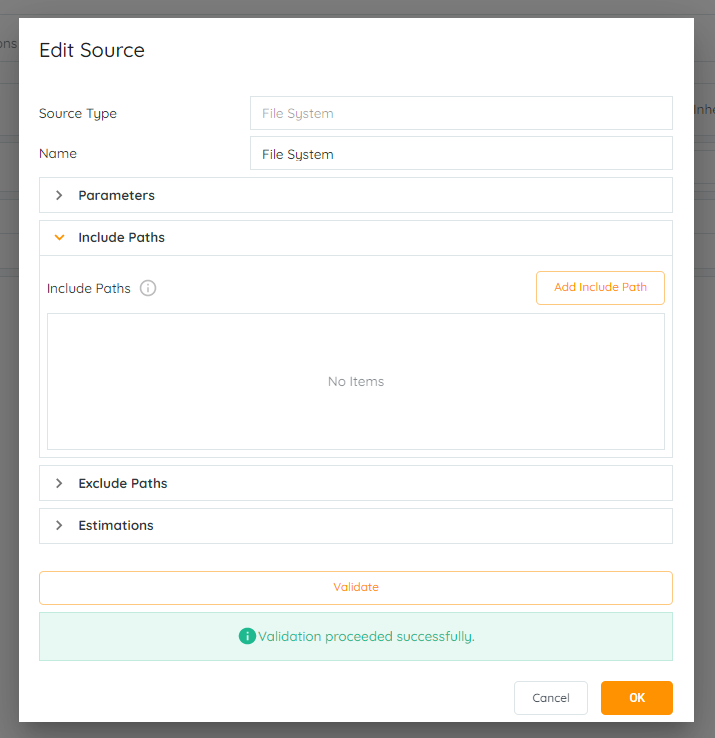
6. Click on the Validate button. The system will then validate the source and display a success or failure message. If the validation was successful then the Ok button located at the bottom right-hand side of the pop-up box will become active.
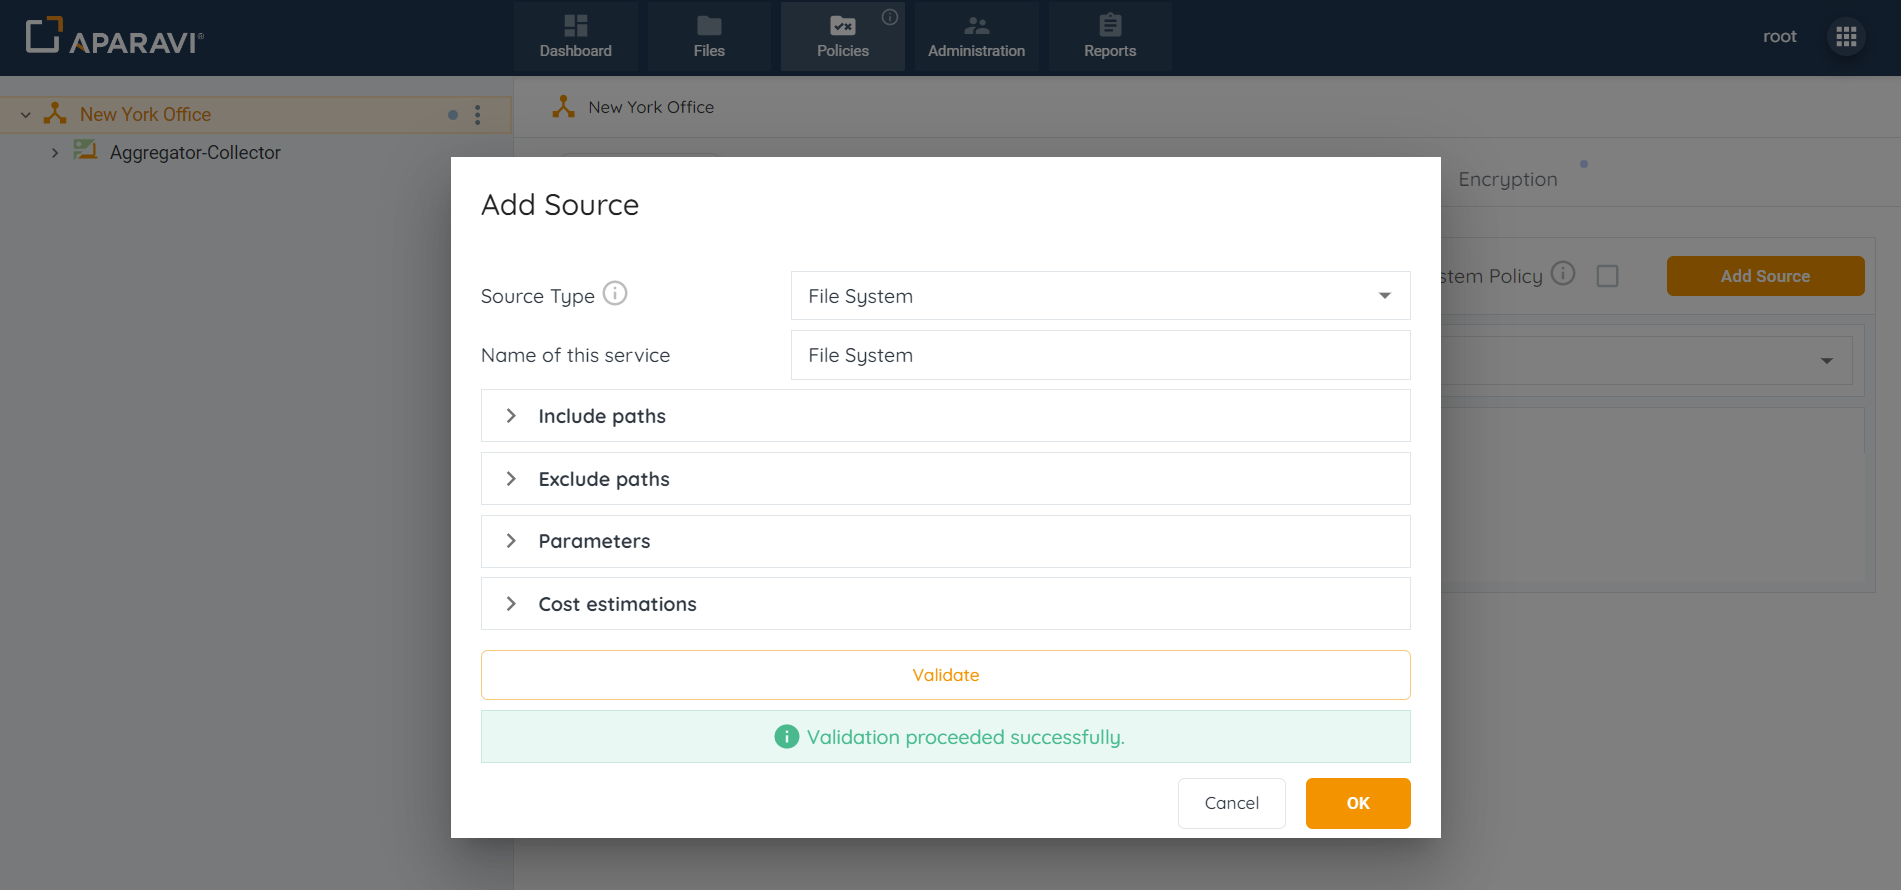
7. Click on the Ok button, located in the bottom right-hand side of the Add Source pop-up box.

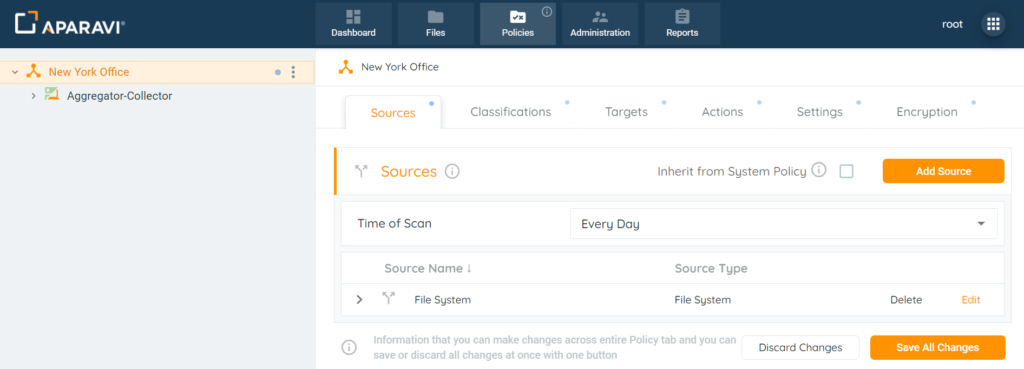
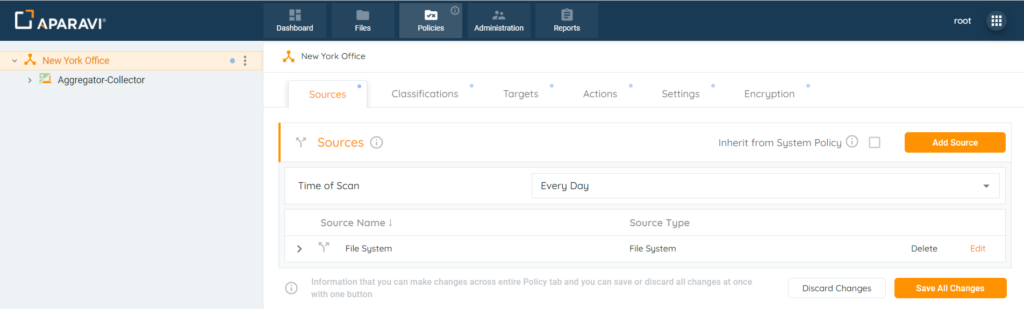
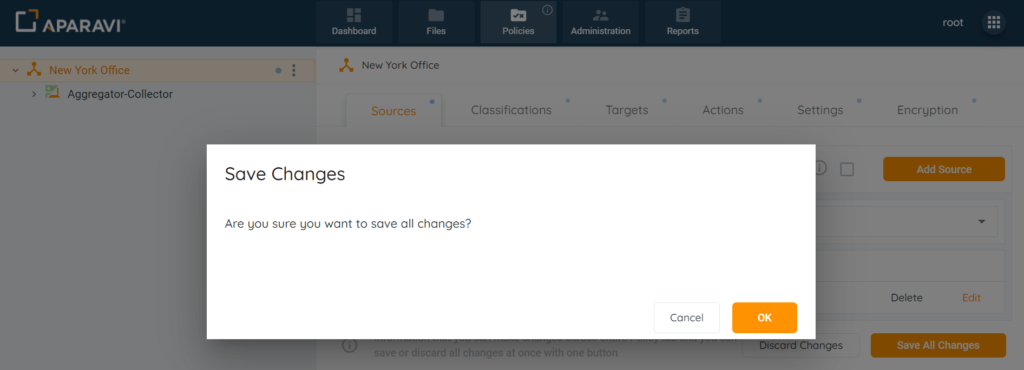
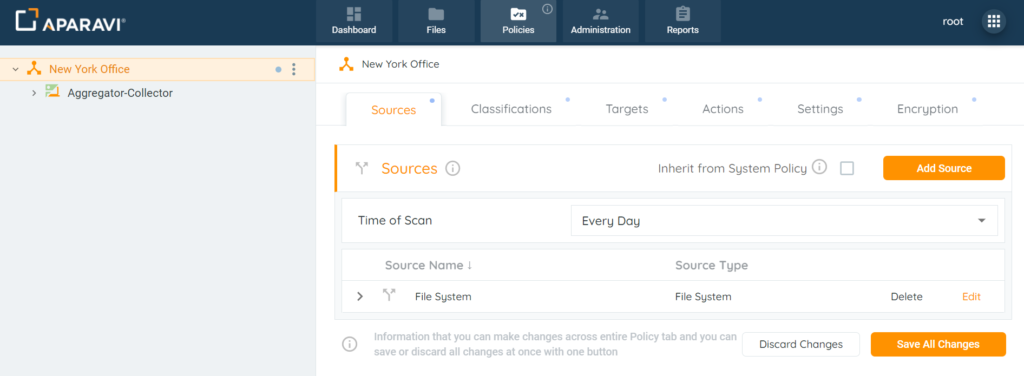
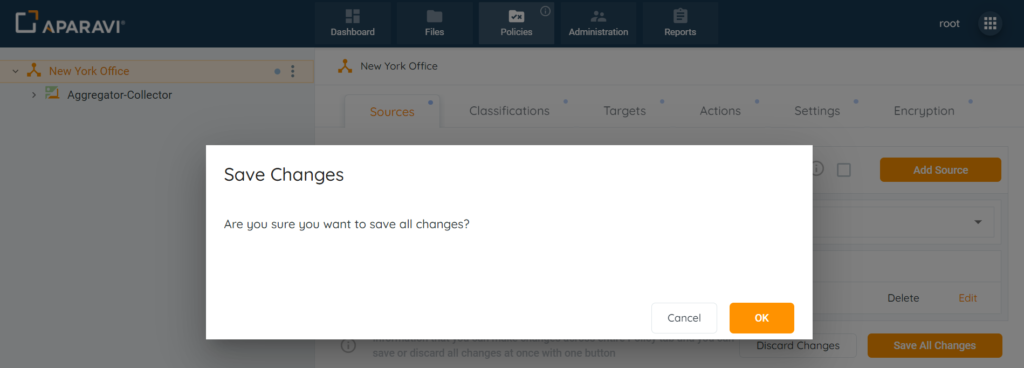
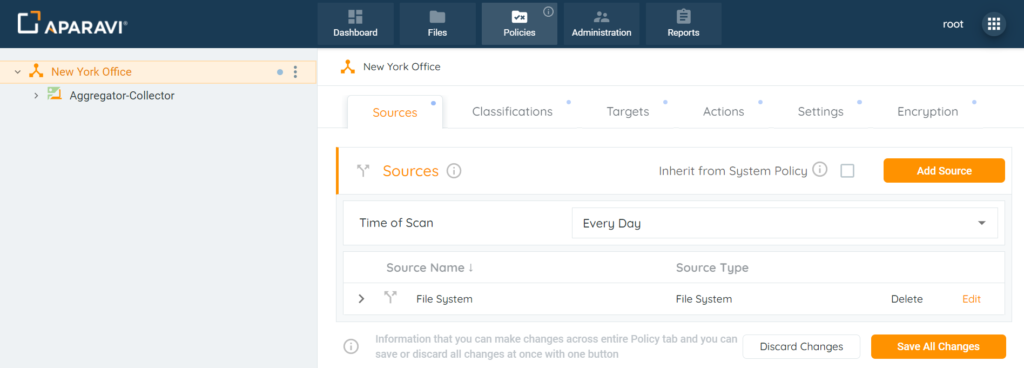
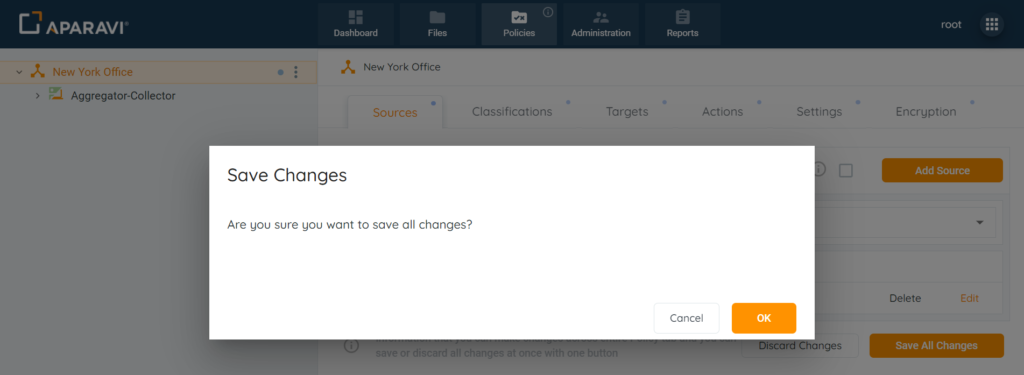
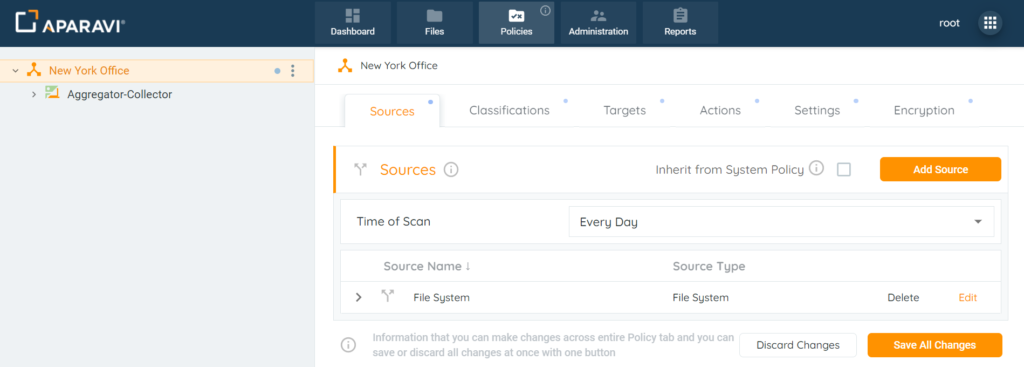
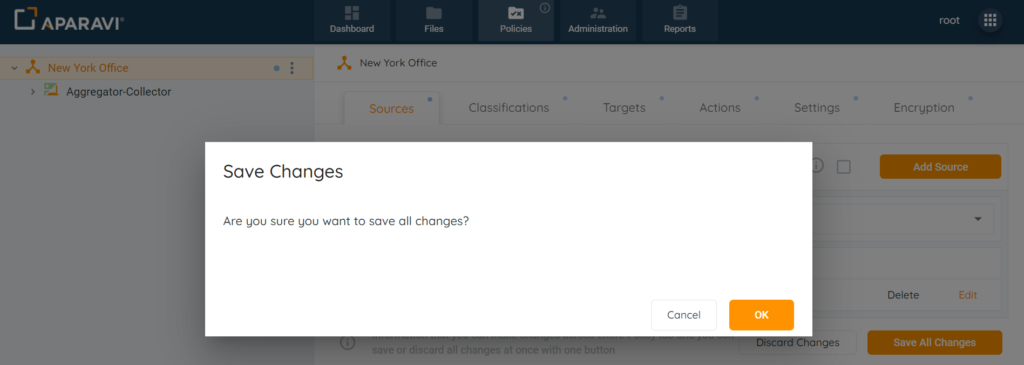
8. Click on the Save All Changes button, located in the bottom right-hand corner. Once clicked a pop-up box will appear requesting to confirm all changes.
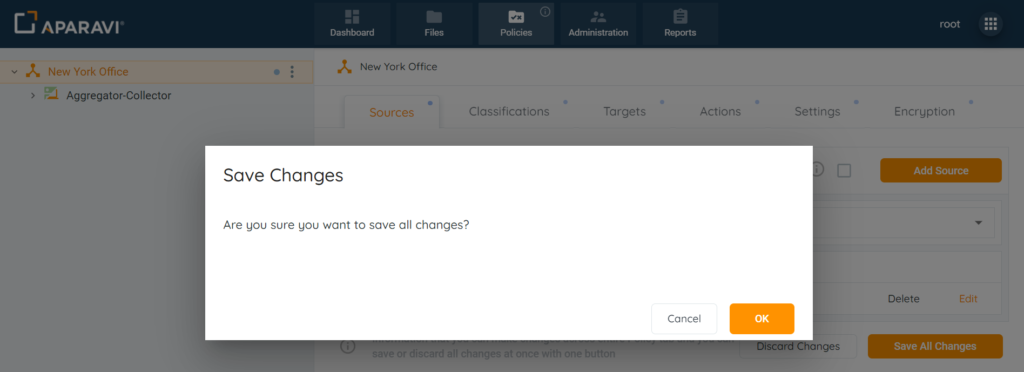
9. Click the Ok button, located in the bottom right-hand corner of the Save Changes pop-up box.
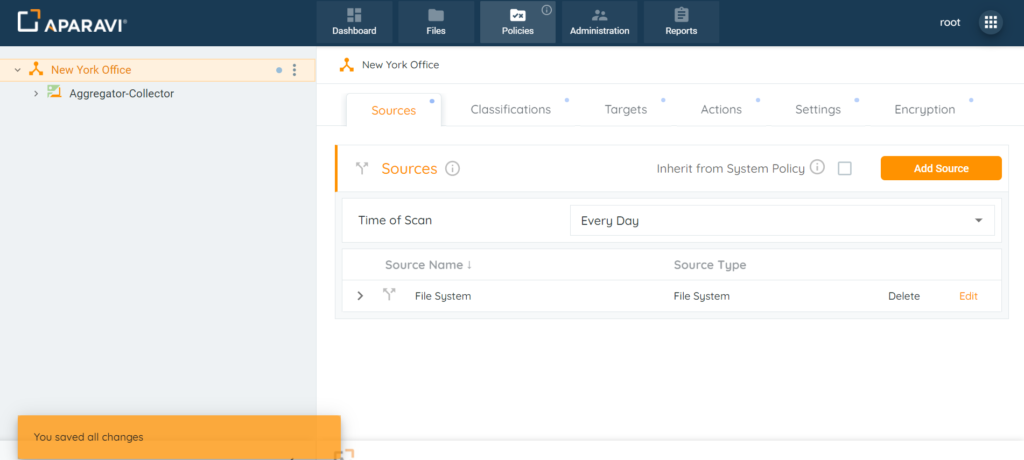
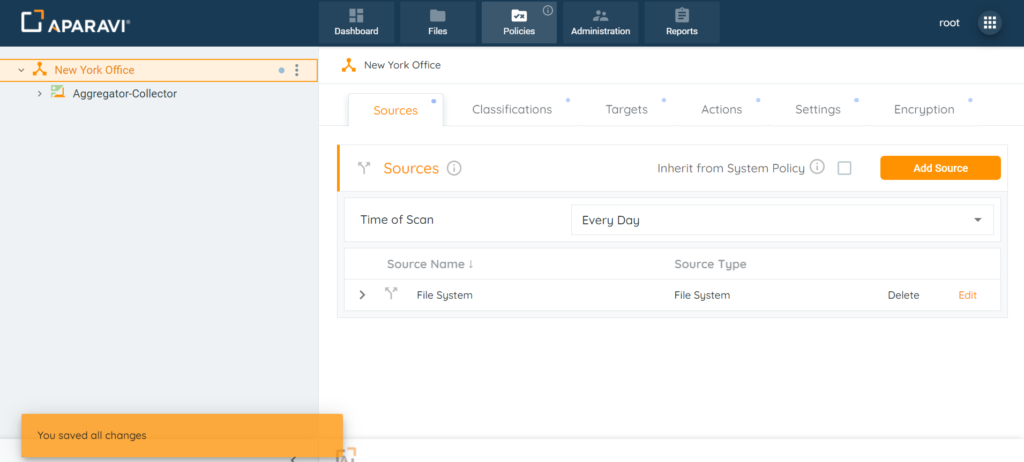
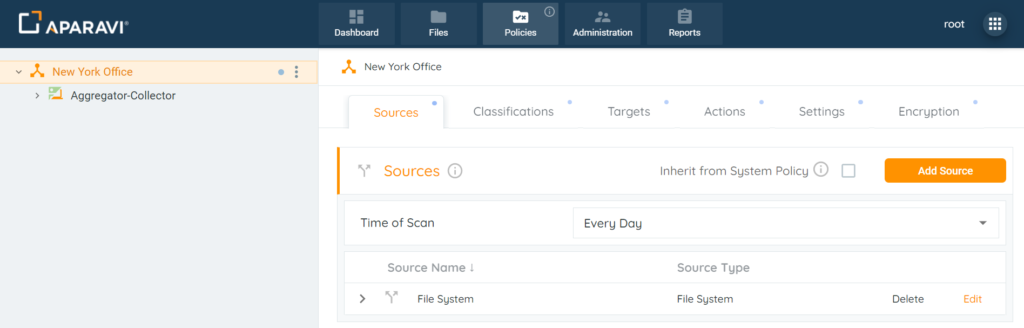
Once the changes have been configured, the system will display an alert message at the bottom left-hand side of the screen, to indicate that the changes have been saved. From this point forward the system will scan all folders and files within the path.
Editing Include Paths
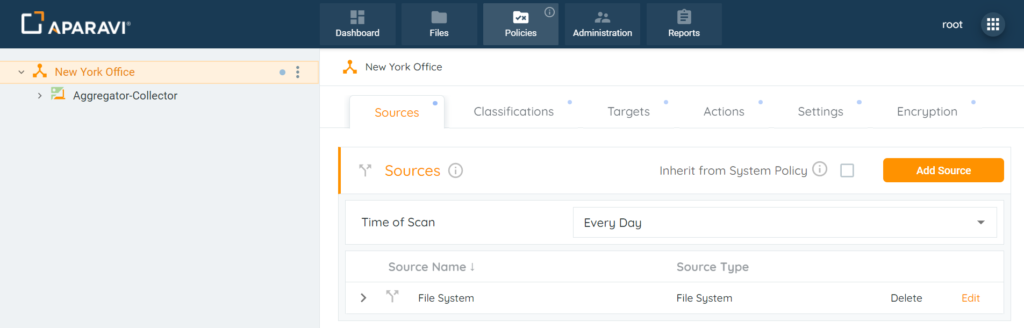
1. Click on the Policies tab, located in the top navigation menu.

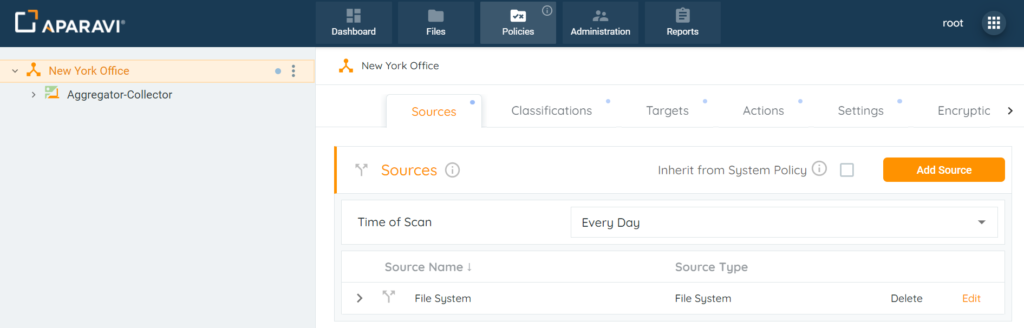
2. By default, the system will redirect to the Sources subtab.
3. Click on the Edit button located to the right-hand side of the configured source.
4. Inside the Edit Source pop-up box, click the Include Paths section to expand it.
5. Click on the Edit button, located to the right-hand side of the Include Path. Once clicked on, the Edit Include Path pop-up box will display.
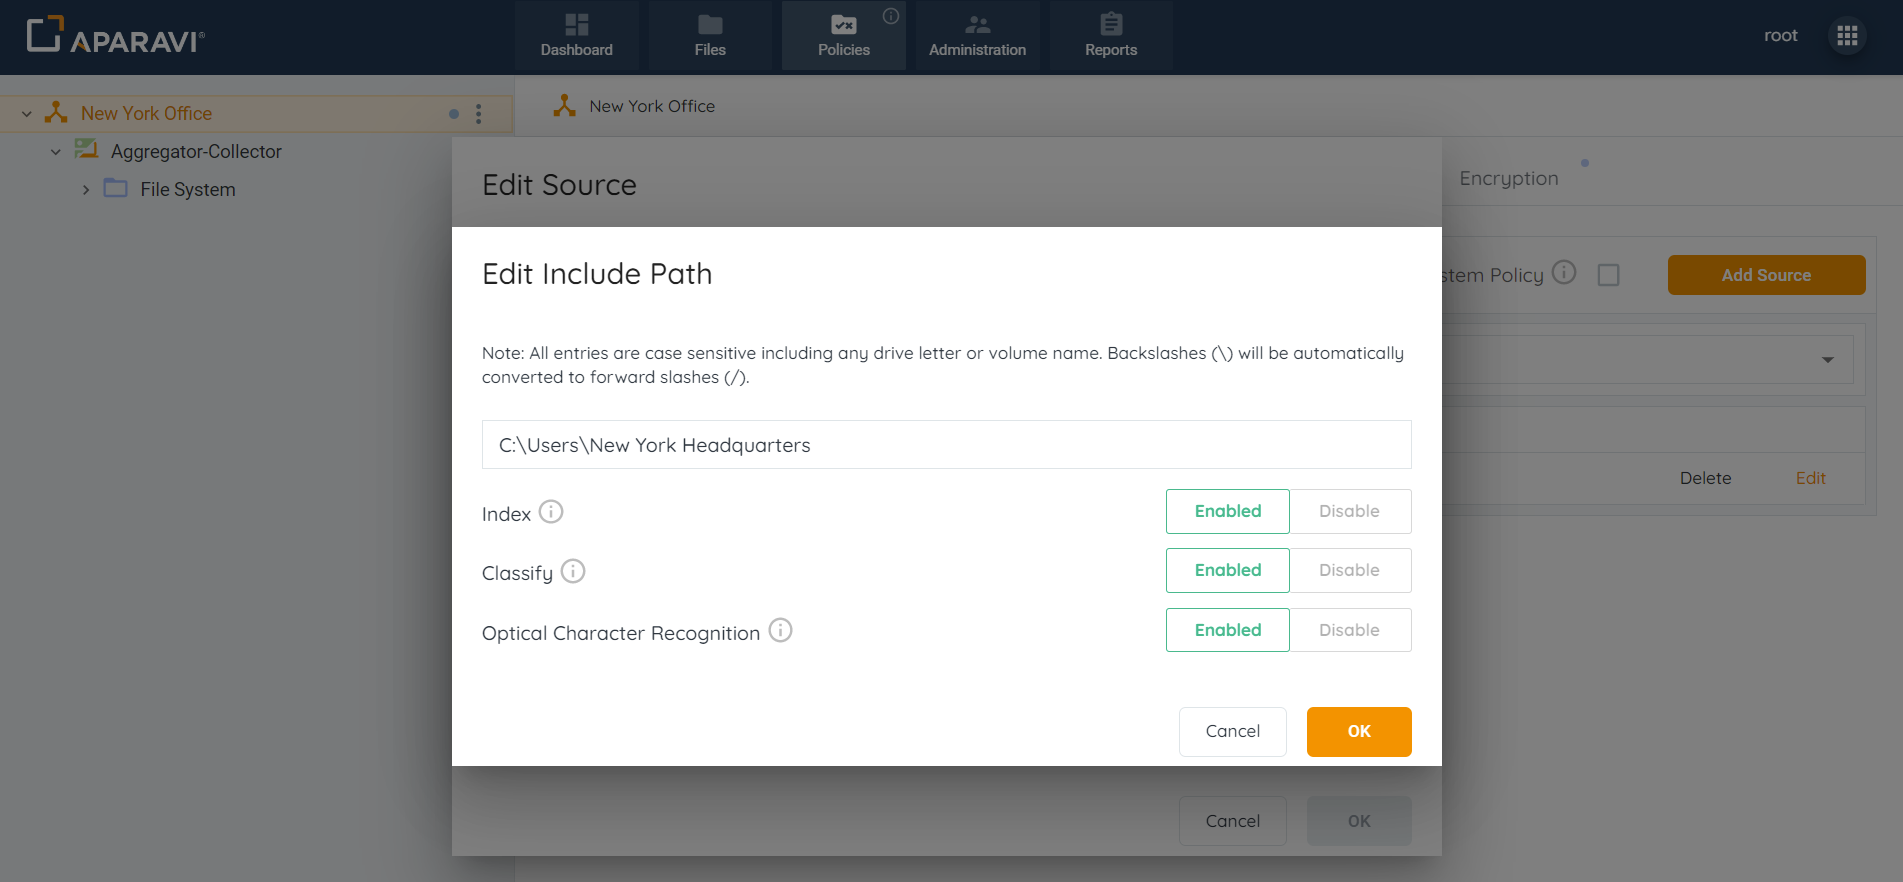
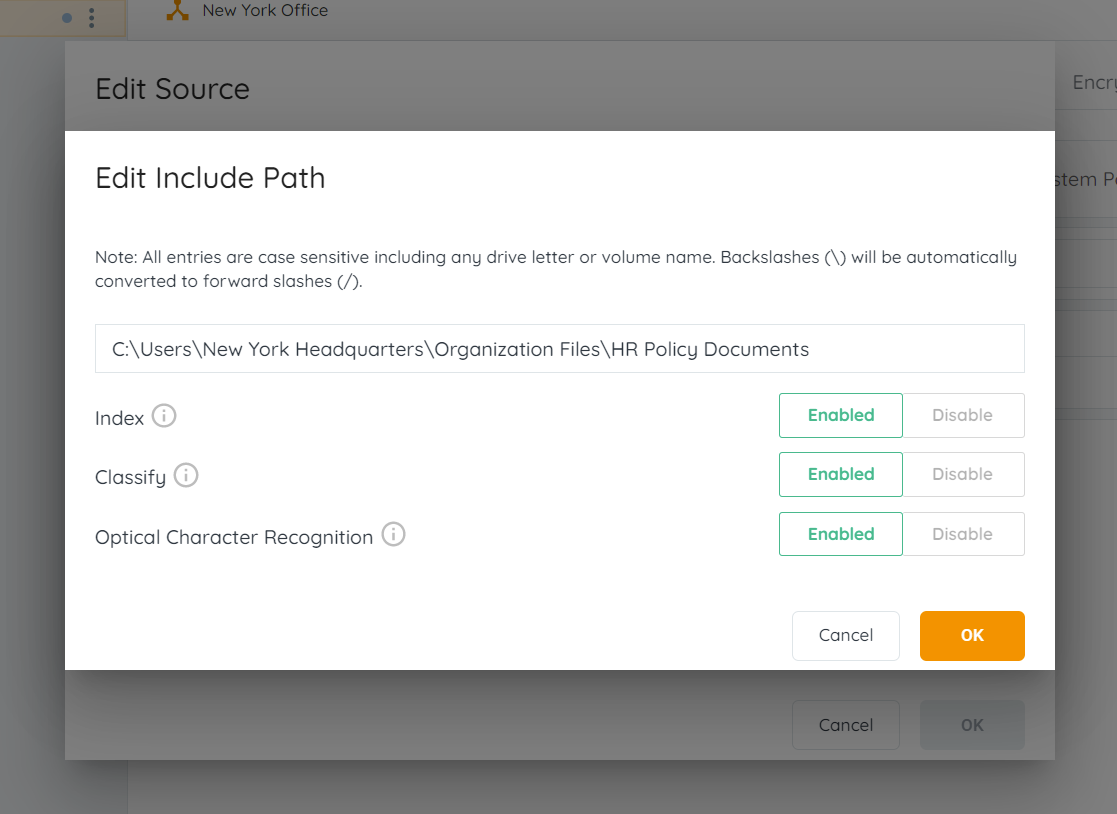
6. Delete the Include path currently entered into the pop-up box and then paste the new Include Path into the field.
7. Once the new Include Path has been changed, click on the Ok button, located in the bottom right-hand side of the pop-up box to save the changes.
8. Click on the Validate button, located at the bottom of the Edit Source pop-up box. Once the system has successfully validated the source, the Ok button will become active inside the Edit Source pop-up box. Click on it to apply all updated settings.

9. Click on the Save All Changes button, located in the bottom right-hand corner.
10. Click the Ok button, located in the bottom right-hand corner of the Save Changes pop-up box.
Once updated, the newly edited Include Path will be included in the configured source and will appear under the Include Paths section on the Sources pop-up box. The path that was removed will no longer scan the folders and files within it, and instead will begin scanning all folders and files from the new path entered.
Deleting Include Paths
1. Click on the Policies tab, located in the top navigation menu.
2. By default, the system will redirect to the Sources subtab.

3. Click on the Edit button located on the right-hand side of the configured source. Once clicked on, the Edit Source pop-up box will display the options that were configured when the Source was originally set up.

4. Inside the Edit Source pop-up box, click the down facing arrow to expand the Include Paths section. Once displaying, click on the Delete button to the right of the existing exclude path.
5. The system requires at least 1 include path to be entered. Click on the Add Include Path button and configure a new path for the platform to scan.
6. Click on the Save All Changes button, located in the bottom right-hand corner.
7. Click the Ok button, located in the bottom right-hand corner of the Save Changes pop-up box.
Once all changes have been saved, the system will no longer scan the folder path that was deleted.
Exclude Paths
Exclude Paths: If there are specific folders contained inside of the include paths section, these folders can be omitted from the scan by configuring an exclude path.
Please Note: This is an optional step that only needs to be performed if there are folders and files that need to be excluded from the scans.
Adding Exclude Paths
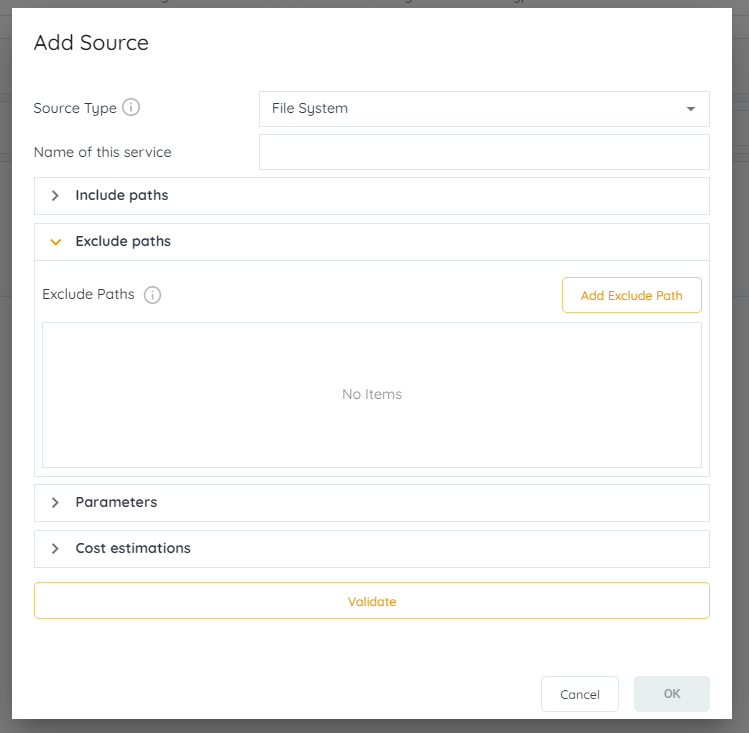
1. Click on the down facing arrow located to the left of the Exclude Paths section. Once clicked, the section will expand to offer additional fields.
2. Click on the Add Exclude Path button. Once clicked the Add Exclude Path pop-up box will appear.
3. Enter the folder path that should not be scanned by the system into the [Enter the Path] text field.
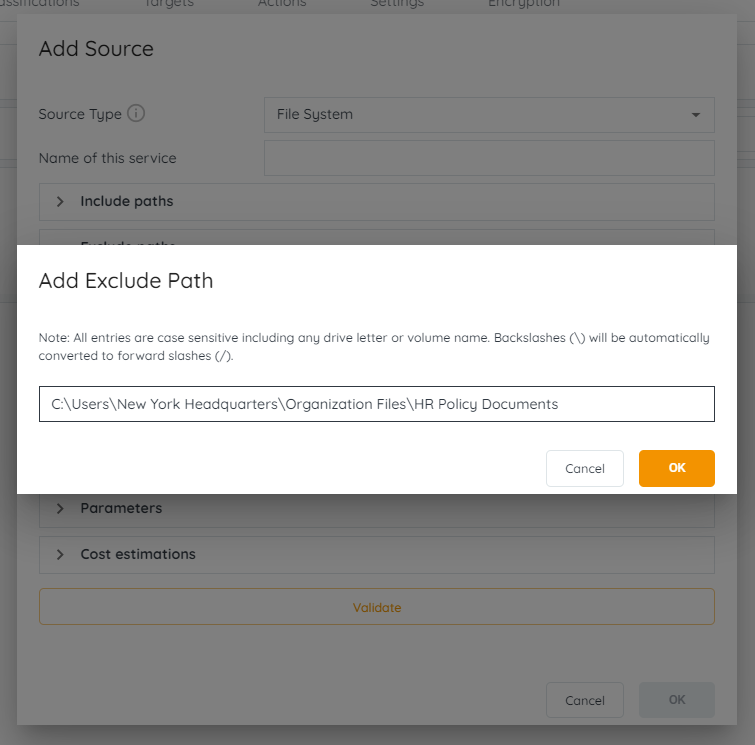
4. Click on the OK button inside of the Add Exclude Path pop-up box to close it.

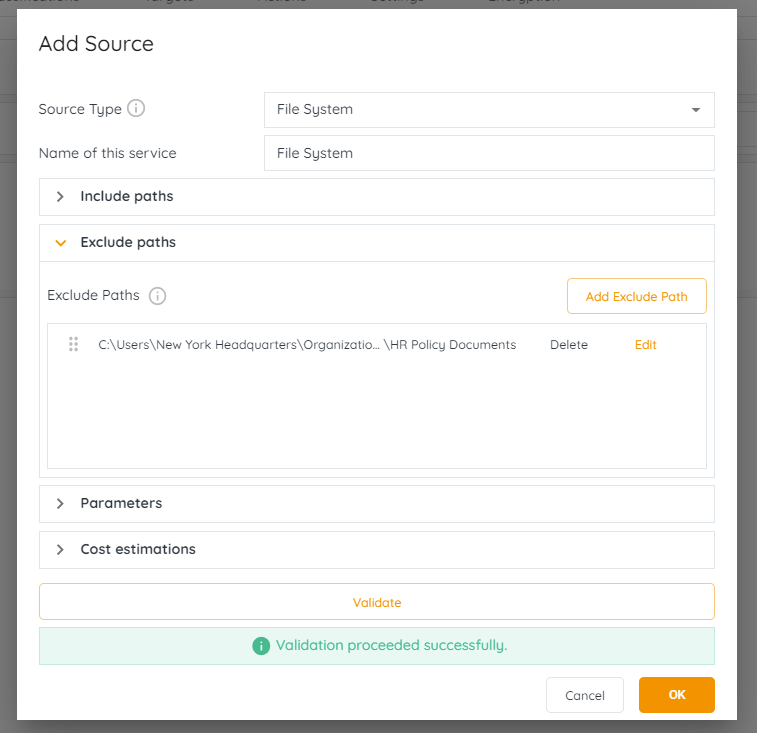
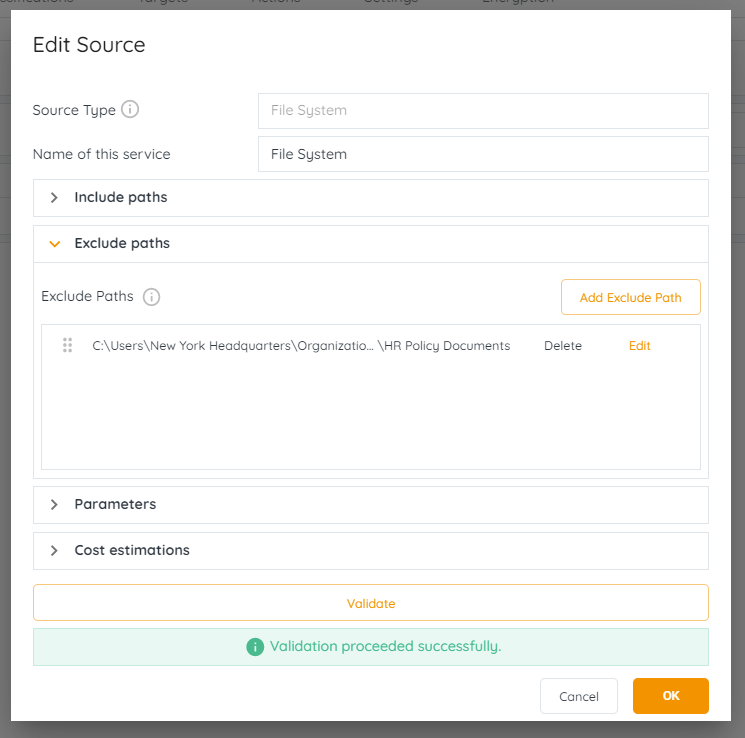
5. Click on the Validate button. The system will then validate the source and display a success or failure message. If the validation was successful then the Ok button located at the bottom right-hand side of the pop-up box will become active.

6. Click on the Ok button, located in the bottom right-hand side of the Add Source pop-up box.
7. Click on the Save All Changes button, located in the bottom right-hand corner. Once clicked a pop-up box will appear requesting to confirm all changes.
8. Click the Ok button, located in the bottom right-hand corner of the Save Changes pop-up box.
Once the changes have been configured, the system will display an alert message at the bottom left-hand side of the screen, to indicate that the changes have been saved. From this point forward the system will not scan any folders and files within the path.
Editing Exclude Paths
1. Click on the Policies tab, located in the top navigation menu.

2. By default, the system will redirect to the Sources subtab.

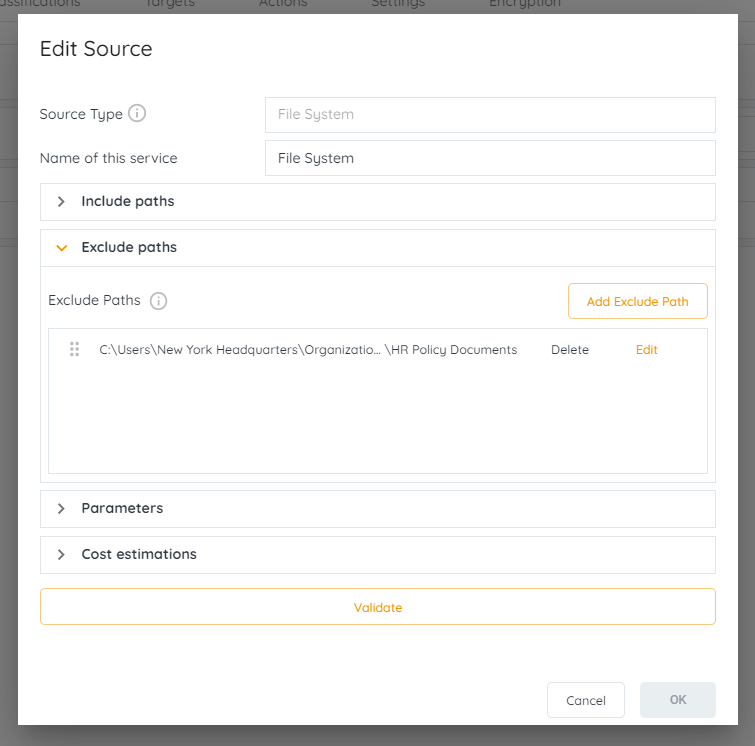
3. Click on the Edit button located to the right-hand side of the configured source. Once clicked, the Edit Source pop-up box will appear.

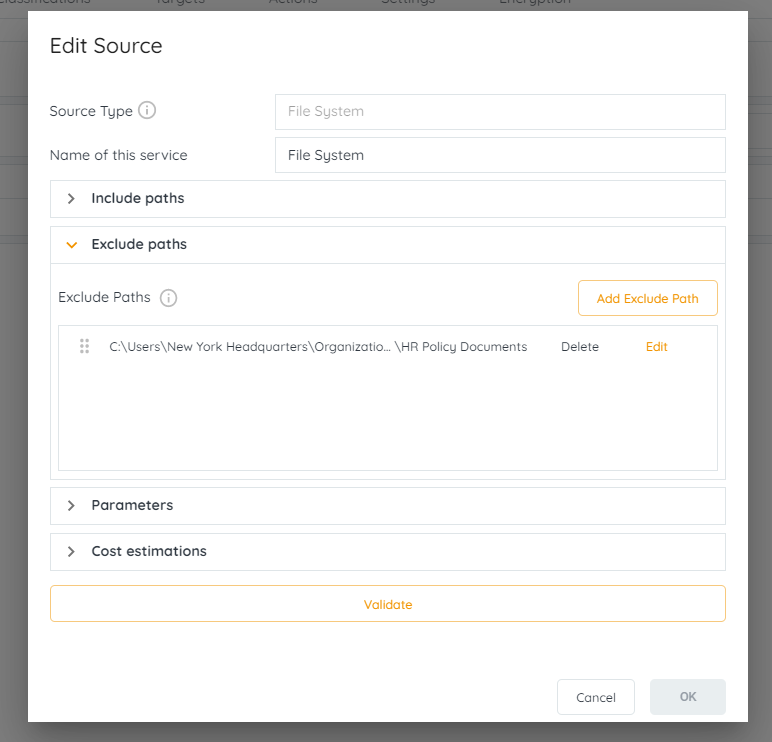
4. Inside the Edit Source pop-up box, click the down facing arrow to expand the Exclude Paths section. Once displaying, click on the Edit button to the right of the existing exclude path.
5. Delete the Exclude path currently entered into the pop-up box and then paste the new Exclude Path into the field.
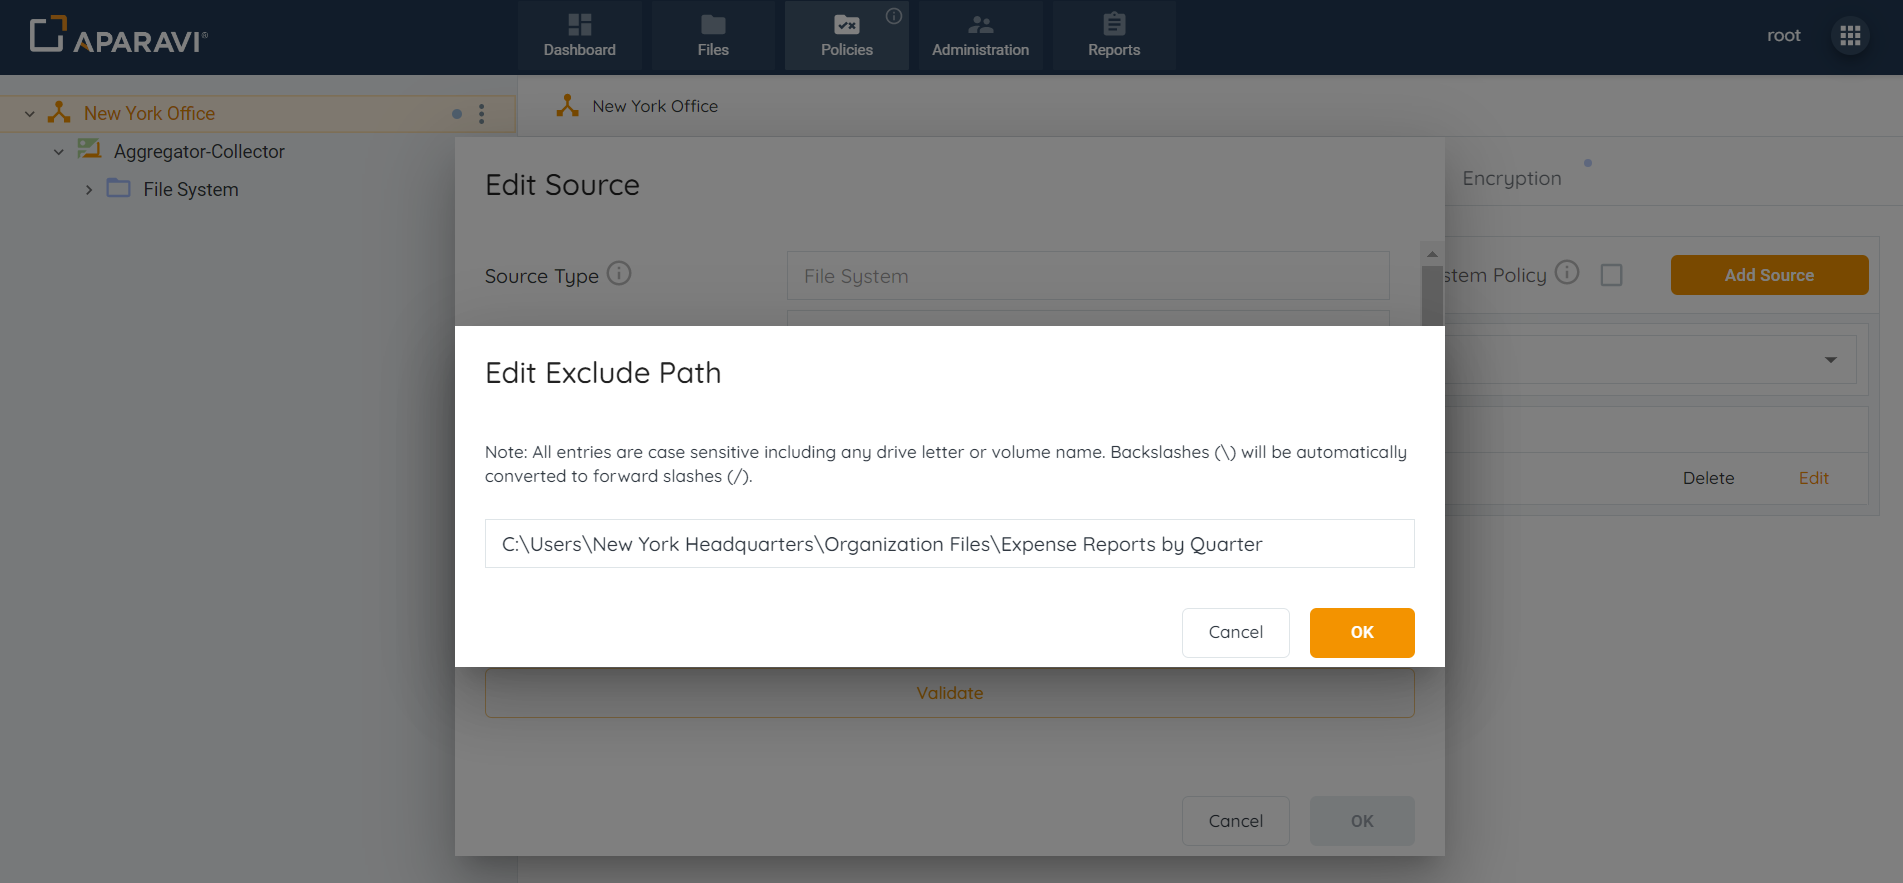
6. Once the new Exclude Path has been changed, click on the Ok button, located in the bottom right-hand side of the pop-up box to save the changes.

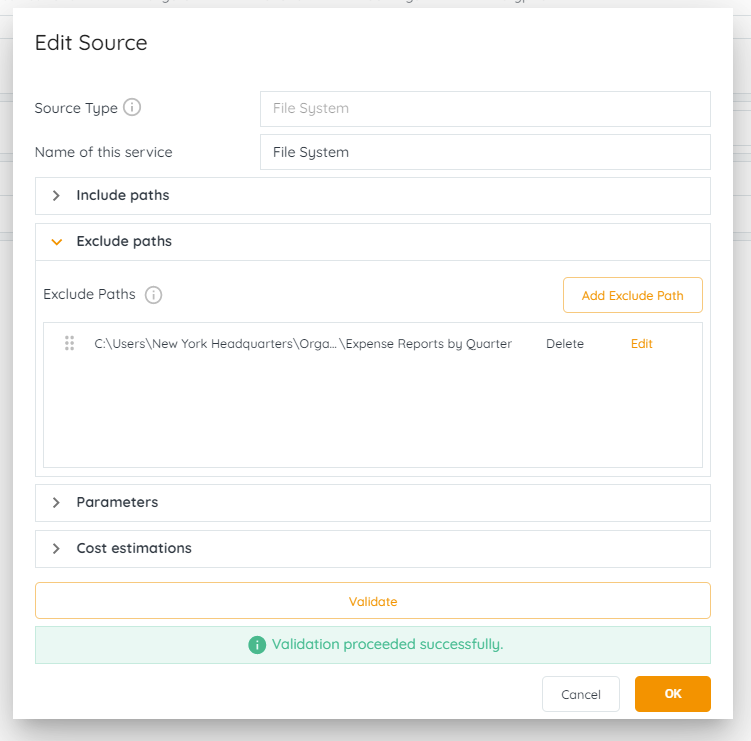
7. Click on the Validate button. Once the system has successfully validated the changes, the Ok button will turn orange to indicate that it is active. Click the OK button to close the Edit Source pop-up box.
8. Click on the Save All Changes button, located in the bottom right-hand corner.
9. Click the Ok button, located in the bottom right-hand corner of the Save Changes pop-up box.
Once updated, the newly edited Exclude Path will be included in the configured source and will appear under the Exclude Paths section on the Sources pop-up box. The path that was removed will no longer omit the folders and files for scanning and instead will begin omitting all folders and files from scanning located inside the exclude path entered.

Deleting Exclude Paths
1. Click on the Policies tab, located in the top navigation menu.

2. By default, the system will redirect to the Sources subtab.

3. Click on the Edit button, located to the right-hand side of the source. Once clicked, the Edit Source pop-up box will appear.

4. Click on the down facing arrow to the left-hand side of the Exclude Paths section. This will expand the section and display all existing exclude paths entered.

5. Click on the Delete button located to the right-hand side of the exclude path that should be removed. Once clicked, the exclude path will disappear from the Exclude paths section.
6. Once the exclude path has been deleted, click on the Validate button. The system will then validate the credentials entered and display a success or failure message. If the validation was successful then the OK button, located at the bottom right-hand side of the pop-up box will become active.
7. Click on the Save All Changes button, located in the bottom right-hand corner.
8. Click the Ok button, located in the bottom right-hand corner of the Save Changes pop-up box.
Once deleted, the system will no longer omit the deleted exclude path that was removed from scanning.