How Can We Help?
Search for answers or browse our knowledge base.
Exporting Report Results to PDF or Excel Files
Purpose
Once the query has been completed, the report can be exported to a PDF file or Microsoft Excel File.
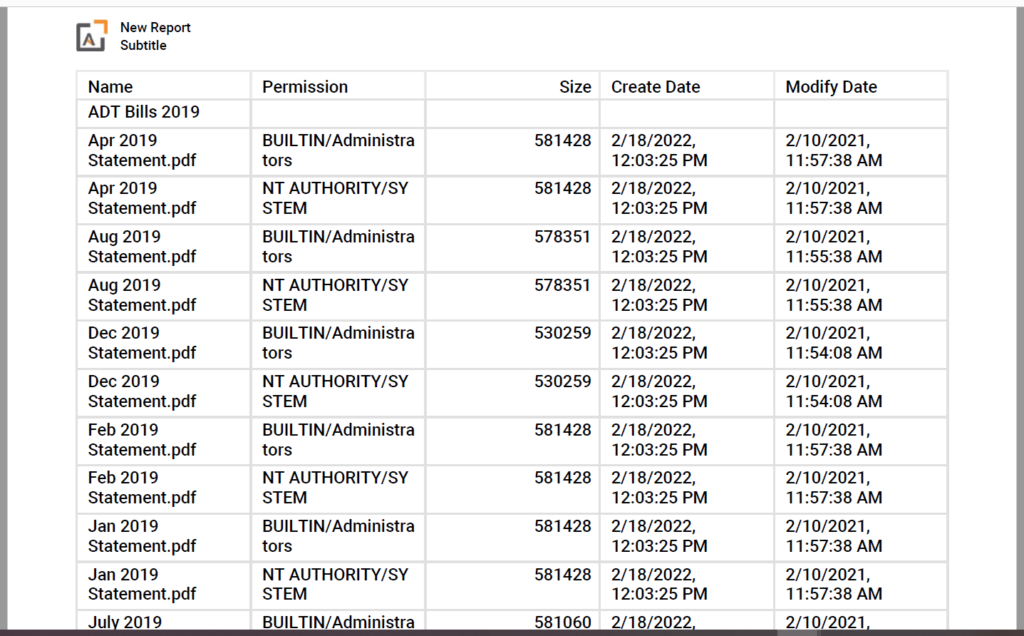
Please Note: This export feature will not export the actual files in the system. Instead it will export a list of files and the data of the chosen fields that were selected during the creation of the query.
1. Create a new query report or run an existing saved report.
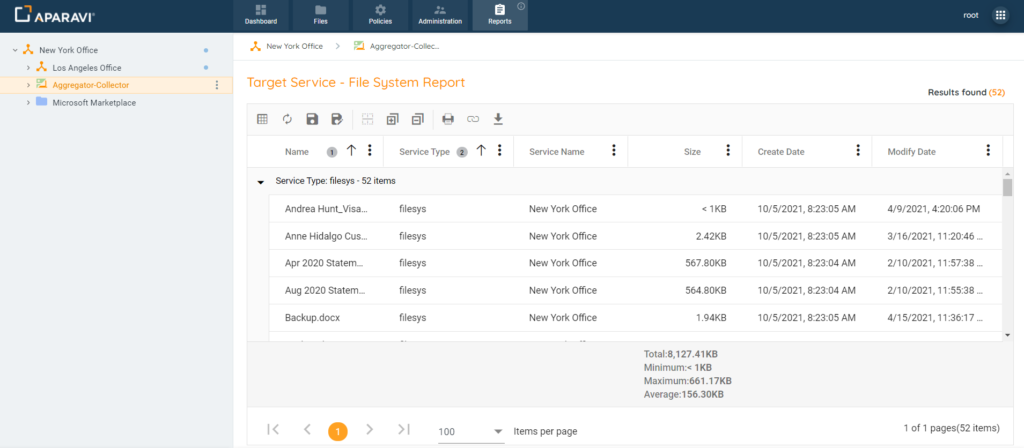
2. Directly above the query results, click on the export button, located on the left-side of the screen, this button’s icon is displayed as a down facing arrow.

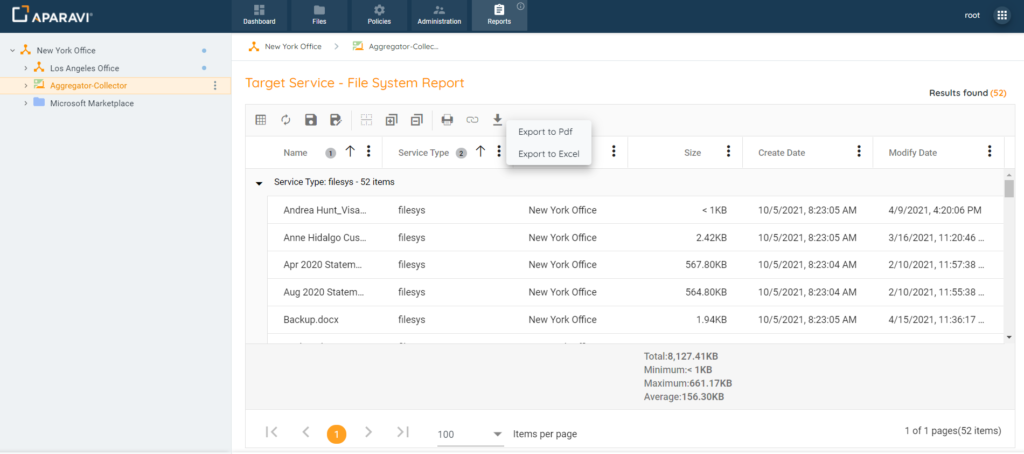
3. Click on either options that displays when the export button is clicked: (1) Export to PDF or (2) Export to Excel.
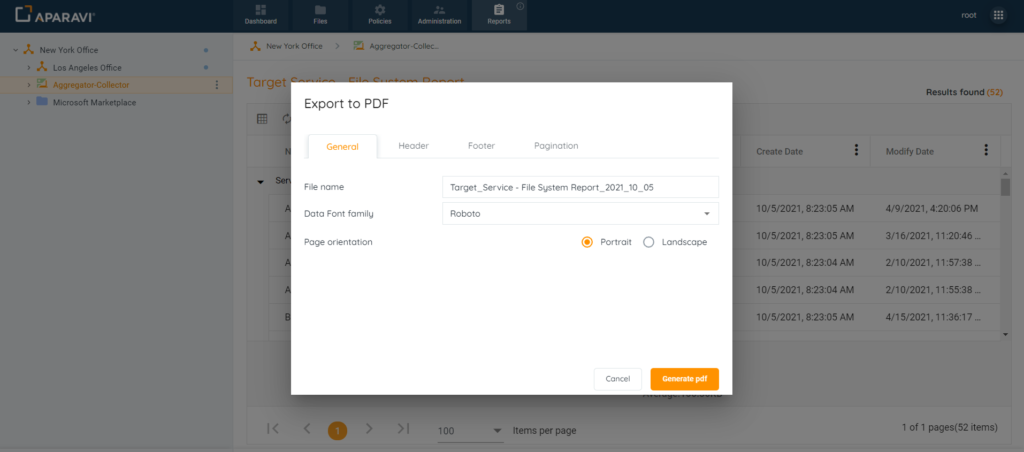
4. Regardless of which option was selected, a pop-up box will appear that offers the ability to customize the export, such as renaming the exported file’s name.
- If Export to PDF is selected, the pop-up box will include the following customization options
• If Export to Excel is selected, the pop-up box will include the following customization options
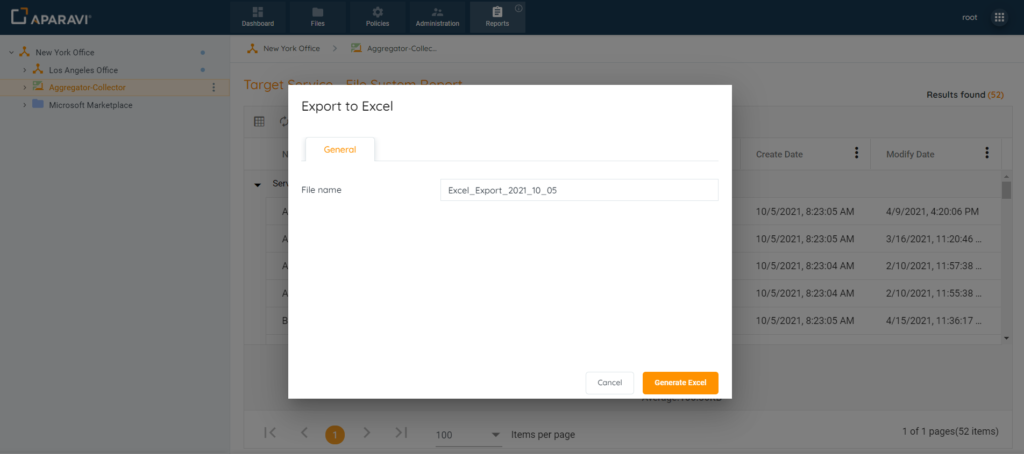
5. After customizing the export options, inside the export pop-up box, click on the Generate PDF or Generate Excel button, located at the bottom right-hand side of the pop-up box. Once this button is clicked, the pop-up box will disappear, and the exported file will begin to download.
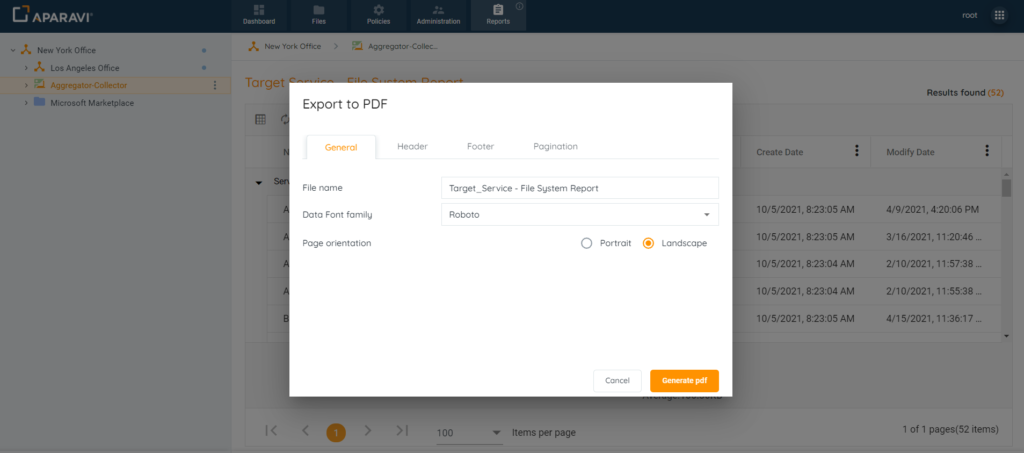
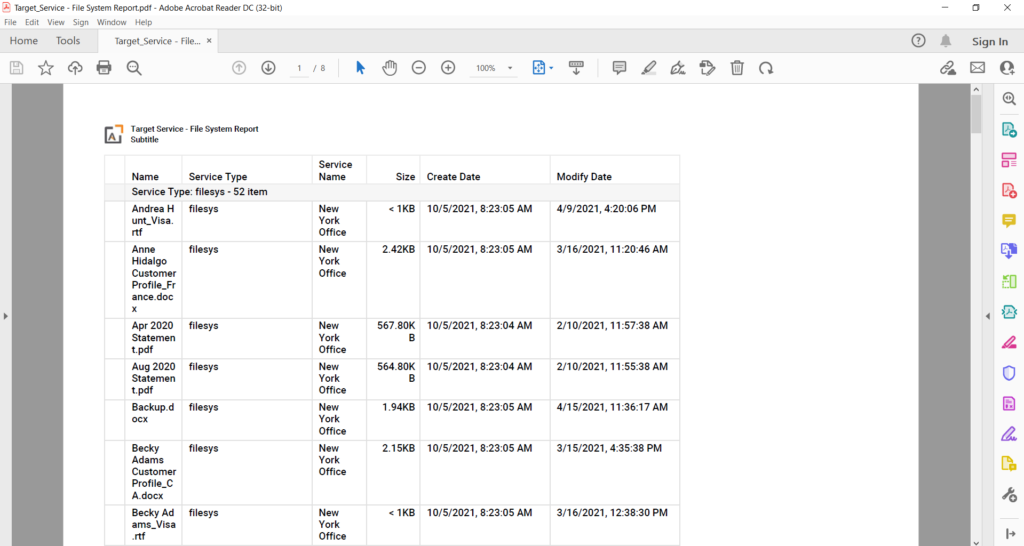
6. Search the local host computer’s downloads folder, and double click on the exported file to open it.
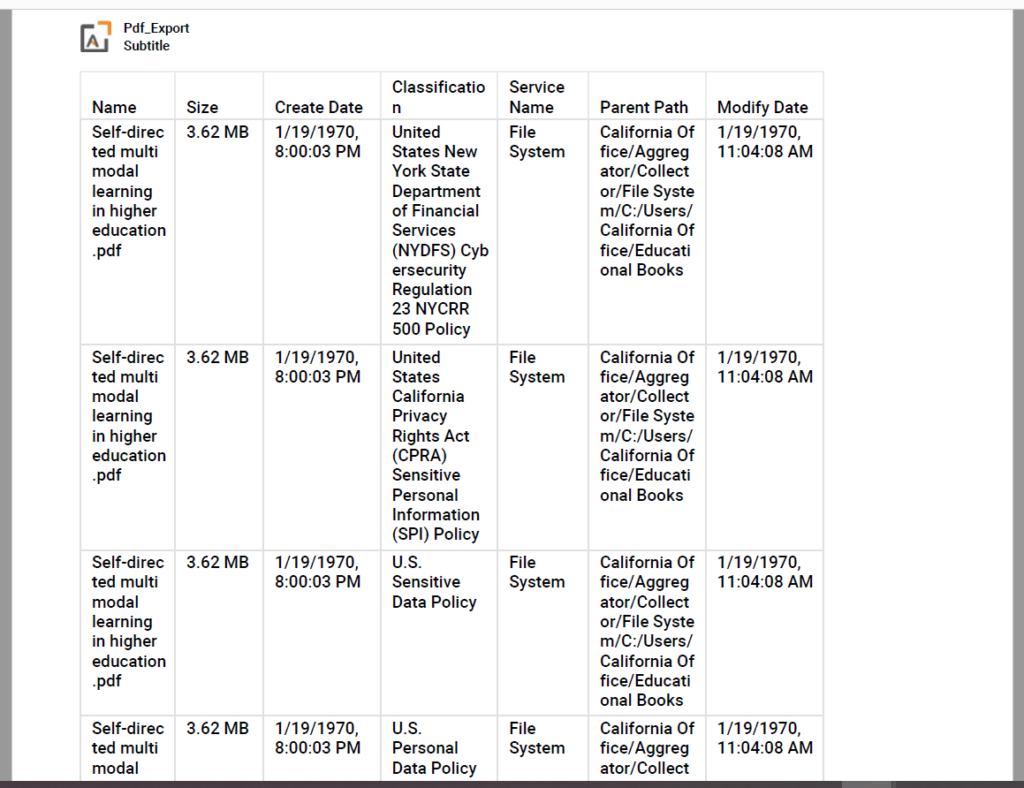
Please Note: When adding certain fields to an exported query, some of the files will appear more than once on the export, due to the variances in the entries.
For Example:
1. Classifications Field: when added to the exported file, the file will duplicate for each classification triggered.
2. Permissions Field: when added to the exported file, the entries will appear for each existing permission.
