How Can We Help?
Search for answers or browse our knowledge base.
Administration Permissions
Purpose
The System allows administrative users to not only grant additional users access to specific file systems, but also allows them to customize the actions they are allowed to perform to the file systems they are assigned. Some Permissions can be set up that allows users to add, delete and edit the nodes within the system. Other users can be set up to have access to nothing other than the billing features. The many options that can be selected individually allows admins to ensure, users that they set up can only perform the actions they grant them. Permissions can be set up several different ways. Permissions can be configured individually under the Permissions subtab, they can be applied when creating new Roles under the Roles subtab, or can be added or removed when editing user accounts.
Overview
- Adding Permissions
- Editing Permissions
- Deleting Permissions
Adding Permissions
Various types of accounts can be created depending on the types of permissions that a user is assigned. Some users should only be able to add, edit and run queries, while other accounts can be given policy changing capabilities or even administrative privileges.
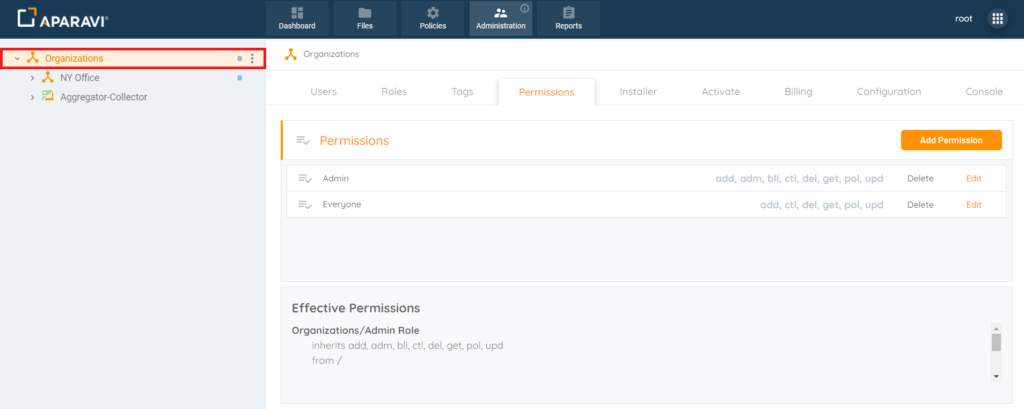
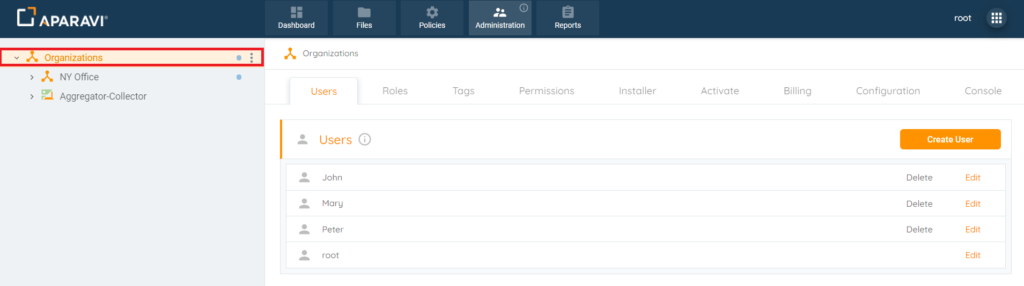
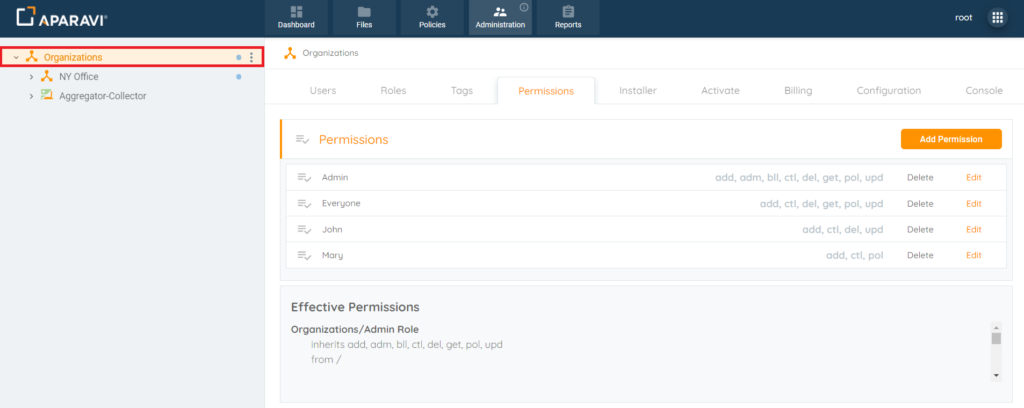
1. Choose the Organization, by clicking on it in the navigation tree, located on the left-hand side. Once selected, it will appear with a yellowish background color to indicate that it is selected.
Please Note: It is important that the Organization Node is selected and the user has Administrative privileges or the Permissions subtab will not be available.
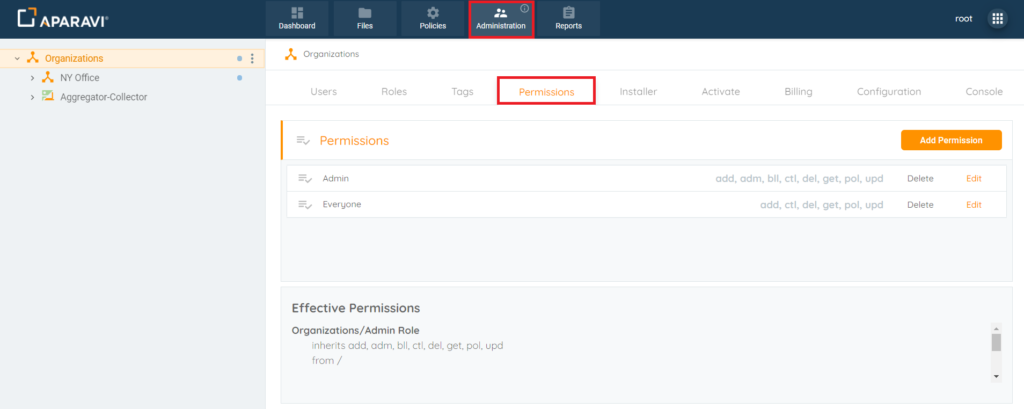
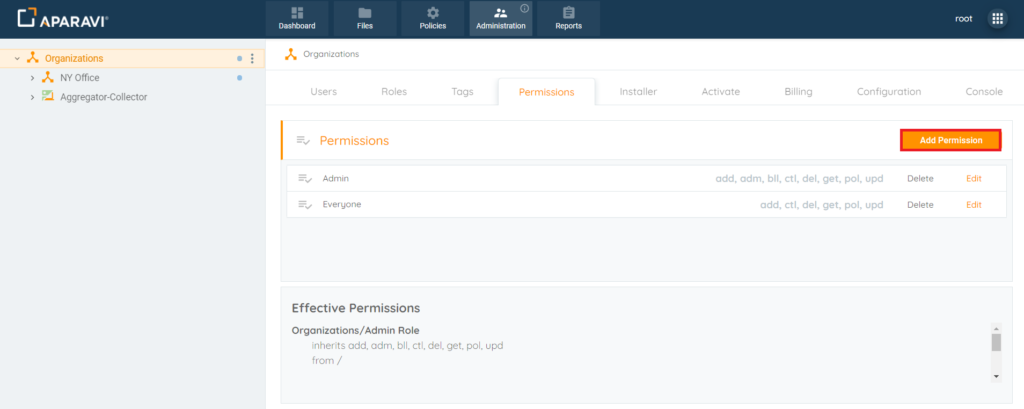
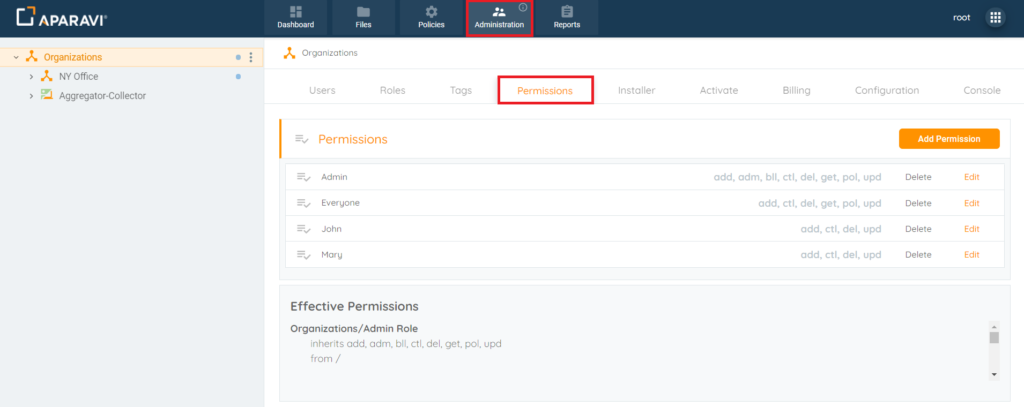
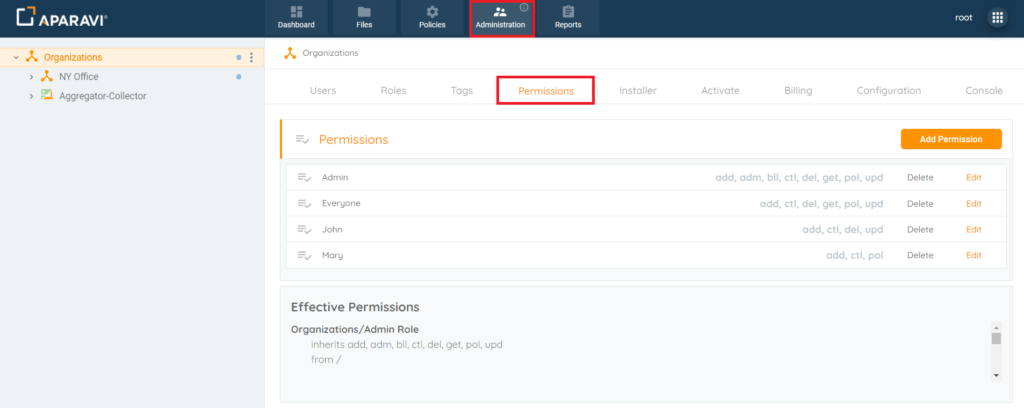
2. Click on the Administration tab, located in the top navigation menu, and then click the Permissions subtab.
3. Click on the Add Permission button, located in the upper right-hand corner. Once clicked on the New Permission pop-up box will appear.
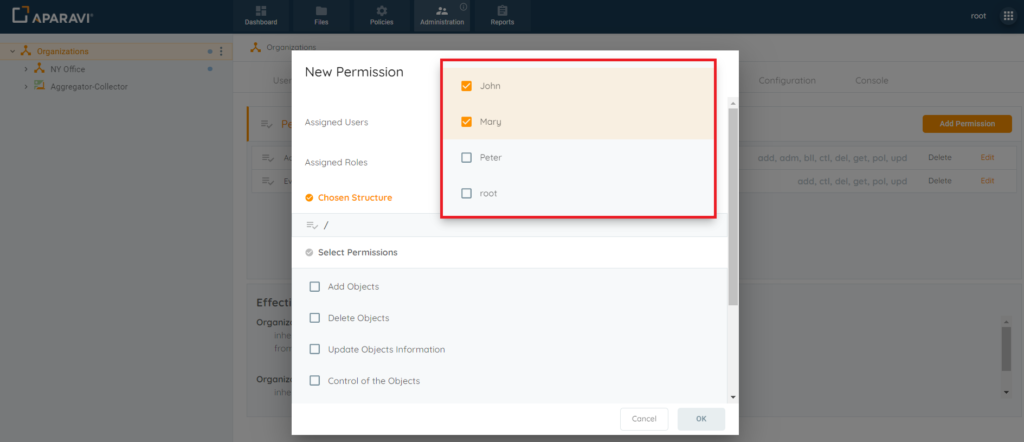
4. Click on the Assigned Users field and select a user, or multiple users, to apply the permission to from the drop-down menu that appears.
*Please Note: A new permission cannot be saved unless at least one user has been selected to assign the permission to.
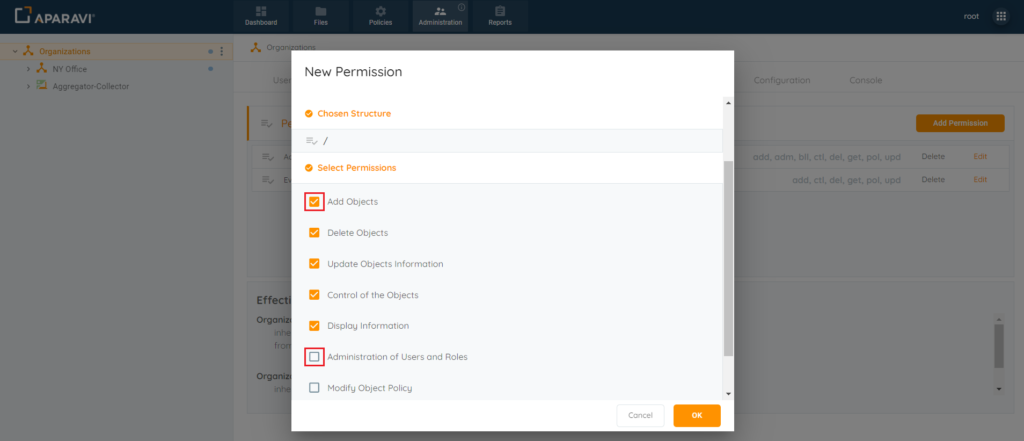
5. To select a permission, click on the checkbox located just to the left of the permission’s name. Once selected, the checkbox will appear with an orange background to indicate that it is selected. To deselect a permission, click on the checkbox of the selected permission. Once the permission is deselected, the checkbox will no longer have an orange background to indicate that it is not selected. Once all selections have been made, click the Ok button, located in the bottom right-hand side of the New Permission pop-up box to save the permissions.
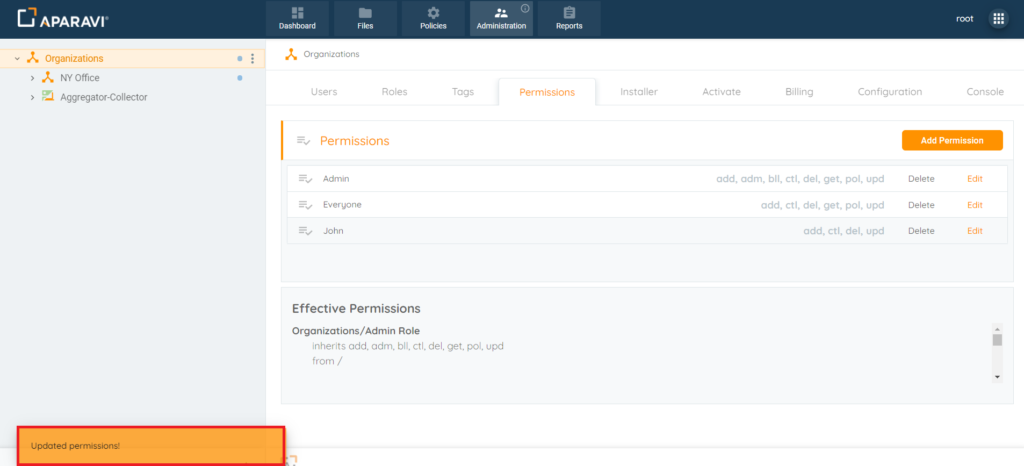
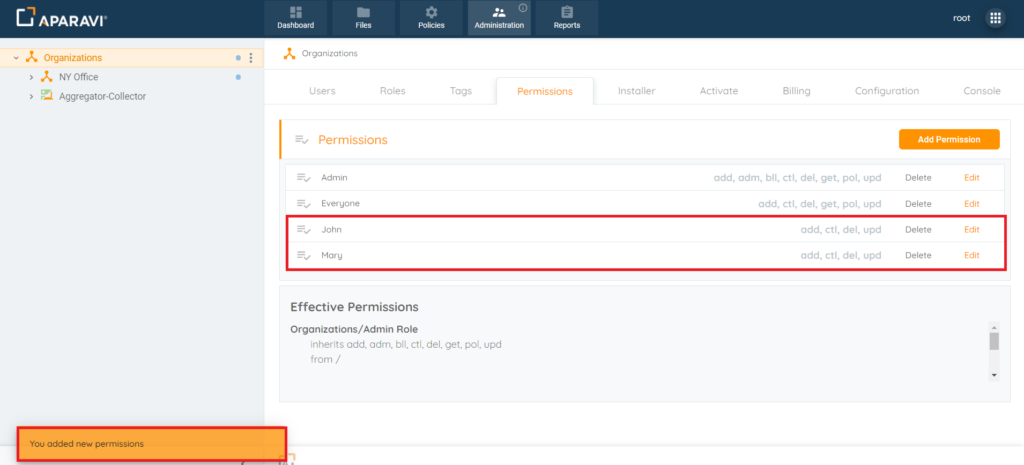
6. Once the Ok button has been clicked, the New Permission pop-up box will close and the new Permission will appear under the Permissions subtab. Also, an alert message will appear in the bottom left-hand side to indicate that the permission has been successfully saved.
*Please Note: One entry for permissions will be added for every user that was assigned the permission. In this example, two users were added, so two new permissions appear under the permissions subtab.
Editing Permissions
Once a Permission has been created, it can be edited to change the individual permissions that were granted to the user during creation of the permission.
1. Choose the Organization, by clicking on it in the navigation tree, located on the left-hand side. Once selected, it will appear with a yellowish background color to indicate that it is selected.
Please Note: It is important that the Organization Node is selected and the user has Administrative privileges or the Permissions subtab will not be available.
2. Click on the Administration tab, located in the top navigation menu, and then click the Permissions subtab.
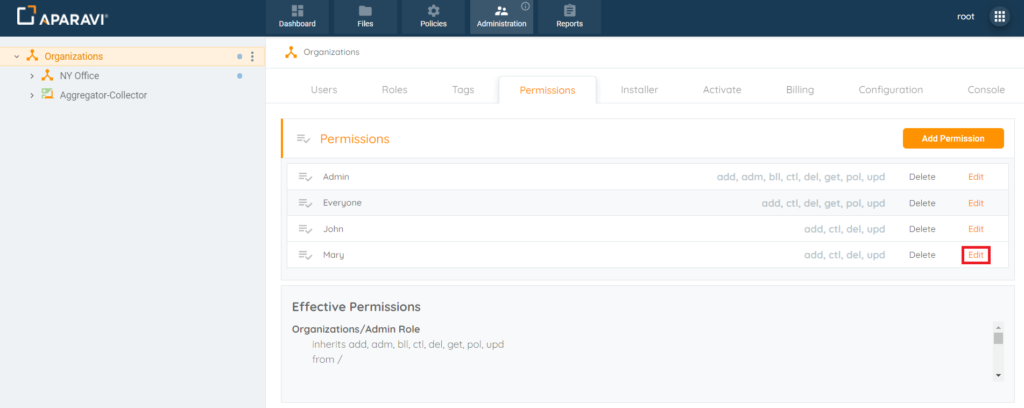
3. Click on the Edit button, located just to the right of the Permission’s name. Once clicked on, the Edit Permission pop-up box will appear.
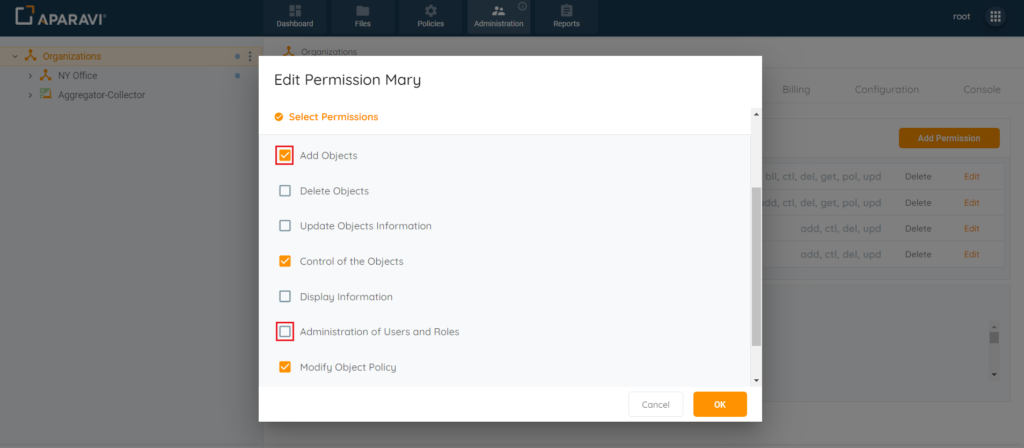
4. Inside of the Edit Permissions pop-up box, the option to edit the individual permissions assigned to the user can be achieved. To select a permission, click on the checkbox located just to the left of the permission’s name. Once selected, the checkbox will appear with an orange background to indicate that it is selected. To deselect a permission, click on the checkbox of the selected permission. Once the permission is deselected, the checkbox will no longer have an orange background to indicate that it is not selected. Once all selections have been made, click the Ok button, located in the bottom right-hand side of the Edit Permission pop-up box to save the permissions.
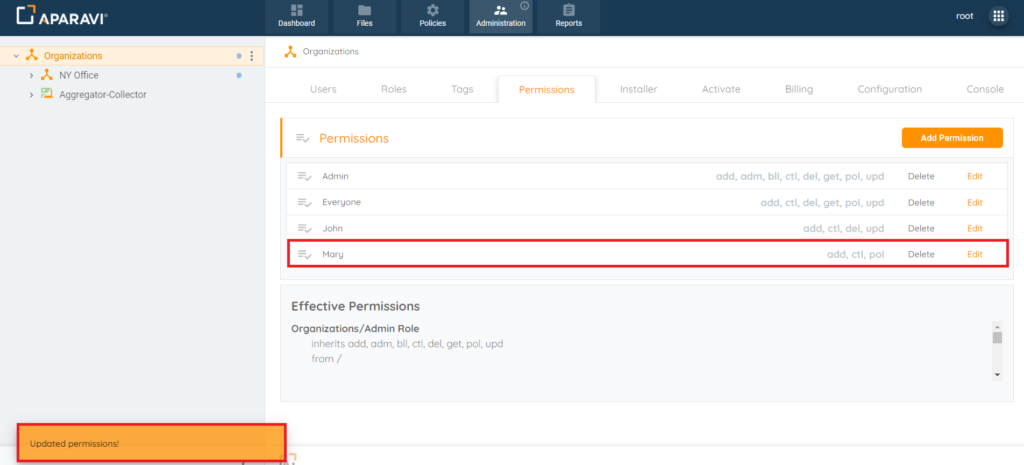
5. Once the Ok button has been clicked, the Edit Permission pop-up box will close and the updates to the permission will be immediately applied. Also, an alert message will appear in the bottom left-hand side of the screen to indicate that the permission has been updated.
Deleting Permissions
Once a Permission has been created, it can also be deleted from the system.
1. Choose the Organization, by clicking on it in the navigation tree, located on the left-hand side. Once selected, it will appear with a yellowish background color to indicate that it is selected.
Please Note: It is important that the Organization Node is selected and the user has Administrative privileges or the Permissions subtab will not be available.
2. Click on the Administration tab, located in the top navigation menu, and then click the Permissions subtab.
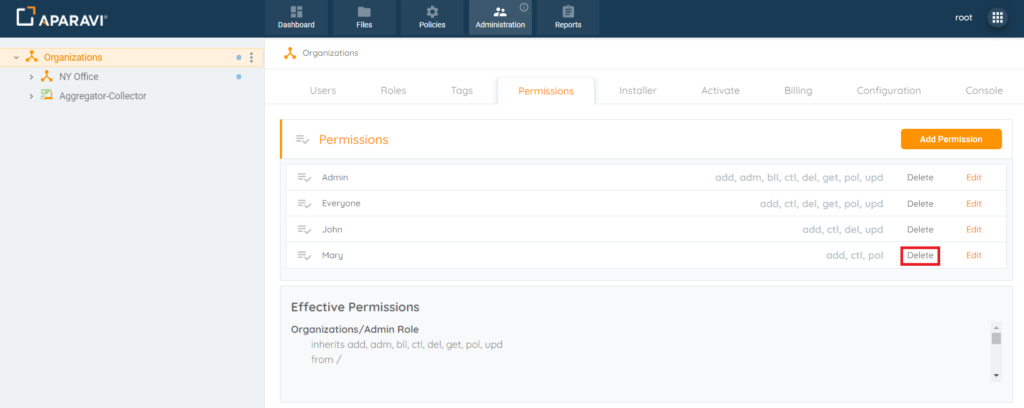
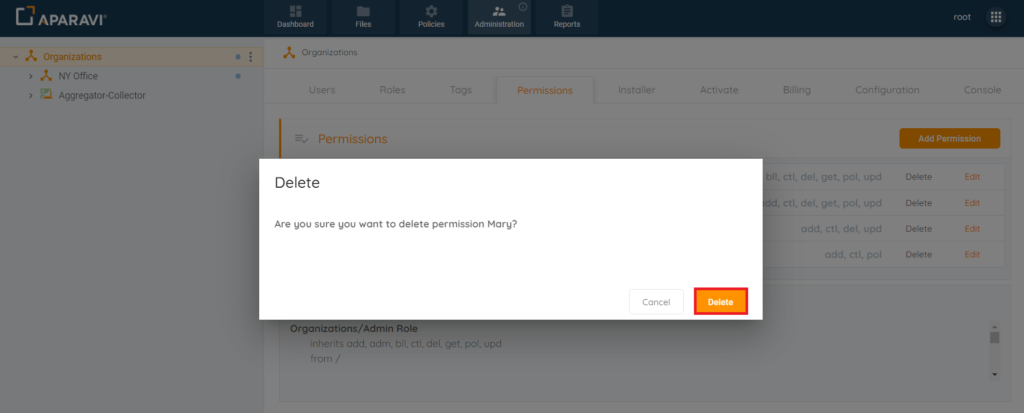
3. Click on the Delete button, located just to the right-hand side of the Permission’s name. Once clicked on, the Delete Permission confirmation pop-up box will appear.
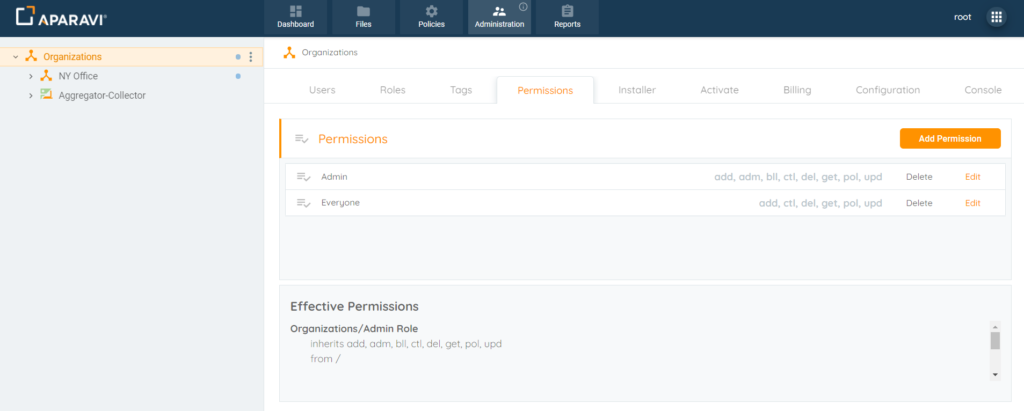
4. Click on the Delete button, located in the bottom right-hand corner of the Delete Permission pop-up box.
5. Once clicked on, the Delete Permission pop-up box will close and the Permission will disappear from the Permissions subtab.