How Can We Help?
Search for answers or browse our knowledge base.
Administration Roles
Purpose
Located under the Administration tab, the Roles subtab allows for creating permission groups that can be assigned to individual or multiple users. These Roles can be assigned for different levels of the Organization nodes, ensuring that users have access only to the features that have been allotted to them.
Overview
- Creating Roles
- Assigning & Removing Roles From Users
- Editing Roles
- Deleting Roles
Creating Roles
Various options are available during the creation of a Role, such as giving the role a unique name, assigning users to the role, and selecting the nodes that the role should have permissions to. Upon installation, two roles will be preloaded by default : (1) Admin (2) Everyone
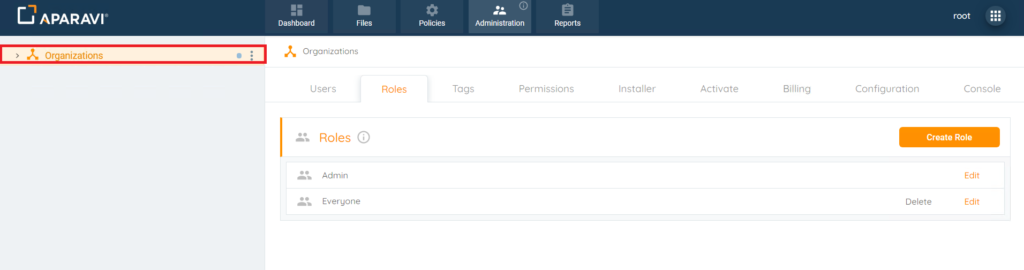
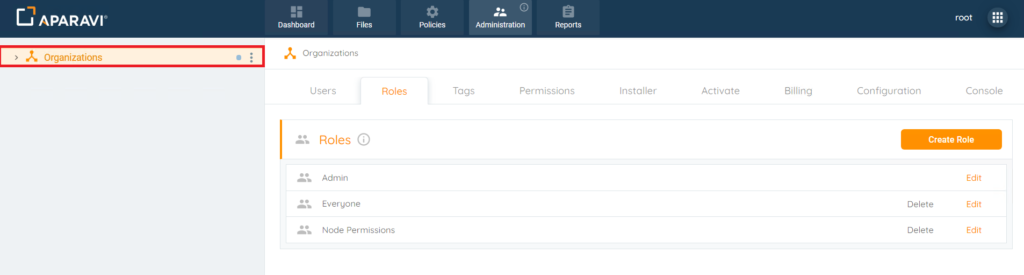
1. Choose the Organization, by clicking on it in the navigation tree, located on the left-hand side. Once selected, it will appear with a yellowish background color to indicate that it is selected.
Please Note: It is important that the Organization Node is selected and the user has Administrative privileges or the Roles subtab will not be available.
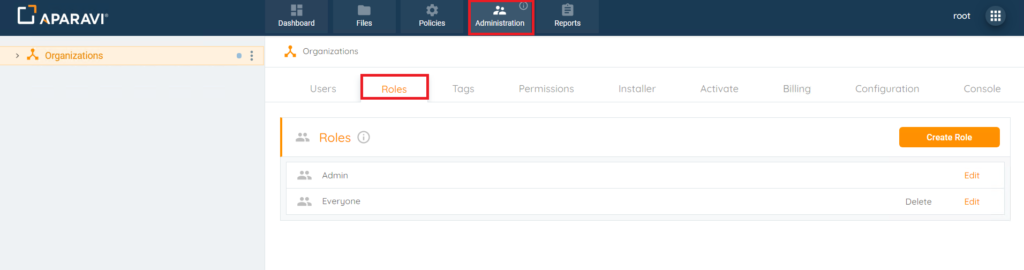
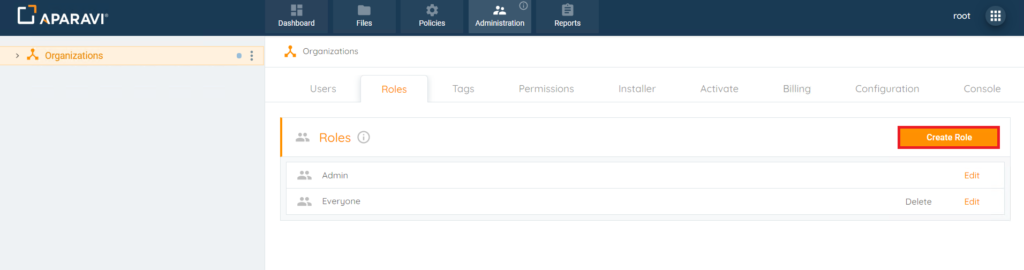
2. Click on the Administration tab, located in the top navigation menu, and then click the Roles subtab.
3. Click on the Create Role button, located in the upper left-hand corner. Once clicked on the Create Role pop-up box will appear.
4. Type in the name of the Role into the Role Name field, located inside of the Create Role pop-up box.
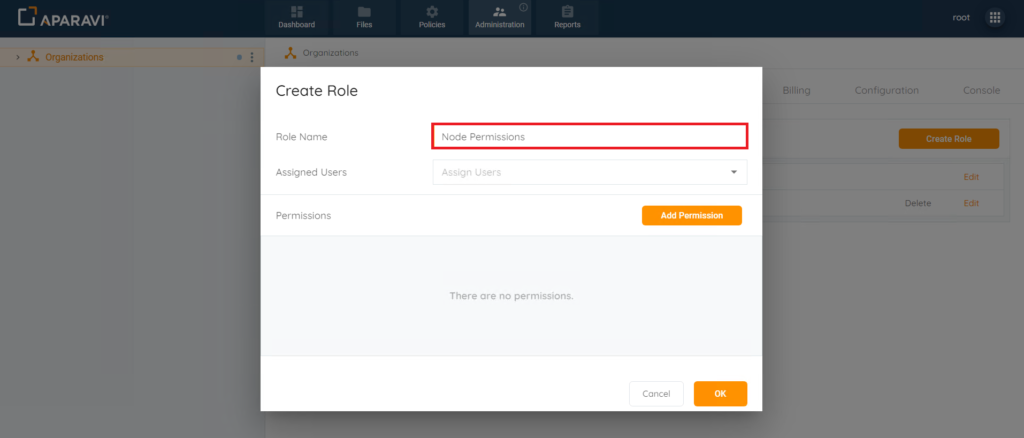
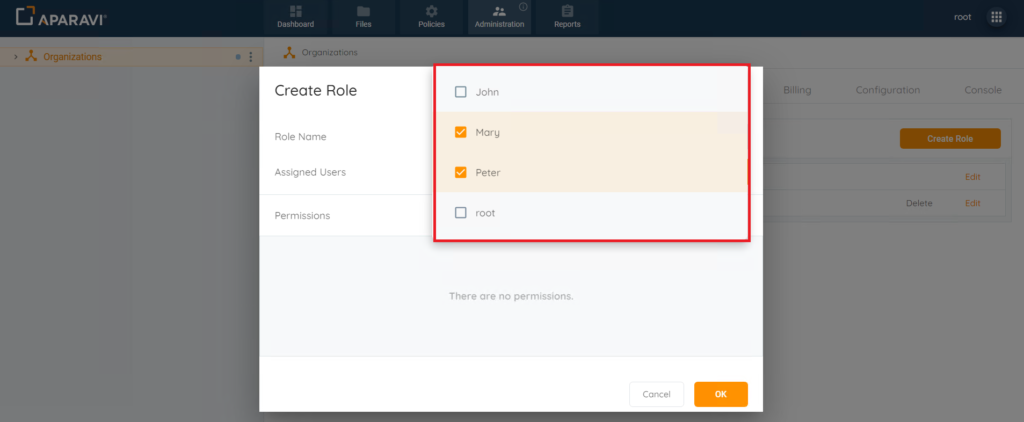
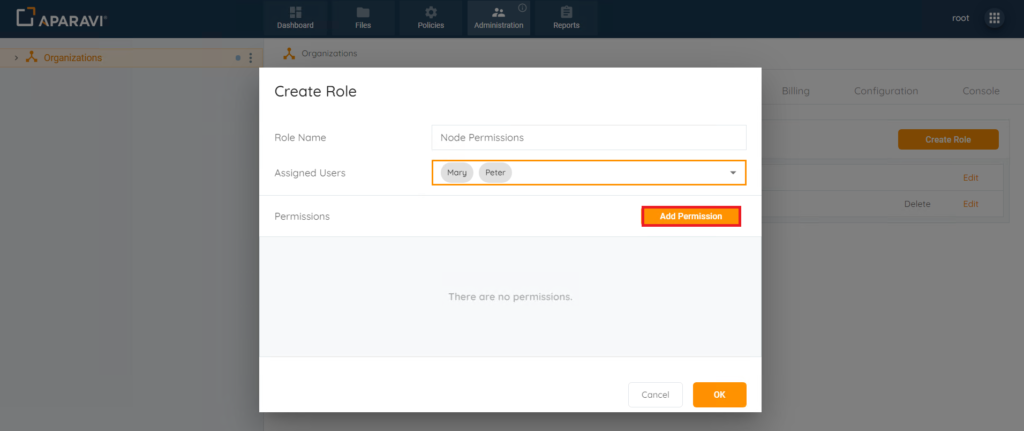
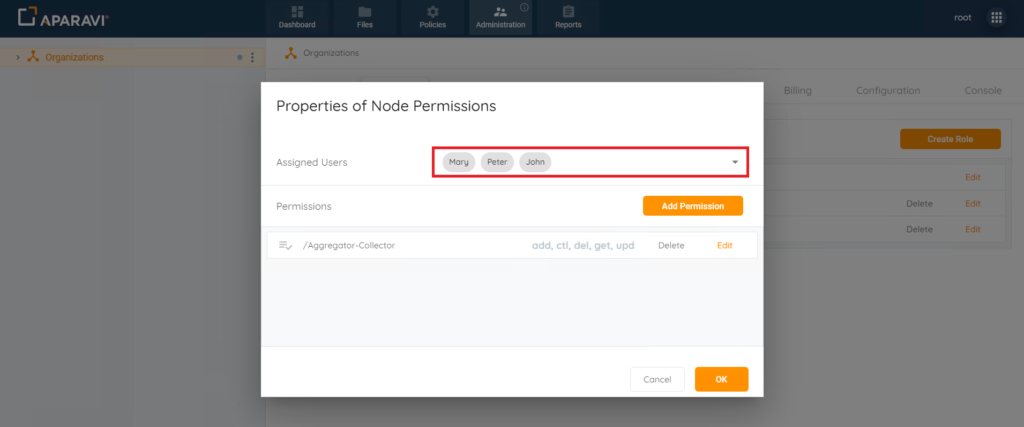
5. Click on the Assigned Users field. Once clicked a drop-down list will appear of existing users to assign this new role to. To select a user that should have the new role applied, click the checkbox, located just to the left of the user’s name. Once selected, the checkbox will fill with an orange background to indicate that it is selected. To deselect a user, click on the already selected user’s checkbox, once deselected, the orange background will disappear to indicate that it is no longer selected. Once the users have been selected for the role, their names will appear inside of the Assigned Users field.
6. Click on the Add Permission button, located inside of the Create Role pop-up box. Once clicked a list of all Organizations, Clients and nodes available will appear to choose which level this role will be assigned to. The permission feature can be added multiple times to the role if needed, if applying to multiple levels of nodes.
7. Once clicked on, the New Permissions pop-up box will appear.
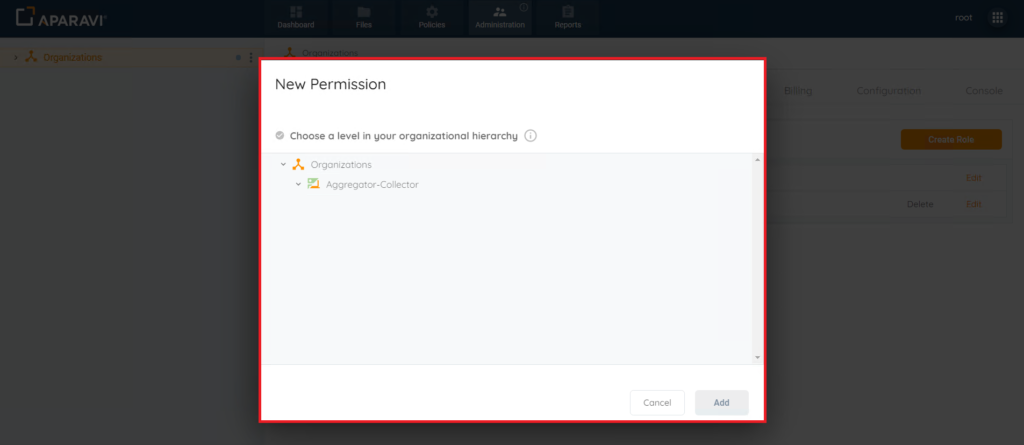
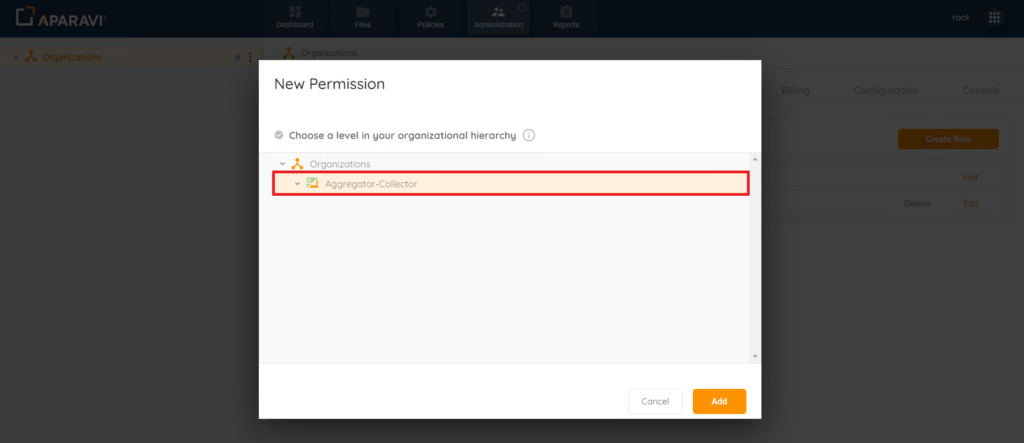
8. Select the node that the Role should be assigned to. To select a node, click on the node, and once selected, the node will highlight in a yellowish background to indicate that it is selected. Once the node is selected, click on the Add button to save the changes.
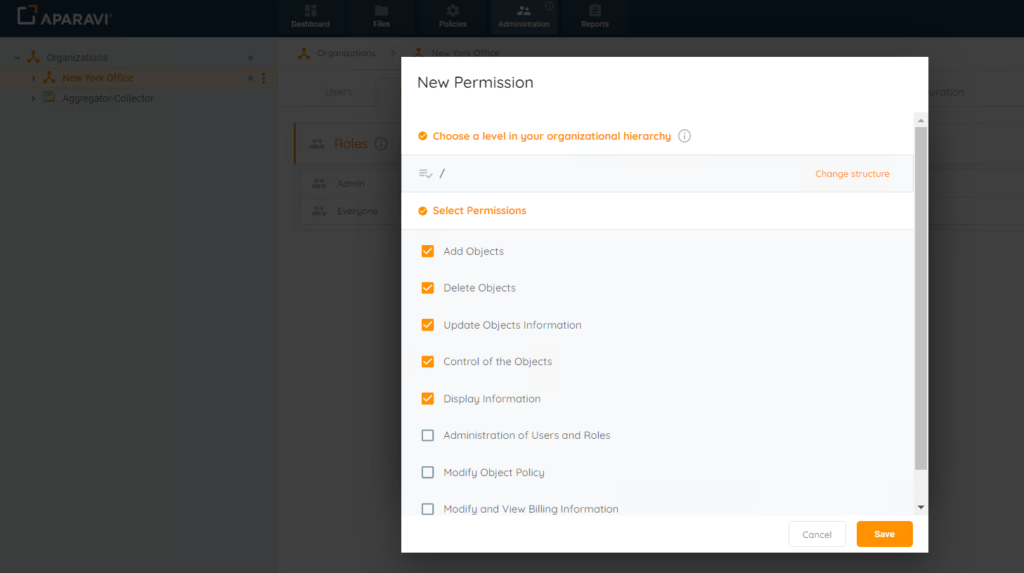
9. Once the Add button is clicked, the New Permission pop-up box will appear automatically. From this view the individual permissions can be set up for the Role of the selected node.

10. To select a permission, click on the checkbox located just to the left of the permission’s name. Once selected, the checkbox will appear with an orange background to indicate that it is selected. To deselect a permission, click on the checkbox of the selected permission. Once the permission is deselected, the checkbox will no longer have an orange background to indicate that it is not selected. Once all selections have been made, click the Save button, located in the bottom left-hand side of the New Permission pop-up box to save the permissions.
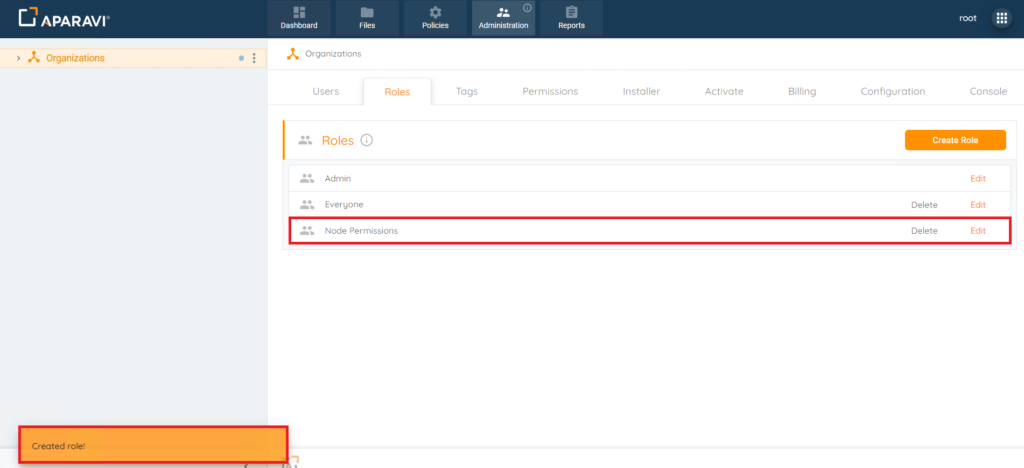
11. Once the Save button has been clicked, the Create Role pop-up box will reappear with all the newly added permissions displaying. Once all fields have been properly selected. Click the Ok button, located in the bottom right-hand side of the Create Role pop-up box.
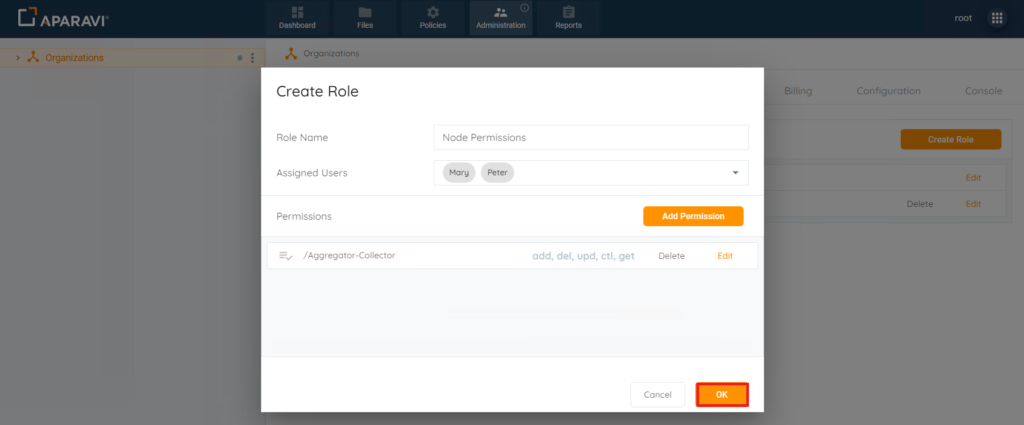
12. Once the Ok button has been clicked, the newly added Role will appear under the Roles subtab.
Assigning & Removing Roles From Users
After a role has been created, it can be assigned or removed from existing or newly added users.
1. Choose the Organization, by clicking on it in the navigation tree, located on the left-hand side. Once selected, it will appear with a yellowish background color to indicate that it is selected.
Please Note: It is important that the Organization Node is selected and the user has Administrative privileges or the Roles subtab will not be available.
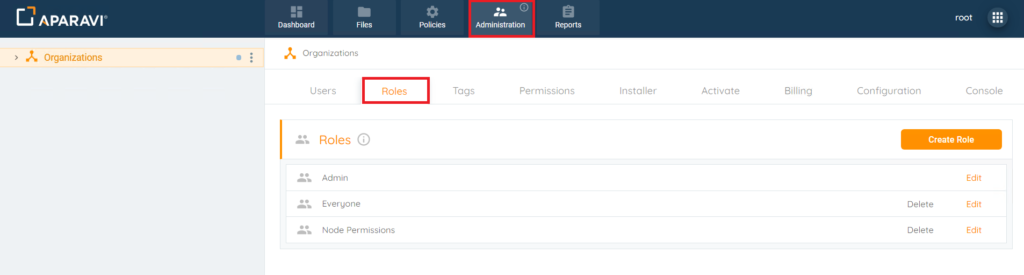
2. Click the Administration Tab and then click on the Roles subtab.

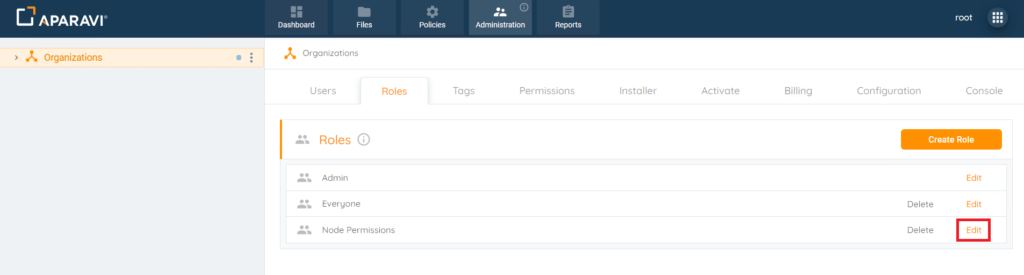
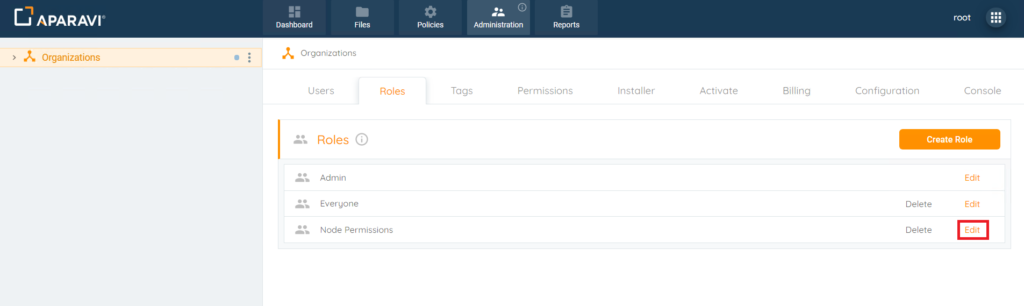
3. Click on the Edit button, located just to the right of the Role’s name. Once clicked on the Properties of [Name of Role] pop-up box will appear.
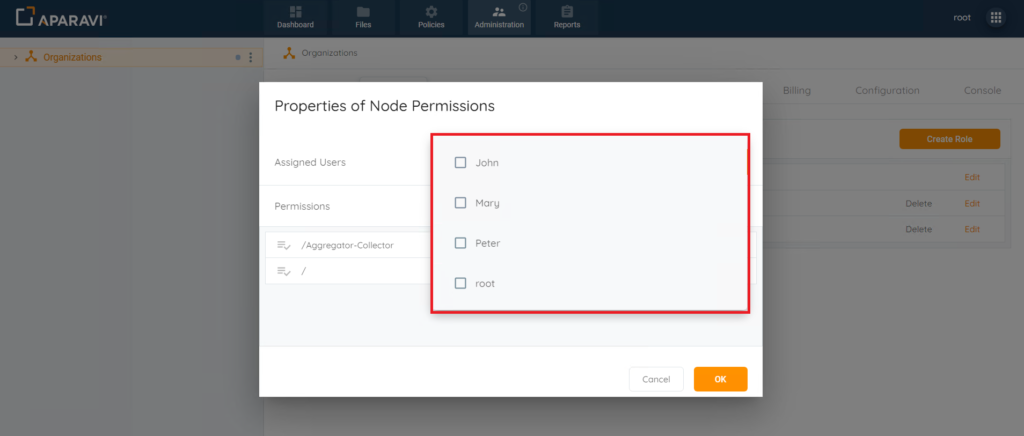
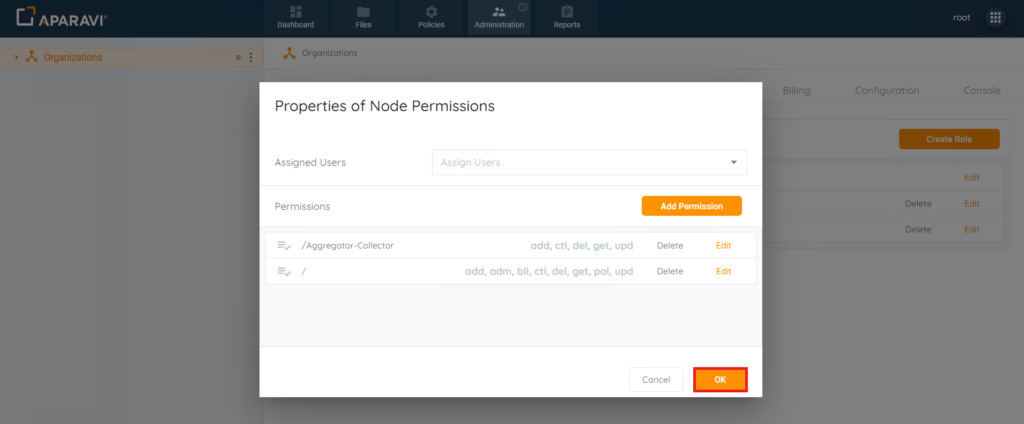
4. Inside of the Properties of [Name of Role] pop-up box, click the Assigned Users field. Once clicked on, the names of all of the available users to add or remove from the role will appear. Any users with a checkbox that is filled with an orange color indicates that this role is already applied to this user. To select another user to add to the Role, click the checkbox, located just to the left of the user’s name. Once selected the user’s name will appear inside of the Assigned Users field. To remove a user, click the checkbox to to the left of the user’s name to deselect them. Once deselected, the orange background will disappear from the checkbox to indicate that it has been deselected. Once all user’s have been added or removed from the role, click the Ok button, located at the bottom right-hand side of the Properties of [Name of Role] pop-up box to save the changes.
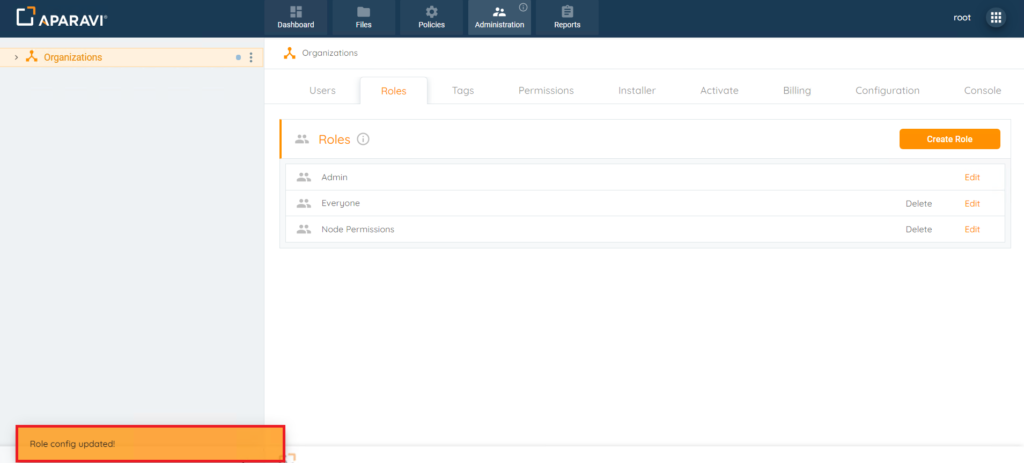
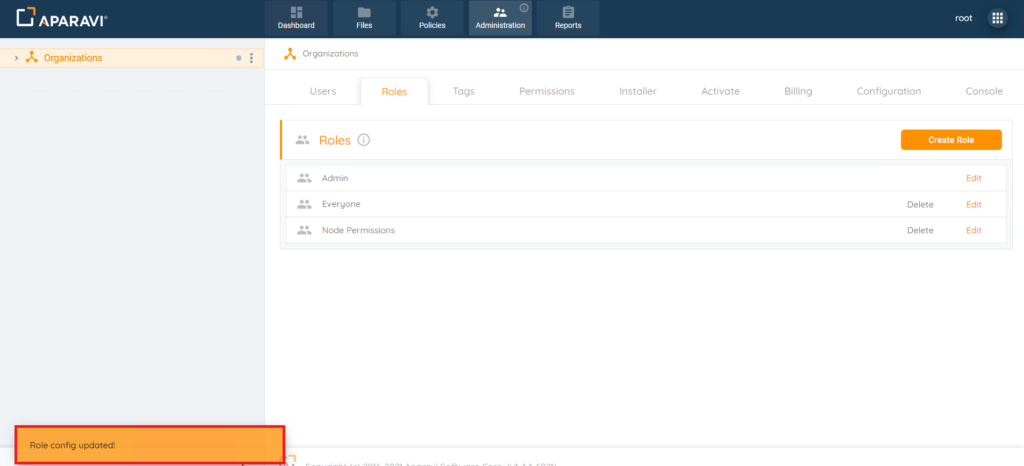
5. Once saved, the system will display an alert message indicating that the Role has been updated.
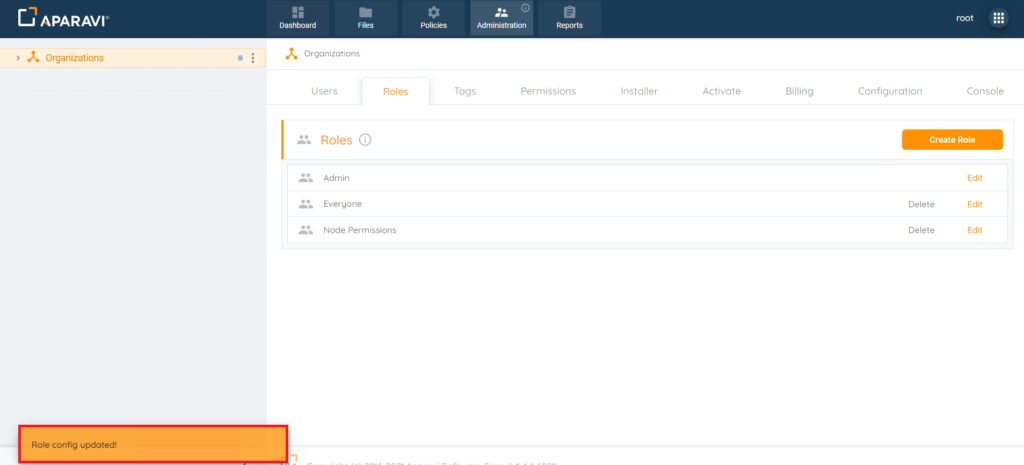
6. To check to see if the Role was applied successfully, click the Users subtab.
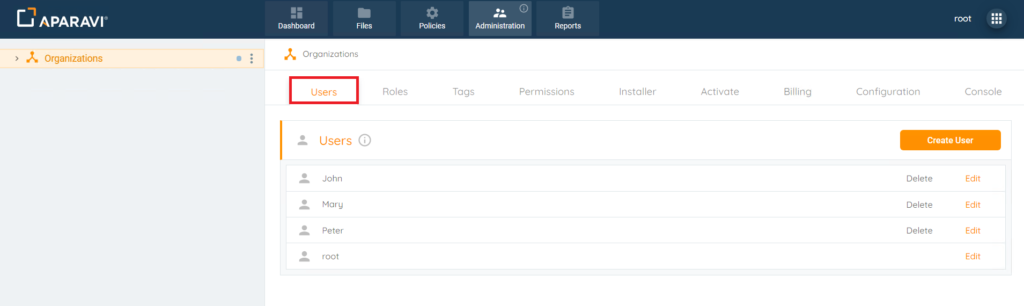
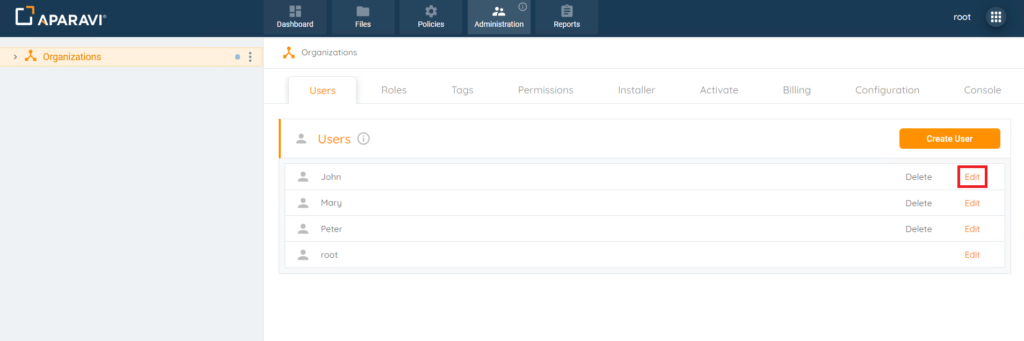
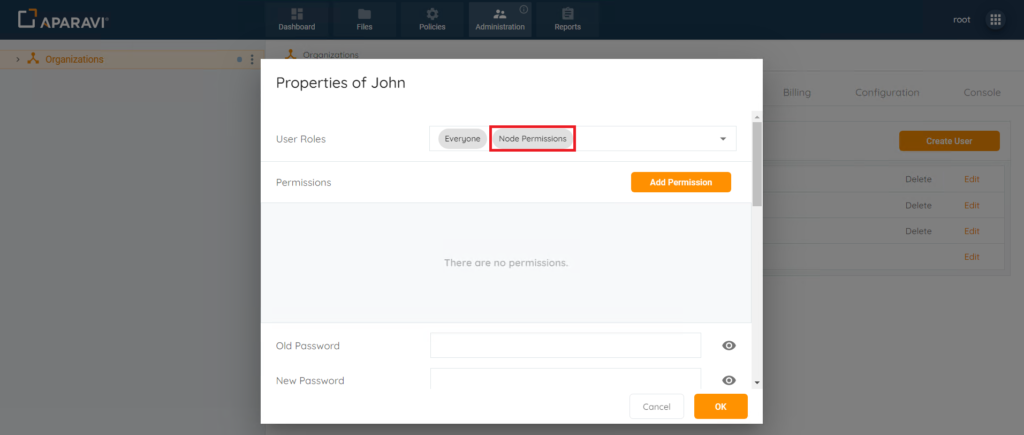
7. Click the edit button, located just to the right-hand side of the user’s name. Once clicked, the Properties of [User’s Name] pop-up box will display, showing the newly added Role in the User Roles field. If the Role was removed, it should no longer display inside of the User Roles field.
Editing Roles
Once a Role has been created, it can also be edited to reflect new permissions or assign and remove new users to the role.
1. Choose the Organization, by clicking on it in the navigation tree, located on the left-hand side. Once selected, it will appear with a yellowish background color to indicate that it is selected.
Please Note: It is important that the Organization Node is selected and the user has Administrative privileges or the Roles subtab will not be available.

2. Click the Administration Tab and then click on the Roles subtab.

3. Click on the Edit button, located just to the right of the Role’s name. Once clicked on the Properties of [Name of Role] pop-up box will appear. From this view, the ability to assign to remove users from the Role, add an additional set of permissions for a different node, or editing the existing permissions can all be completed inside of the pop-up box by repeating the same steps as above.
4. Once all changes have been made, click on the Ok button, located in the bottom right-hand side of the pop-up box to save the changes.

5. Once the Ok button has been clicked, the newly edited Role’s changes will be applied to all users that are assigned the Role.
Deleting Roles
Once a Role has been created, it can also be deleted from the system. Before deleting a Role, all users must first be unassigned to the Role. Roles that are assigned to existing users are unable to be deleted.
1. Choose the Organization, by clicking on it in the navigation tree, located on the left-hand side. Once selected, it will appear with a yellowish background color to indicate that it is selected.
Please Note: It is important that the Organization Node is selected and the user has Administrative privileges or the Roles subtab will not be available.

2. Click the Administration Tab and then click on the Roles subtab.
3. Click on the Edit button, located just to the right of the Role’s name. Once clicked on the Properties of [Name of Role] pop-up box will appear. From this view, the ability to remove users from the Role can be achieved by clicking on the User Roles field and then clicking on the checkbox just to the left of the already selected user’s name. Once the checkbox is deselected, the orange background will disappear to indicate that the user is no longer selected. Once completed removing all user’s assigned to this role, click the Ok button to save the changes.
4. Once the Ok button has been clicked, the pop-up box will close and an alert message will appear to indicate the users have been removed.
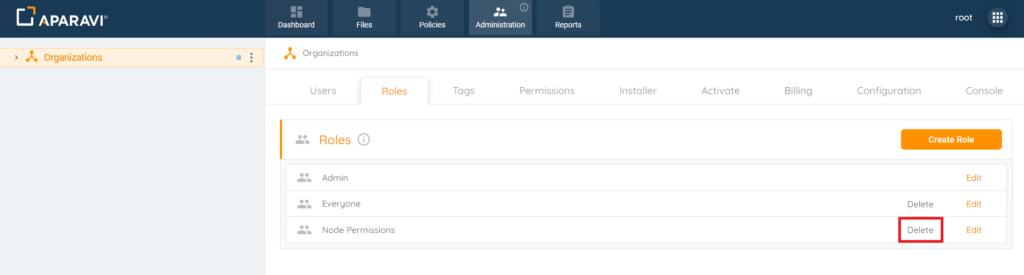
5. Now that all users have been disassociated with the Role it can be deleted from the system. Click on the Delete button, located to the right of the Role’s name. Once clicked, the Delete pop-up box will appear.
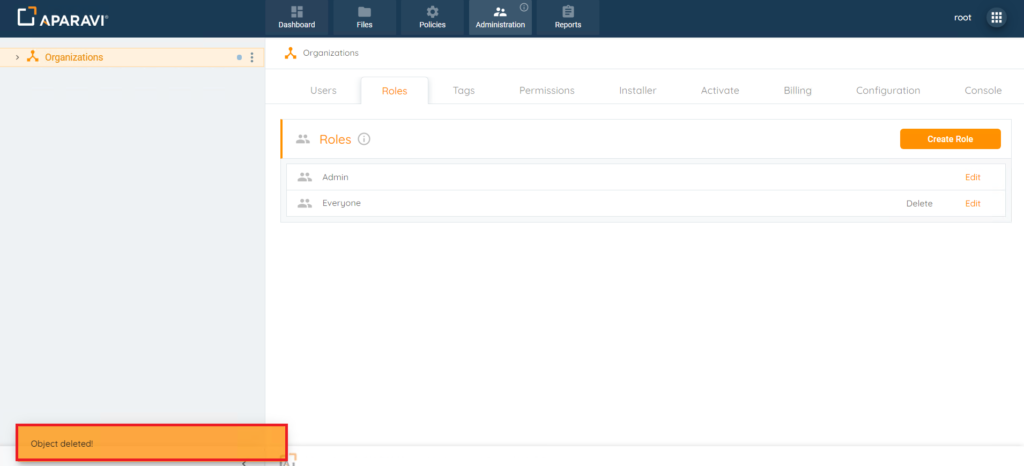
6. Inside of the Delete pop-up box, click on the Delete button.
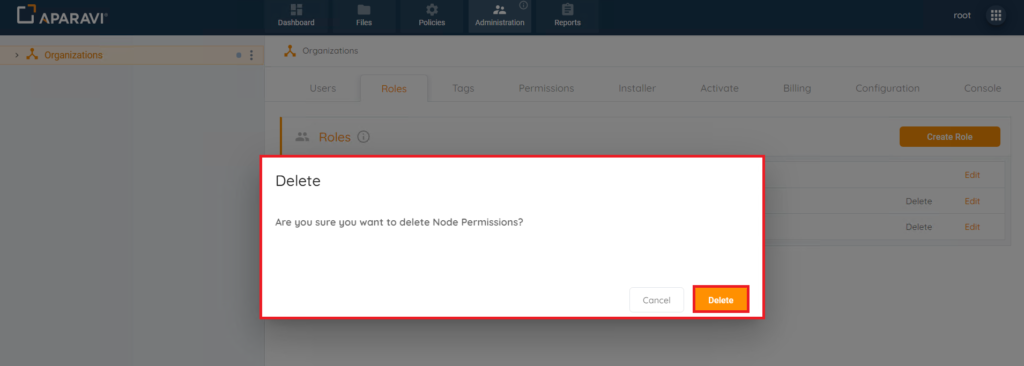
7. Once the Delete button has been clicked, the Role will be removed from the Roles subtab, and an alert message will appear to indicate that the Role has been successfully deleted.