How Can We Help?
Search for answers or browse our knowledge base.
Profile and Support
Purpose
This article will cover the Profile and Support options within the Aparavi platform.
Navigating to Profile and Support
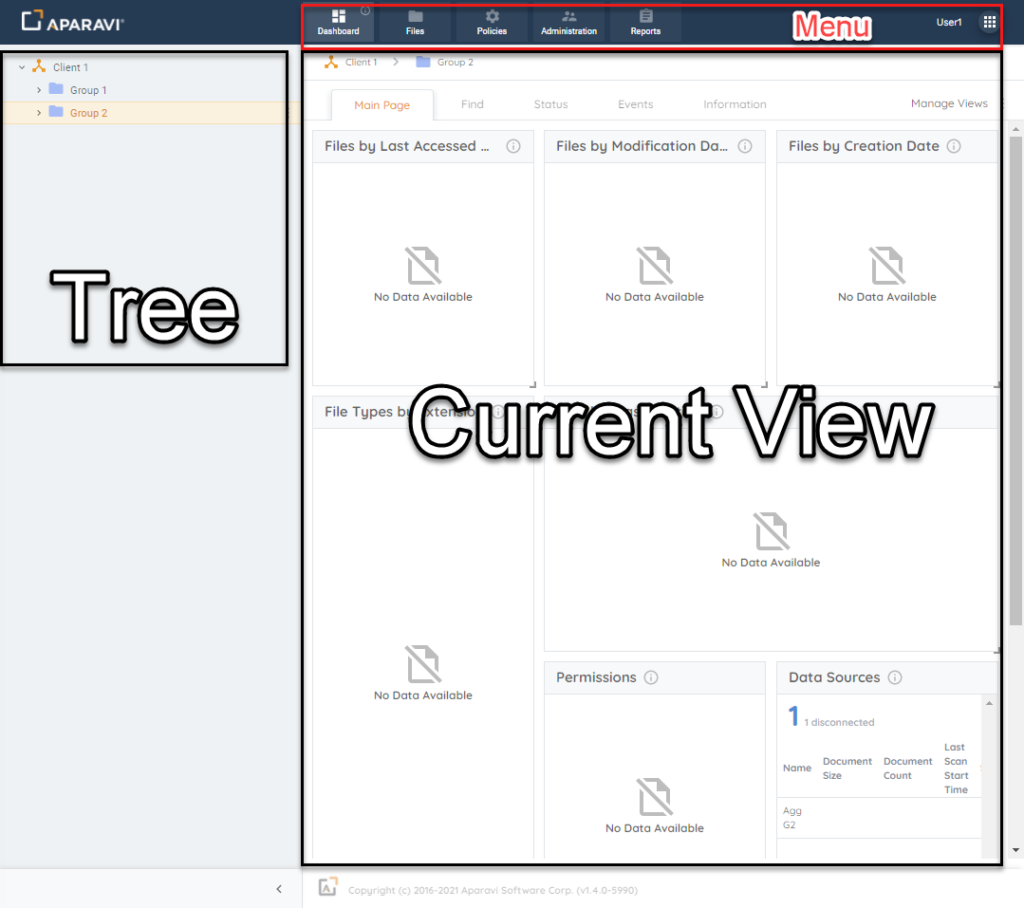
- Logging into the Aparavi platform initially will present you with the Dashboard view. There are three distinct areas within the Aparavi Platform, they are the:
– Menu Bar
– Object Tree
– Current View
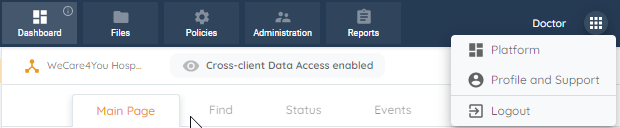
- On far right of the Menu bar, there is a grid icon, clicking on this icon will open the options menu. The available options are Platform, Profile and Support and Logout options. Click on Profile and Support to switch to that profile.
- The Profile and Support page has a similar layout to the main platform. There is a navigation tree to the left and current view on the right.
Profiles
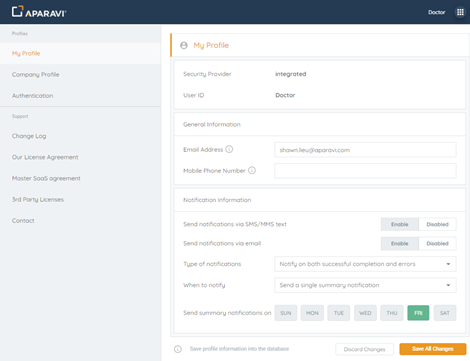
- The first profile option is My Profile. My Profile will provide details and additional setting for the currently logged on User ID. Current profile settings, email address and mobile phone number are straight forward. The Notification Information section has additional options. Be sure to provide a valid email address if you are wanting notification via email and provide a valid mobile phone number for notifications via text.
- If you are enabling notifications via email or text message, you’ll also want to specify the Type of notifications to receive, When to notify and Send summary notifications on specified days. The options for Type of notifications are:
– Notify on successful completion only
– Notify on errors only
– Notify on both successful completion and errors
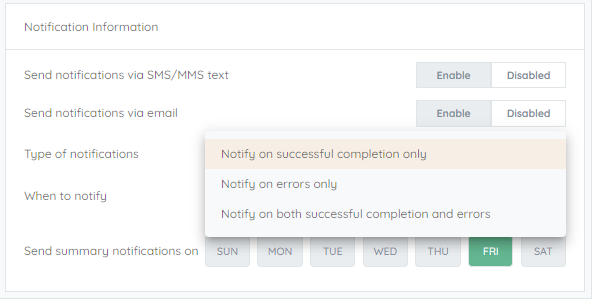
- Selecting When to notify will have the following options:
– Send notifications as they happen
– Send a single summary notification
- If Send a single summary notification is selected, you will also want to specify what days you would like to receive summary notifications on. You can do this by simply clicking on the days where you would want the summary notifications. Once you are finished, click Save All Changes to apply the settings to your profile.
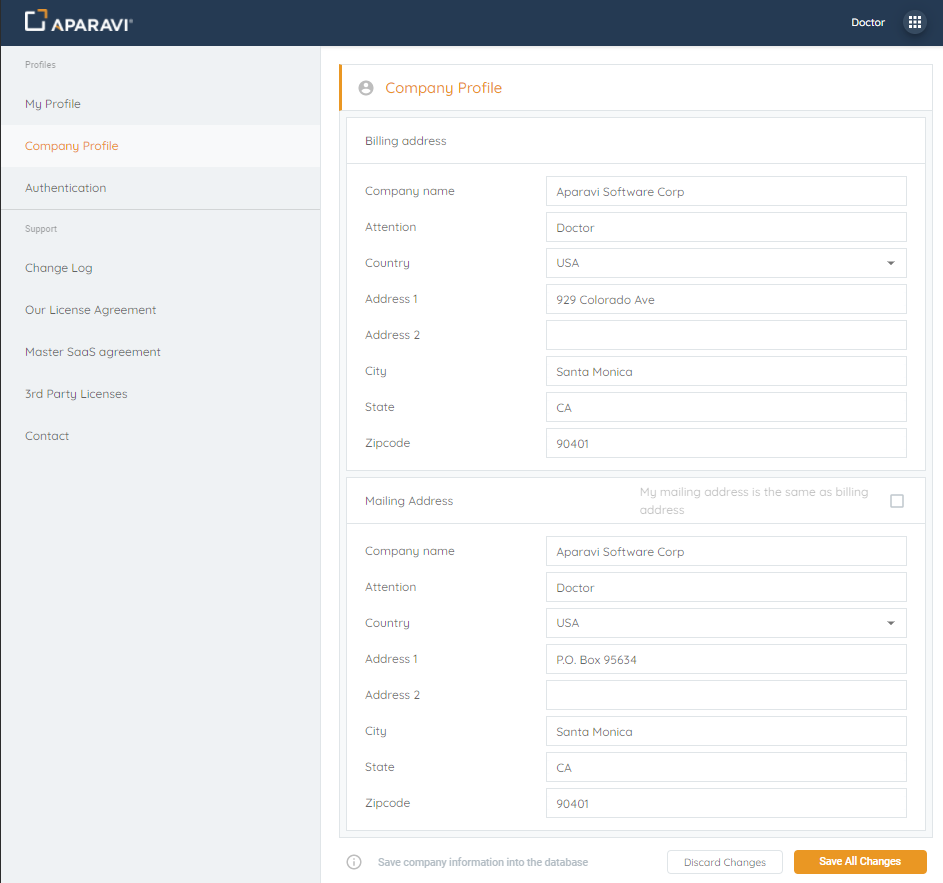
- Now we will cover the second profile option by selecting Company Profile from the Tree on the left. This next profile page stores your company Billing and Mailing addresses. Once the profile information is complete, click Save All Changes.
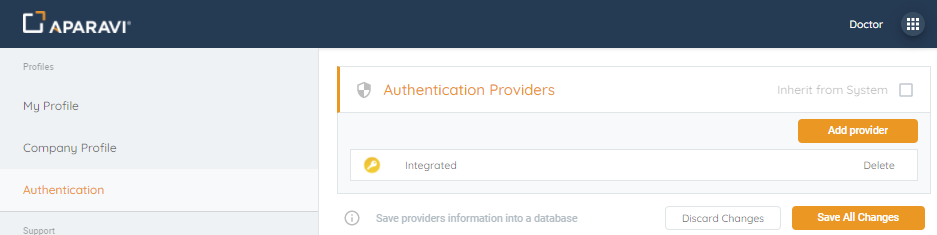
- The last profile option is Authentication. By default, Authentication Providers are set to Inherited from System. If you would like to specify only specific Authentication Provider, uncheck the box and click Add provider. The Add Provider modal will pop up and here you will have the following provider selection:
– Integrated
– Google
– Microsoft
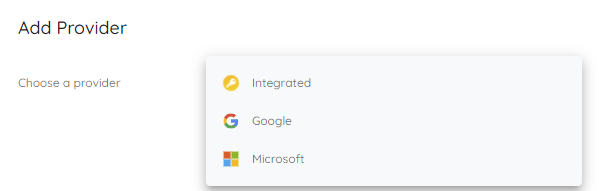
- Once the desired provider has been selected, click OK to accept. If you would like to add another provider, repeat the previous steps and when finished, click Save All Changes.
Support
- The first option under the Support section of the tree is the Change Log. Selecting Change Log will display the current version along with any highlighted changes associated with the version.

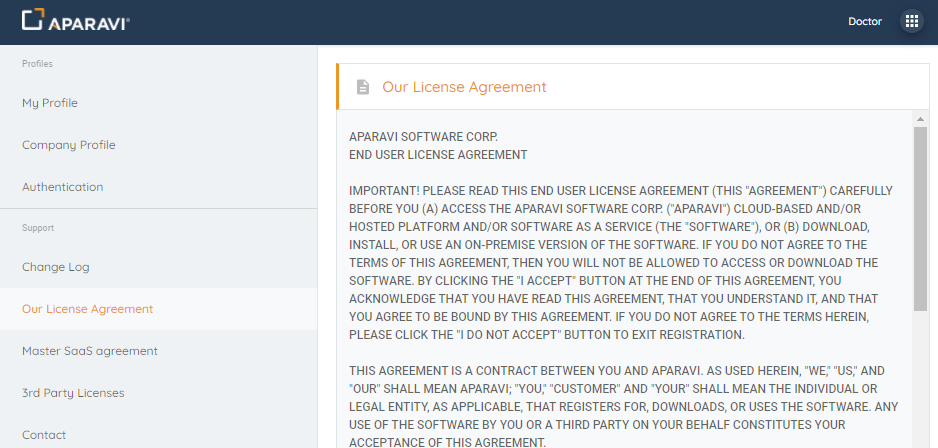
- The second option in the tree is Our License Agreement, selecting this option will display the Aparavi Software Corp. EULA.
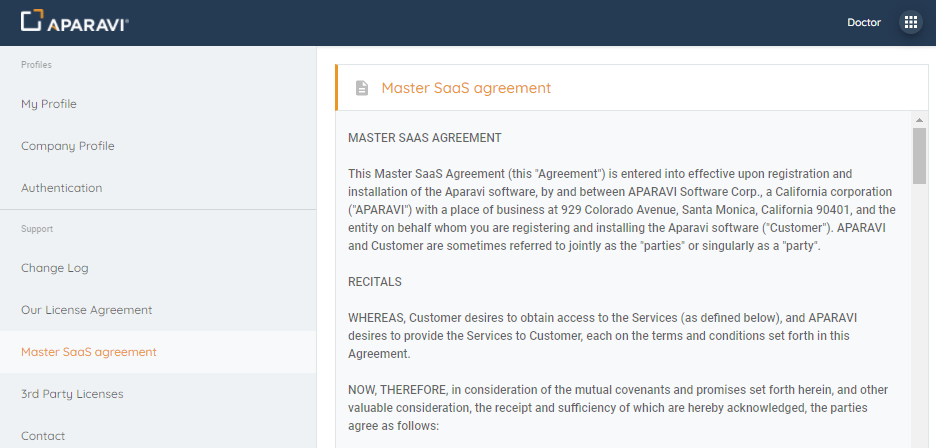
- The third option is the Master SaaS agreement, selecting this option will display the Master SaaS Agreement.
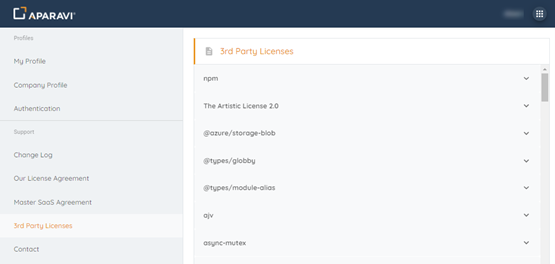
- The fourth option is the 3rd Party Licenses section, selecting this option will display a collapsed collection of all 3rd party licenses. You can click on the down arrow to display the actual license agreements one by one.
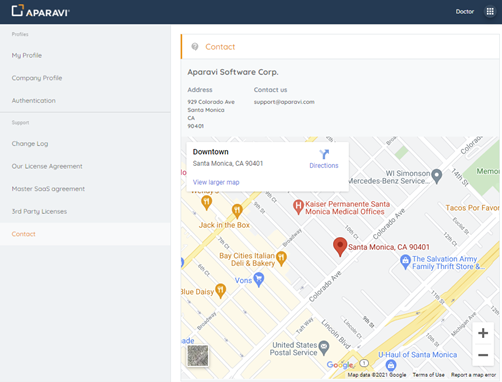
- And last but not least is the Contact option, selecting this option will display all of the Aparavi Software Corp.’s contact information, including address (with map) and support email address.
- This concludes the Profile and Support section, click on the grid again in the upper right and select Platform to return to the Aparavi Platform.