How Can We Help?
Search for answers or browse our knowledge base.
Configuring File System Target Service
Purpose
Aparavi allows business users to automate data actions by linking File System sources and targets, no code or command line necessary.
Connecting File System targets allows the system to direct data into pre-configured data services. This enables businesses to build custom workflows for data hygiene, compliance, and retention use cases. Once the File System target service has been linked, copy action queries can be customized to run in the background.
Please Note: FAT32 file systems and removable or mounted drives cannot be configured as a target service at this time.
Configuring a File System Target Service
The platform allows for all nodes to inherit identical settings for the Targets subtab. If the various nodes should have their own set of specifications instead, disabling this feature is also available.
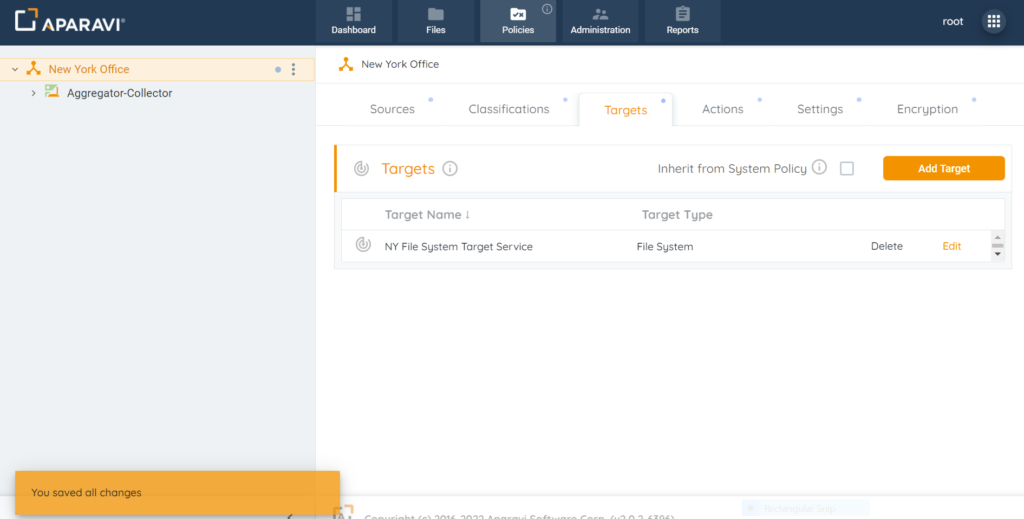
1. Click on the Policies tab, located in the top navigation menu.
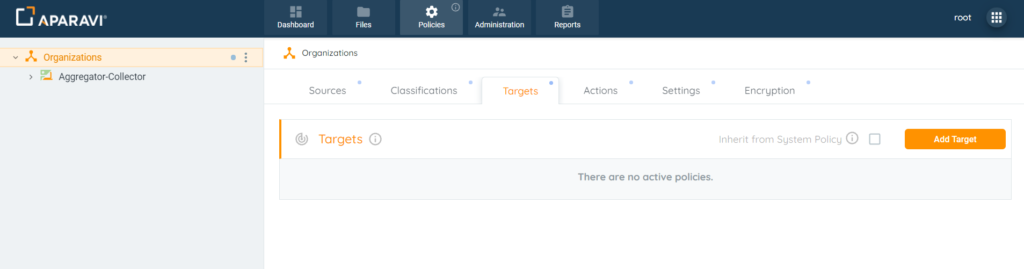
2. Click on the Targets subtab.
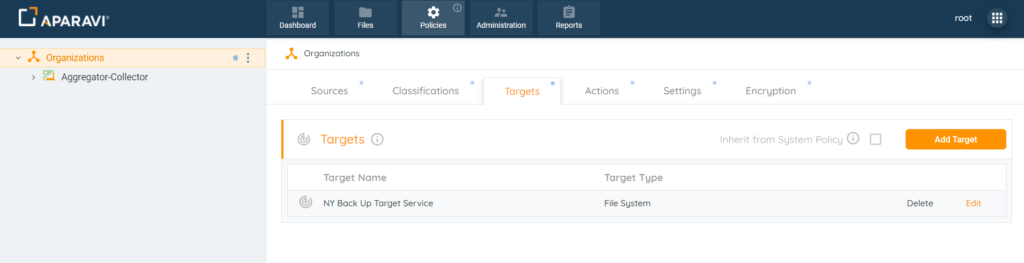
3. Click on the Add Target button, located in the upper right-hand corner of the screen.
4. Once clicked, the Add Target pop-up box will appear.

5. Inside the Add Target pop-up box, click the Target Type field and select the File System option.
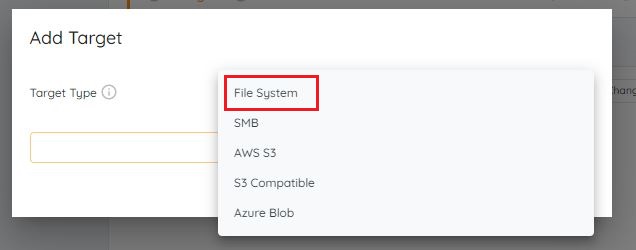
6. Once the File System option is selected, the pop-up box will expand to offer additional fields.

7. Enter the File System fields so the system can validate the information entered.
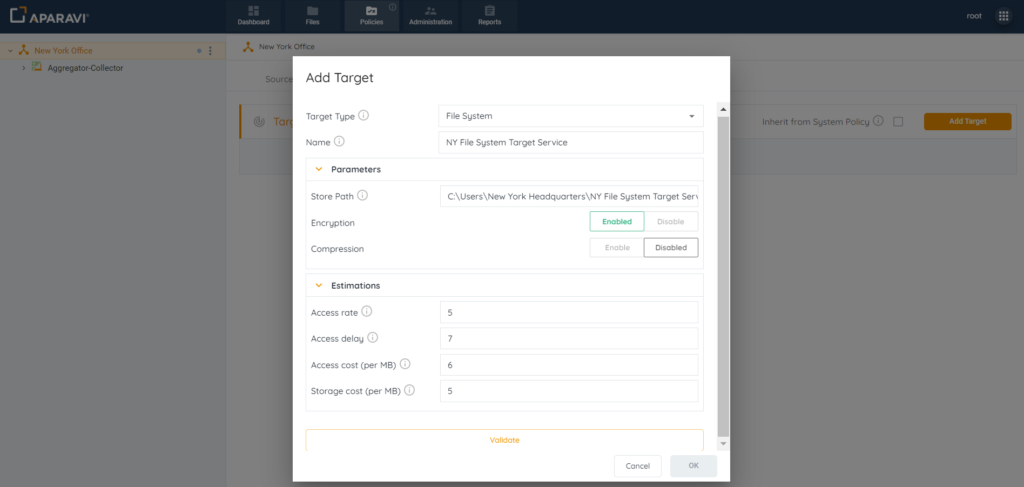
8. Once all required fields have been completed, click on the Validate button.

9. Once the system has completed validation with the target service, click on the Ok button located inside the Add Target pop-up box.
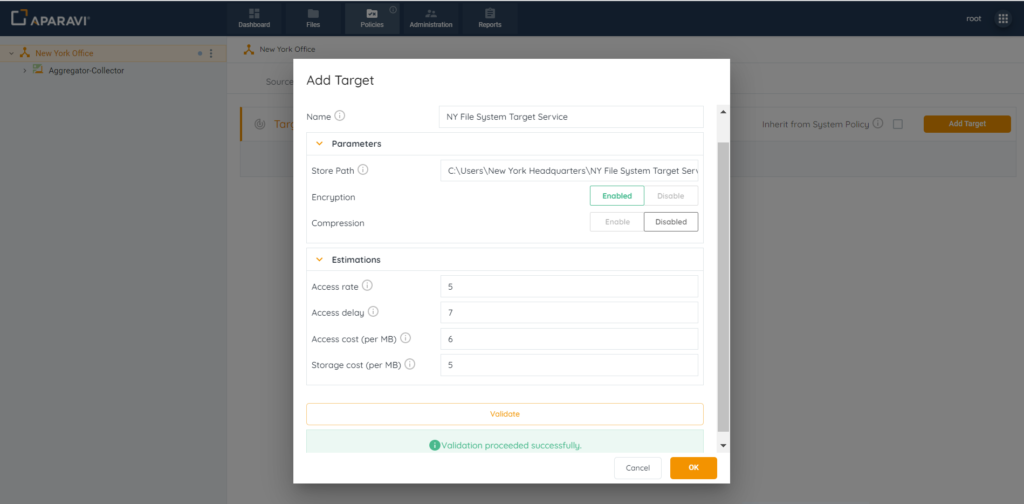
Please Note: If the Ok button is inactive, this is due to the failure of the credentials and the fields should be checked for errors.
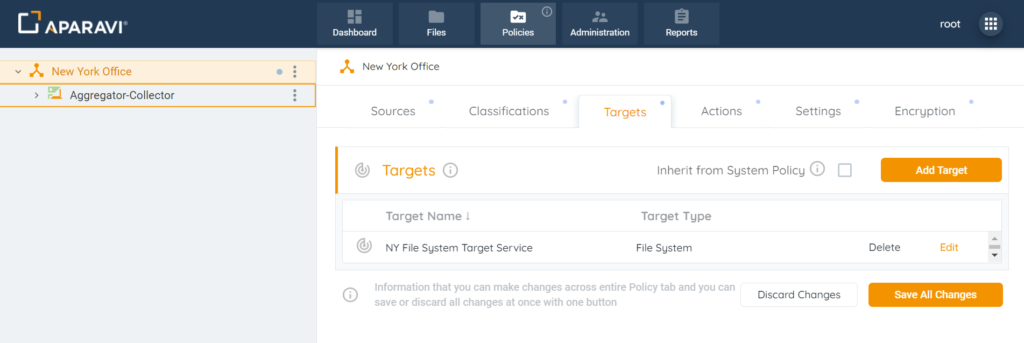
10. Click on the Save All Changes button, located in the bottom right-hand side of the screen.
11. To save the settings, click on the OK button to confirm the changes.

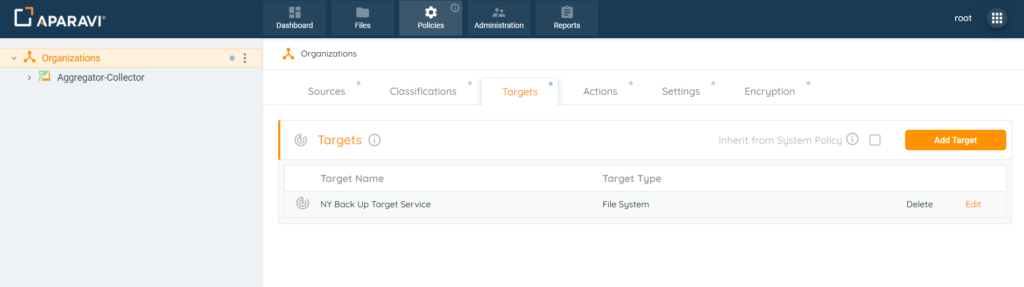
12. Once the target service has been set up, it will appear under the Configured Services section.
Now that the target service has been configured, click on the Actions subtab and create a copy action. Once completed the system will transmit all [.dat] files matching the copy action query to the File System target service.