How Can We Help?
Search for answers or browse our knowledge base.
Administration Configuration
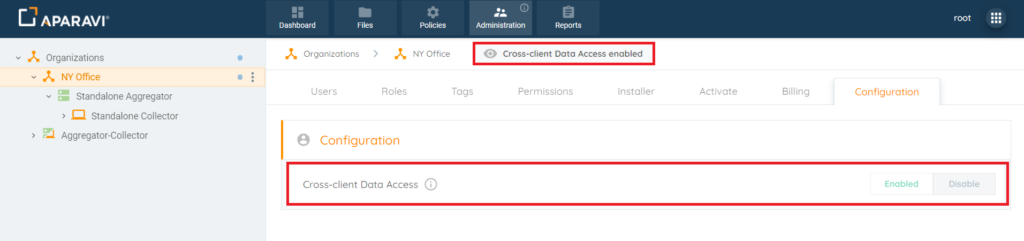
When there are multiple Clients within an Organization’s system, users with administrative privileges are able to enable or disable the files visibility using the Cross-Client Data Access feature. When enabled, this feature will allow the parent organization to access the data stored within the Client, allowing it to search and view the files stored at this level. If disabled, this feature will not allow the higher organization to perform searches or view the files stored at this level. By default, when a new Client is added, this feature is disabled and will remain that way unless an administrative user for the Client changes this permission.
*Please Note: Disabling Cross-Client Data Access will not prevent the higher organization from viewing the Dashboard widgets added to this Client. The higher organization however will not be able to view the files when clicking on the information within the widgets.

Overview
- Enabling Cross-Client Data Access
- Disabling Cross-Client Data Access
Enabling Cross-Client Data Access
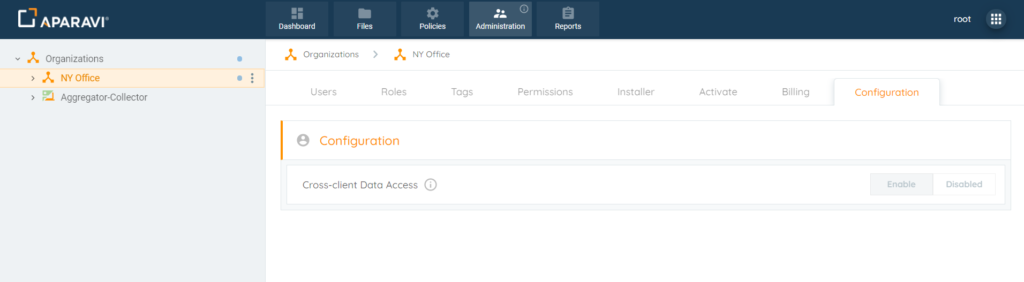
When logged into the top Organization, by default this feature is disabled and cannot be altered by this administrative user. Only the administrative user assigned to the Client is able to enable or disable this feature. When enabled, this feature will allow the parent organization to access the data stored within the Client, allowing it to search and view the files stored at this level.
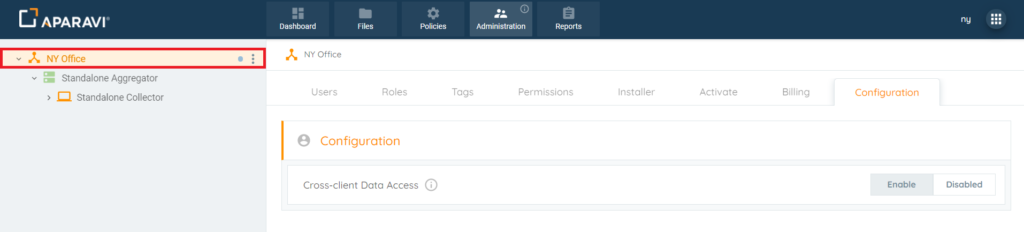
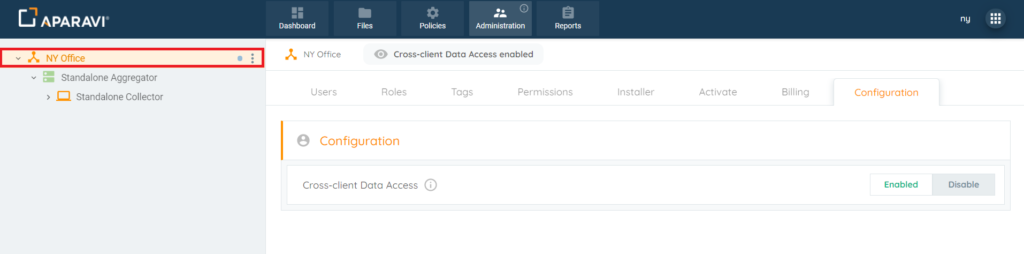
1. Choose the Organization, by clicking on it in the navigation tree, located on the left-hand side. Once selected, it will appear with a yellowish background color to indicate that it is selected.
Please Note: It is important that the Organization Node is selected and the user has Administrative privileges or the Configuration subtab will not be available.
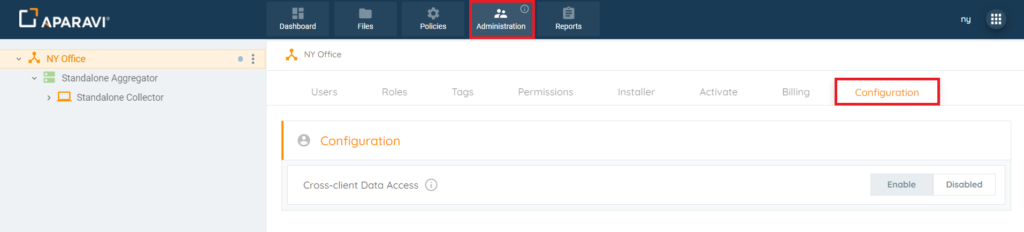
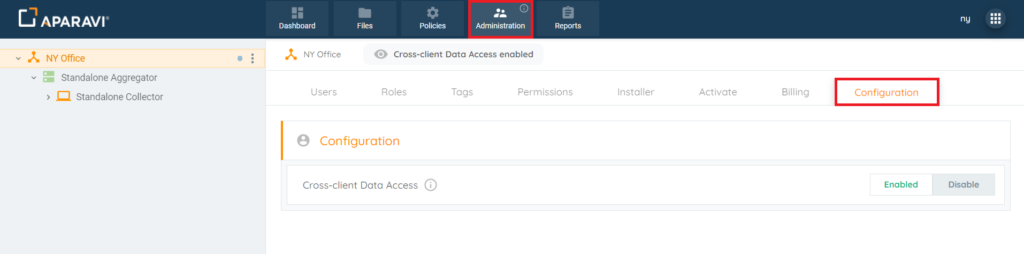
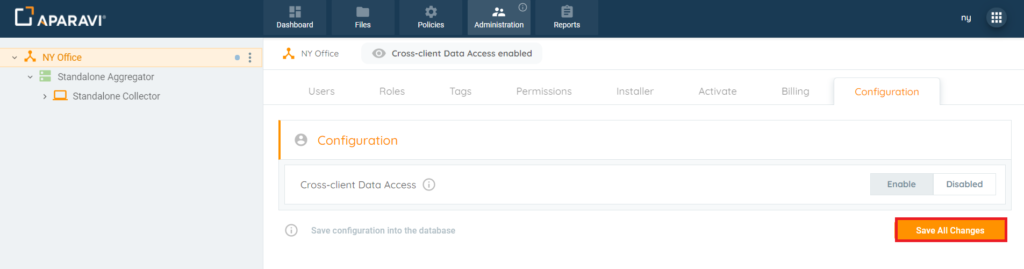
2. Click on the Administration tab, located in the top navigation menu, and then click the Configuration subtab.
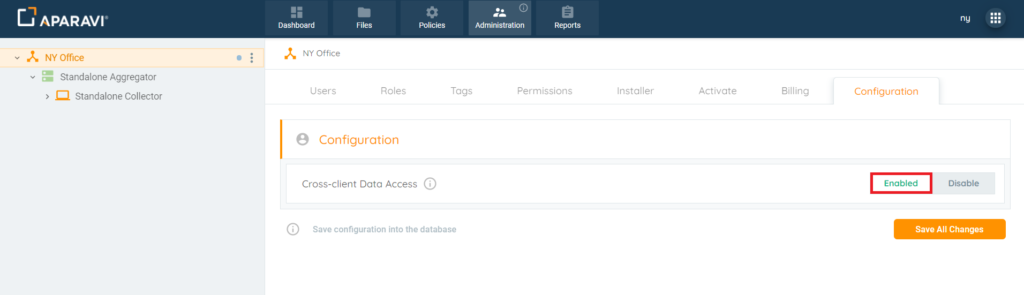
3. Click the Enable button, located just to the right-hand side of the Cross-Client Data Access feature. Once clicked, the Enable text will change to the word Enabled and will highlight in green to indicate that it has been selected.
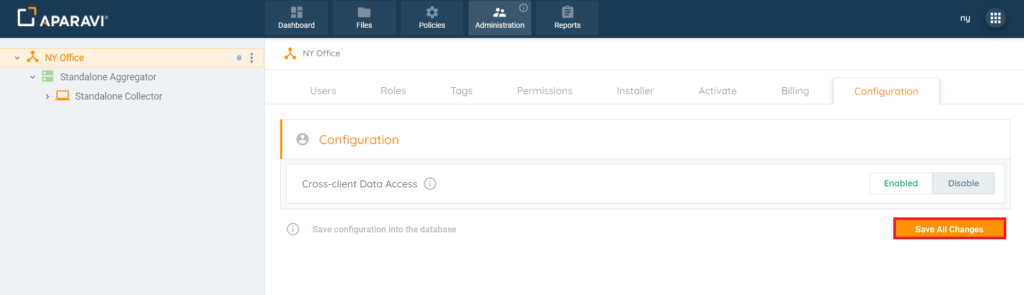
4. Click the Save All Changes button that appeared just below the Enable/Disable options when Enabled was clicked. Once clicked, the Save Changes pop-up box will appear.
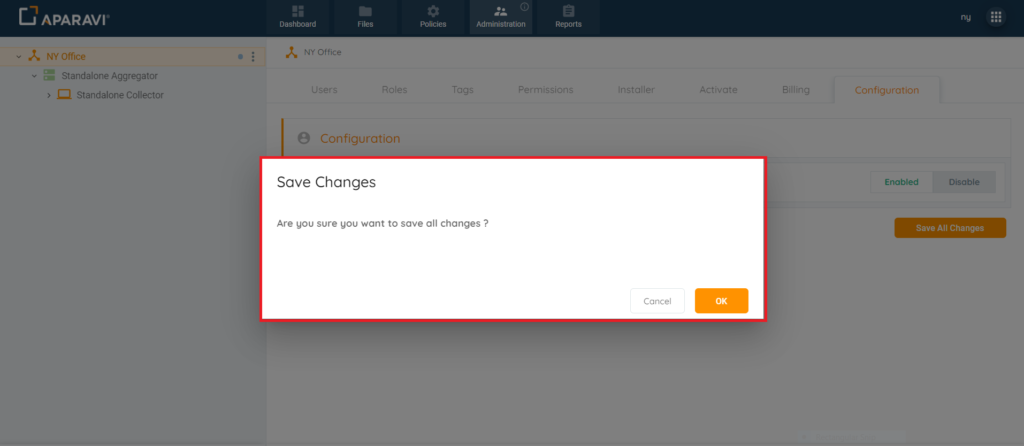
5. Click on the Ok button, located in the bottom right-hand side of the pop-up box to Save the changes.
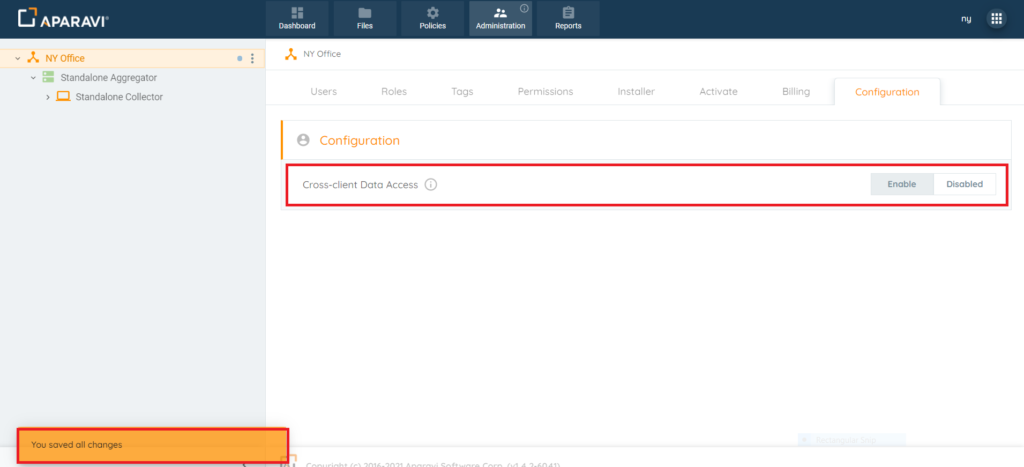
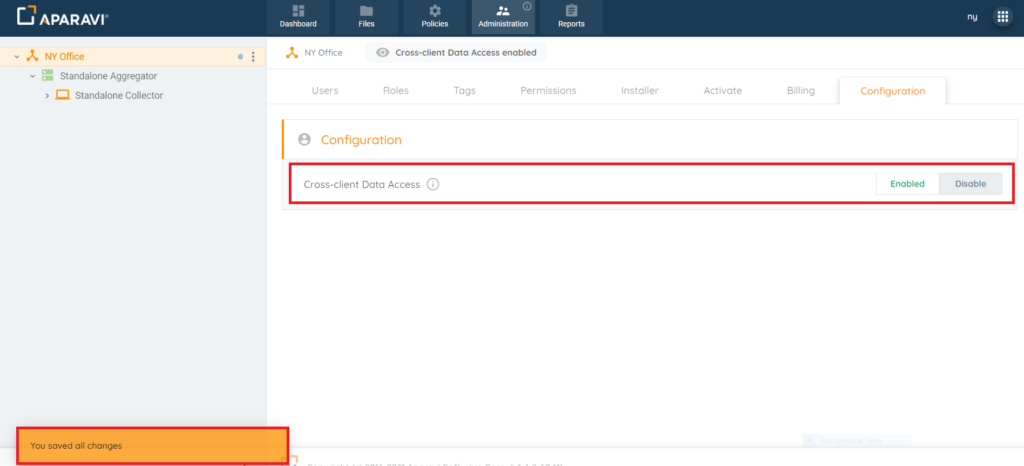
6. Once the Ok button has been clicked, the higher Organization will now be able to view the Client’s data. Also, an alert message will appear in the bottom left-hand corner to indicate that the changes have been applied.
Disabling Cross-Client Data Access
When logged into the top Organization, administrative users are able to view if the client has Cross-Client Data Access Enabled or Disabled, but is unable to alter the settings themselves. Only the administrative user assigned to the Client is able to enable or disable this feature. If disabled, this feature will not allow the higher organization to view the Client’s data, meaning they cannot perform searches or view the files stored at this level. By default this feature is disabled, but if it was enabled, it can also be disabled at any time.
1. Choose the Organization, by clicking on it in the navigation tree, located on the left-hand side. Once selected, it will appear with a yellowish background color to indicate that it is selected.
Please Note: It is important that the Organization Node is selected and the user has Administrative privileges or the Configuration subtab will not be available.
2. Click on the Administration tab, located in the top navigation menu, and then click the Configuration subtab.
3. Click the Disable button, located just to the right-hand side of the Cross-Client Data Access feature. Once clicked, both options will display grey text and the word Disable will change to Disabled, to indicate that Disable is selected.
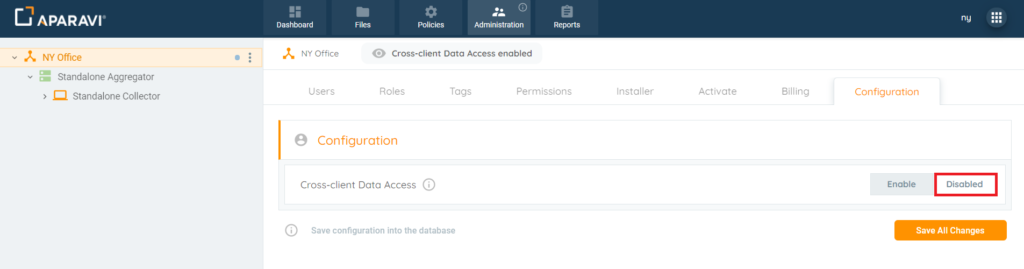
4. Click the Save All Changes button that appeared just below the Enable/Disable options when Disable was clicked. Once clicked, the Save Changes pop-up box will appear.
5. Click on the Ok button, located in the bottom right-hand side of the pop-up box to Save the changes.

6. Once the Ok button has been clicked, the higher Organization will now be unable to view the Client’s files. Also, an alert message will appear in the bottom left-hand corner to indicate that the changes have been applied.