How Can We Help?
Search for answers or browse our knowledge base.
Create a Copy Data Action
Purpose
Copying files from a source to a target service can be automated when a copy action is configured.
This allows for copying files on a regular basis without any further intervention from users. Upon execution the system will send the most recent version of the file to the target, which can help maintain various versions of the same files at any interval specified.
Using a simple interface, users with minimal technical experience can create automated copy actions. Drag and drop data action workflows to automate away time and labor intensive data maintenance efforts. These query based copies are sent to the target service for data hygiene, compliance, and retention, making data storage and compliance a breeze.
Overview
- Features of Copy Actions
- Copy Action Scan Intervals
- Configuring a Copy Action
- Inheritance Settings for Copy Actions
- Editing a Copy Action
- Deleting a Copy Action
Features of Copy Actions
- Files can be copied from any file scanning source to any target Service configured
- Files copied to the target service have the following properties:
- Path hierarchy is maintained
- File ownership and permissions are preserved
- Files will be converted to Aparavi Format
Copy Action Scan Intervals
Automated copy actions can be configured to copy during any interval entered.
Please Note: Copy actions are separate from the file scanning schedule. When copy action scan intervals are customized, this does not impact the system scanning files from the configured source.
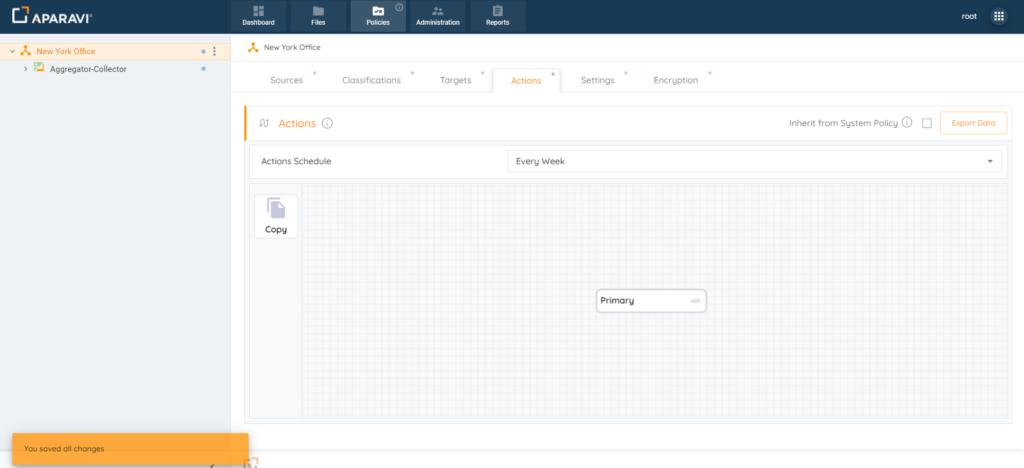
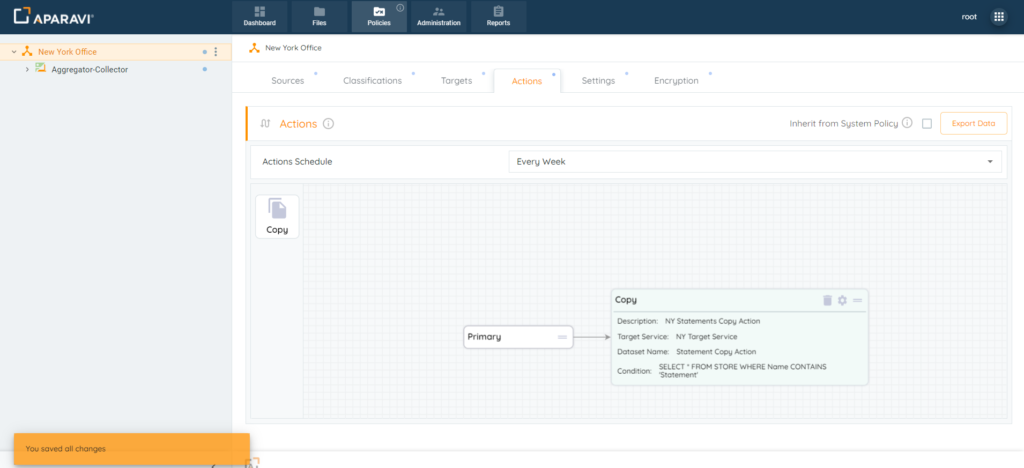
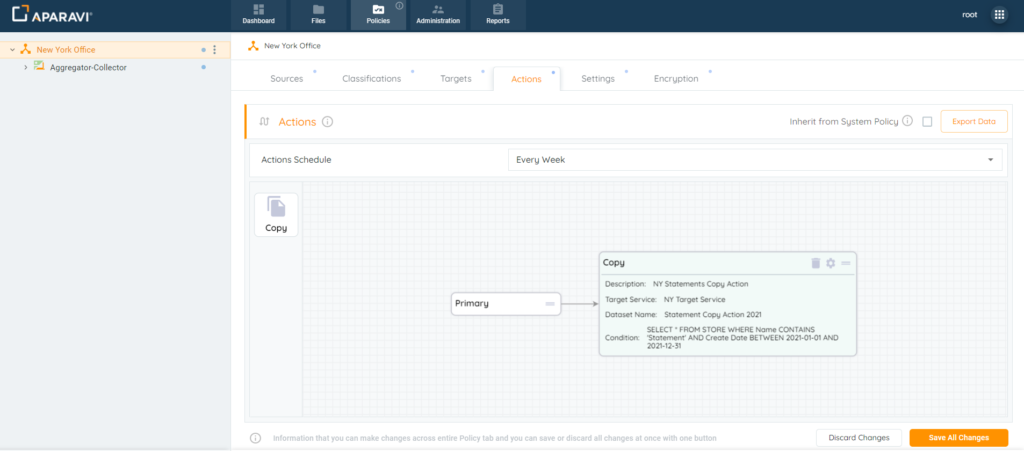
1. Click on the Policies tab, located in the top navigation menu.
2. Click on the Actions subtab.
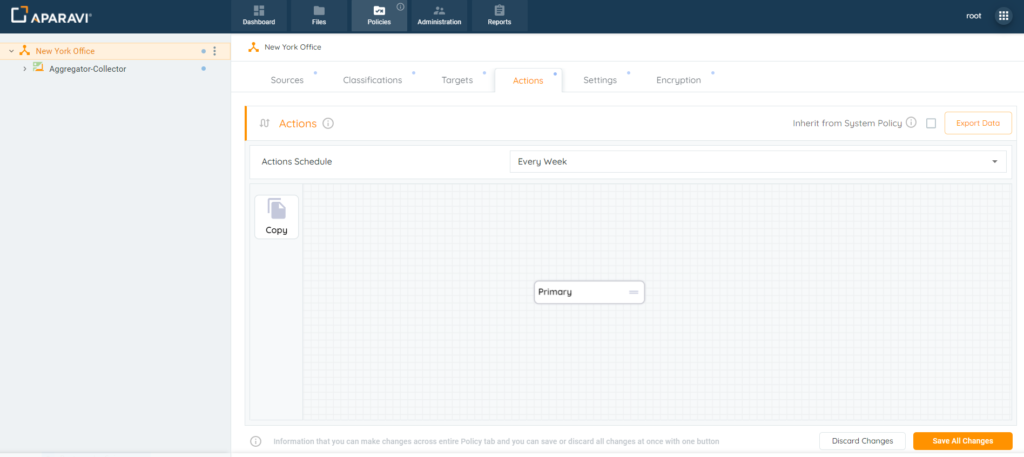
3. Located under the Actions Schedule section, click the drop-down menu to view a list of time intervals to select.
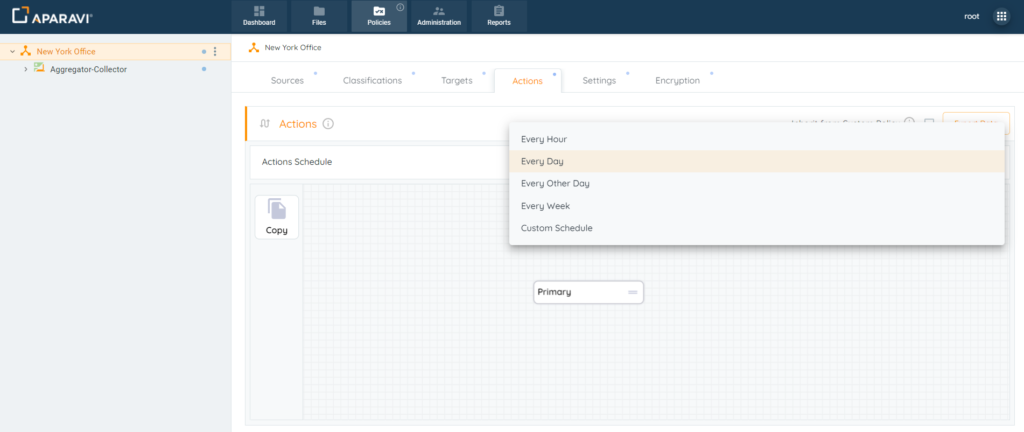
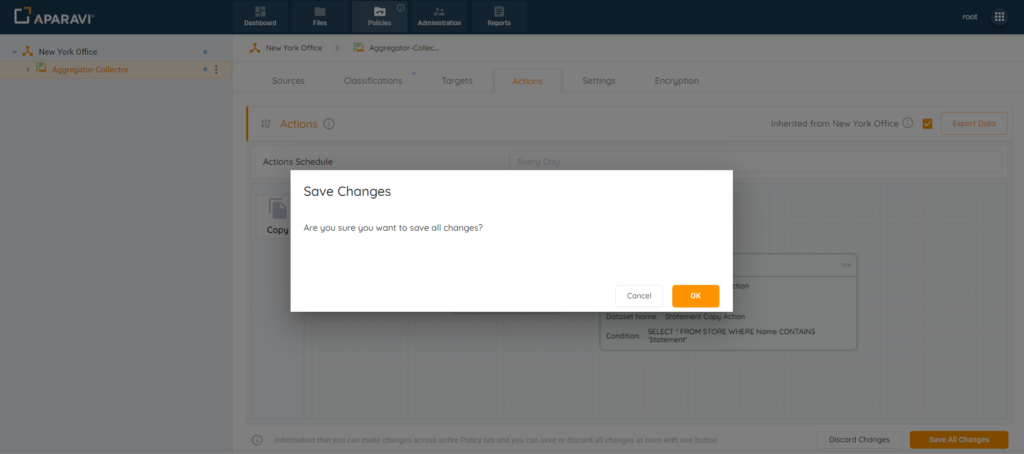
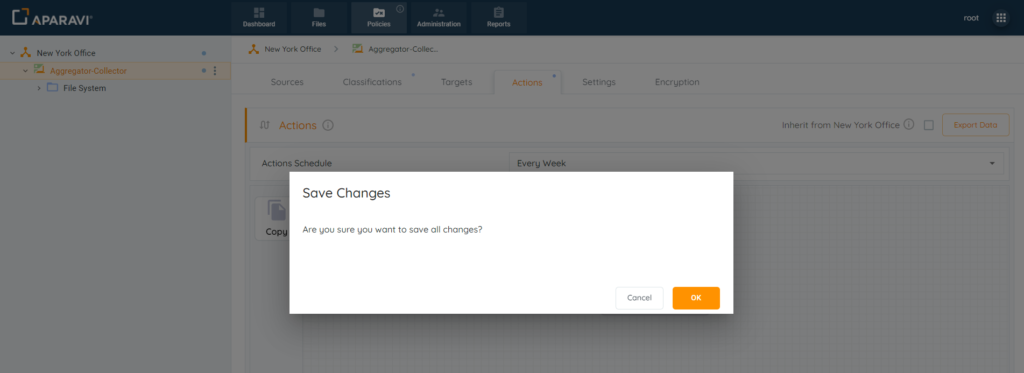
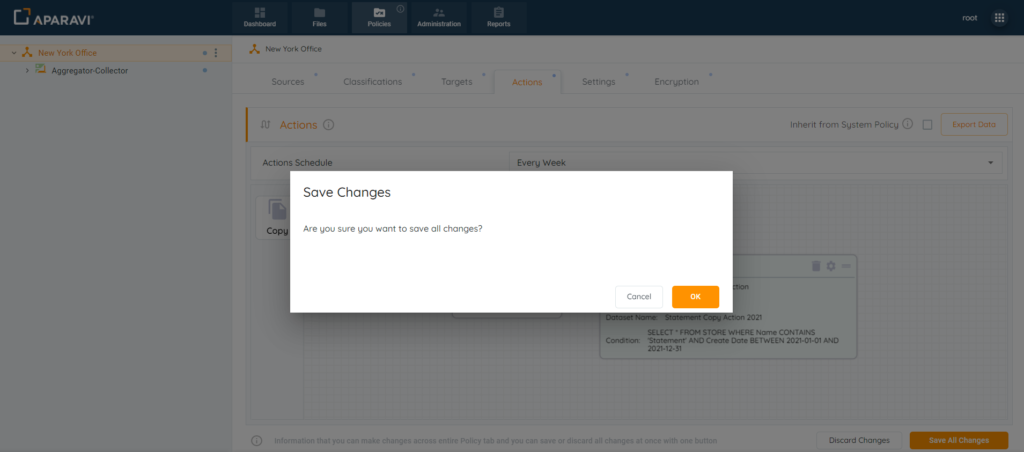
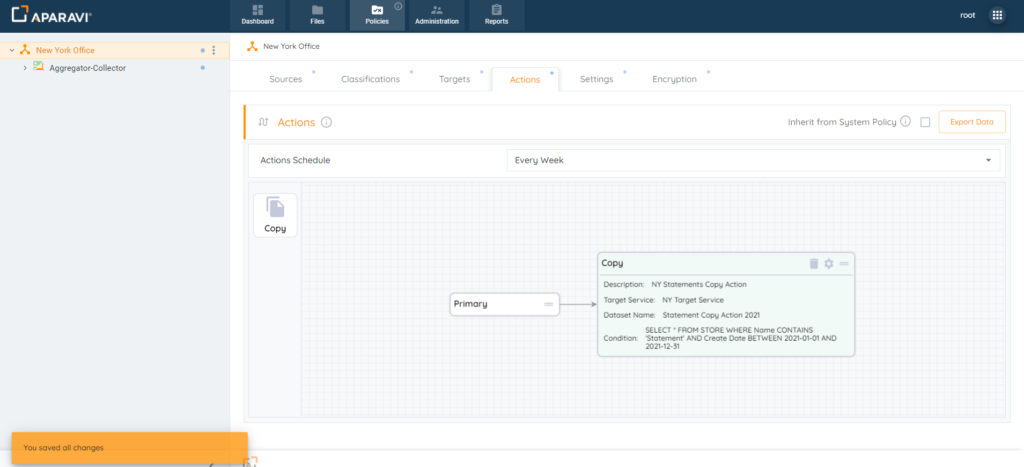
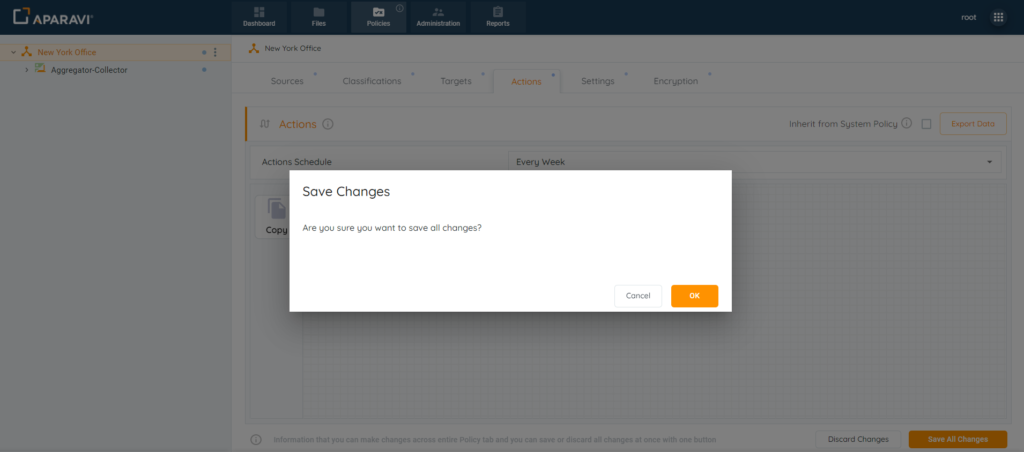
4. Once the copy action schedule has been selected, click on the Save all Changes button, located in the bottom right-hand corner of the screen.
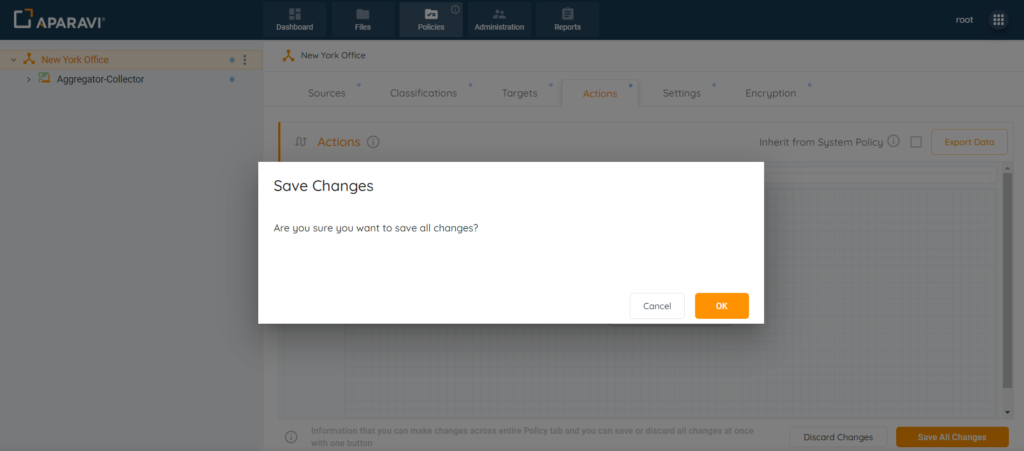
5. Click the Ok button, located inside of the Save Changes pop-up box.
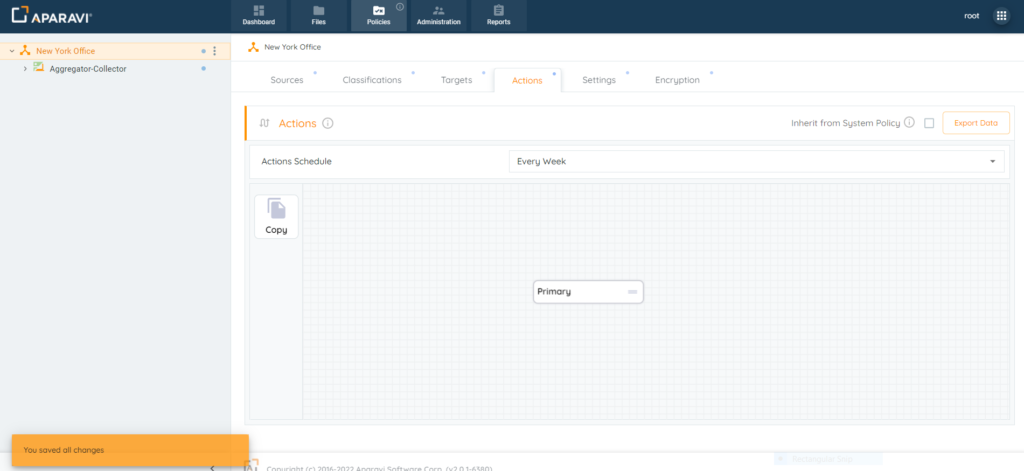
The system will now copy the selected files from the source to the target service during the time interval that was configured.
How to Configure a Copy Action
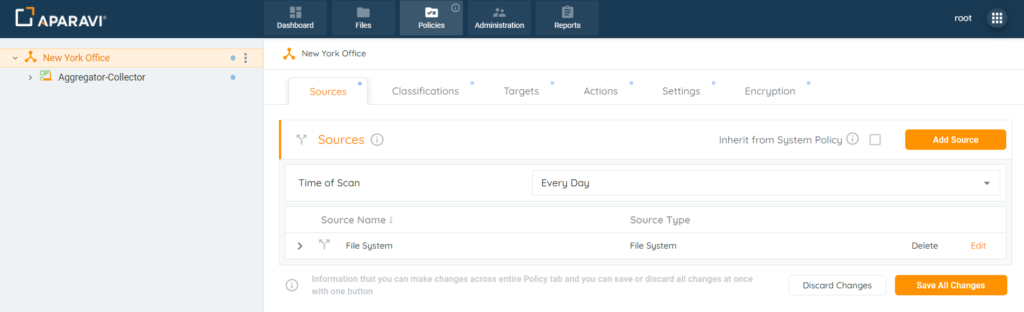
Please Note: Setting up a target service on the Targets subtab must be completed prior to a copy action being configured.
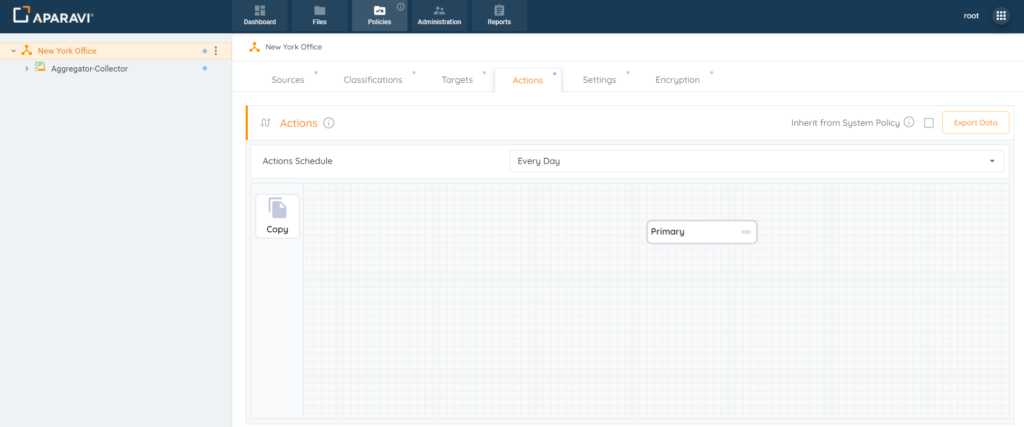
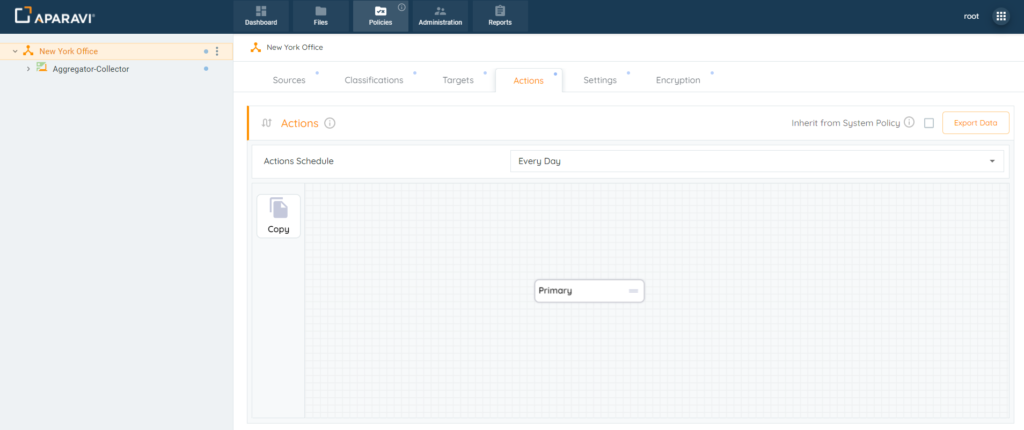
1. Click on the Policies tab, located in the top navigation menu.
2. Click on the Actions subtab.
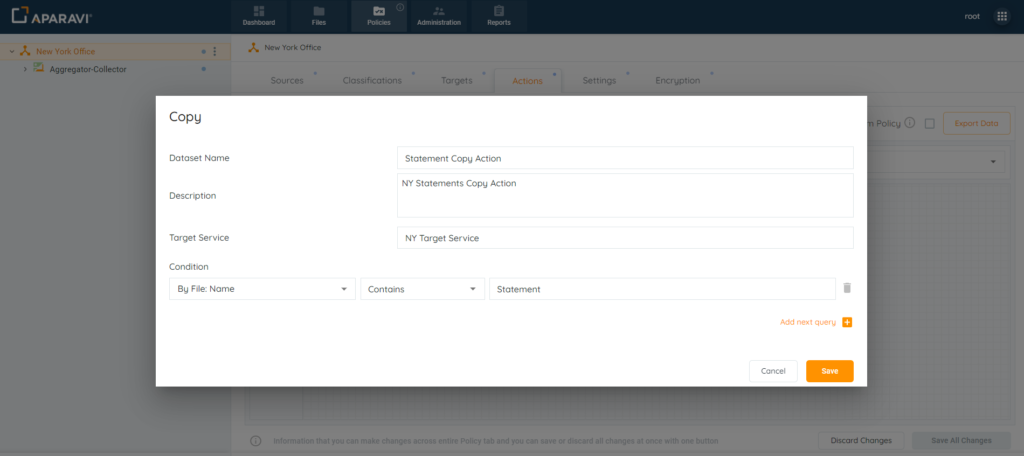
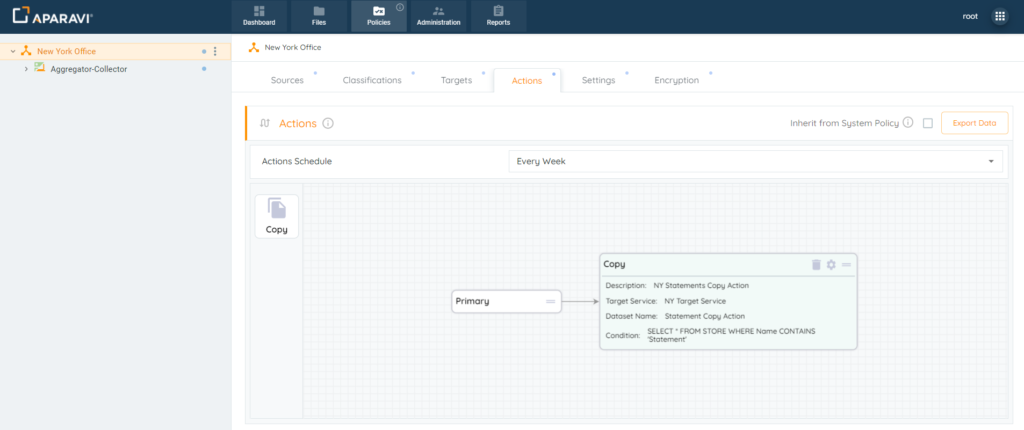
3. Drag the Copy button on top of the Primary box located inside of the Actions Grid. Once successfully dragged into the grid, the Copy pop-up box will open and display additional fields.
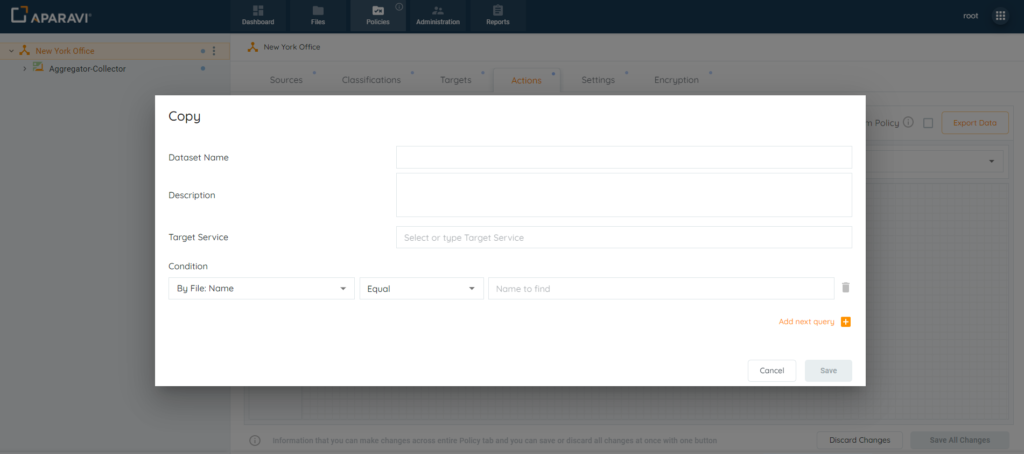
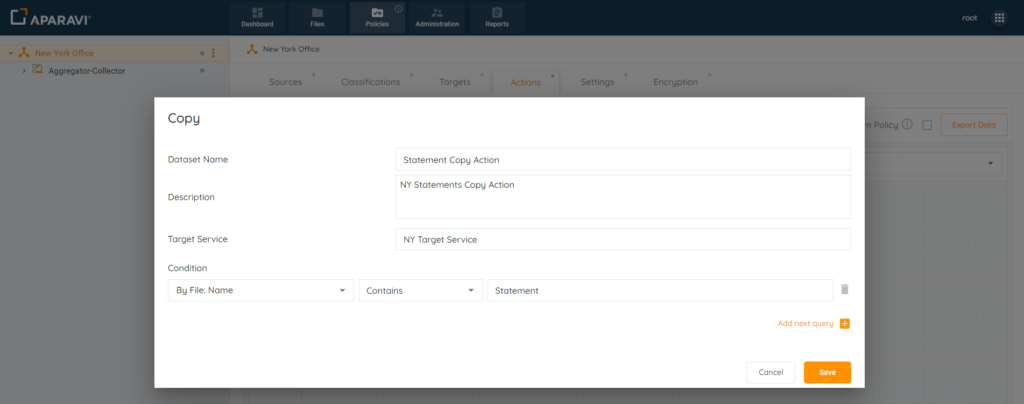
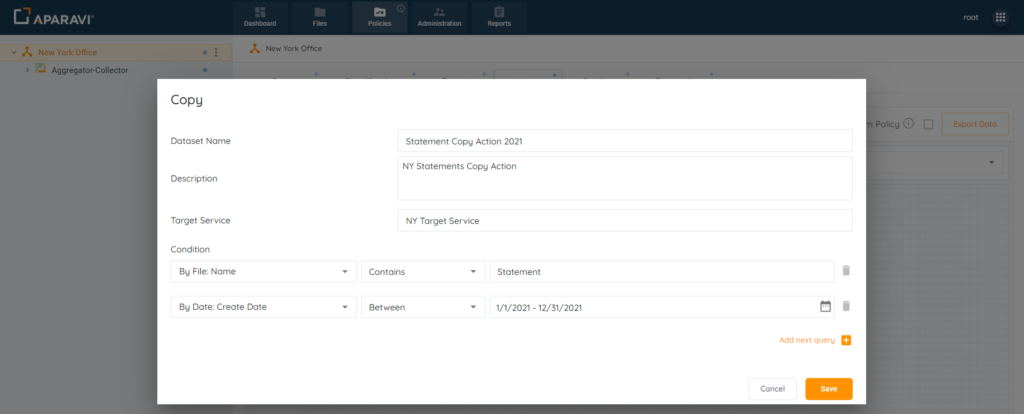
4. Using the three search filters, build a query for the copy action and click the Save button when completed.
Please Note:
- If creating a query based on the file’s path, the [Local Path] filter must be selected.
- Selecting the [Parent Path] filter will not produce any results at this time.
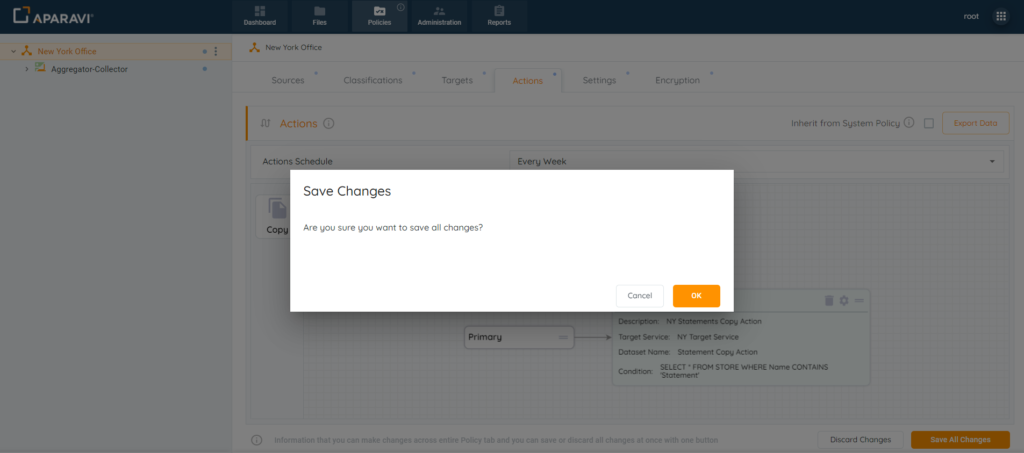
5. Click on the Save All Changes button.
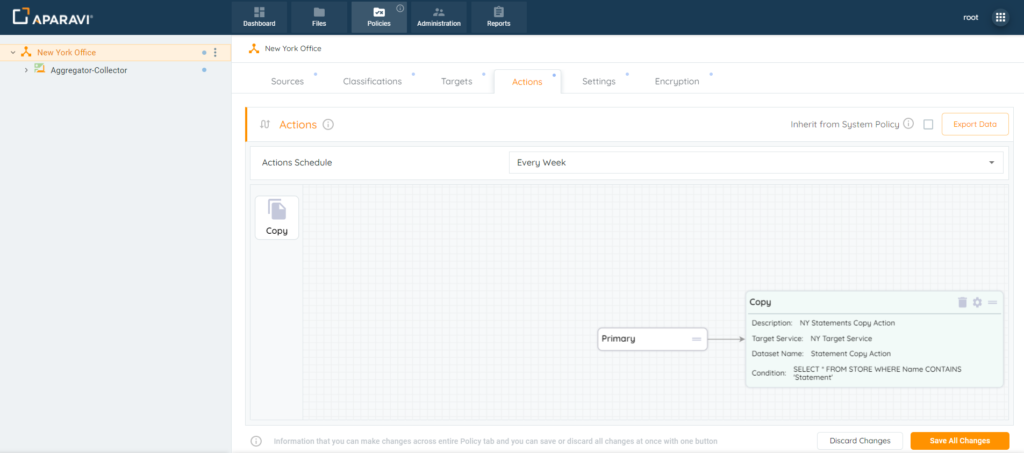
6. Save the configured copy action query by clicking the OK button.
This action will send the most recent scanned version of the file to the target. From this point on, the system will copy the selected files to the target service specified, on the time interval chosen.
Inheritance Settings for Copy Actions
Nodes nested under organizations have the ability to inherit the copy actions that have been configured, or set up their own. By default, any new nodes will automatically inherit from the organization above. If new nodes want to configure their own copy actions, this inheritance policy will need to be deselected upon installation.
Inherit Actions Subtab
1. Click on the Policies tab, located in the top navigation menu.
2. Click on the Actions subtab.
3. If the checkbox located next to “Inherited from [Name of Node]” is unchecked, click the checkbox to select it.
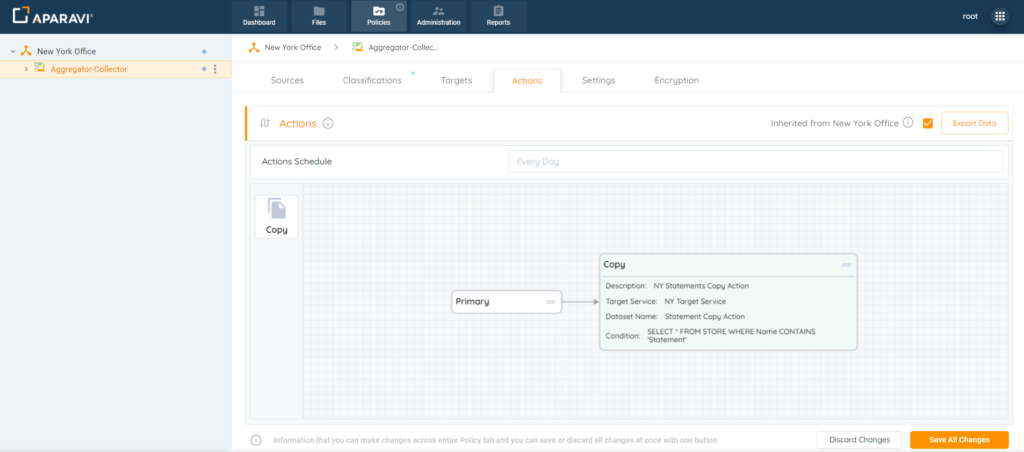
4. Once the checkbox is clicked, a Save All Changes button will appear in the bottom right-hand corner of the screen. Click this button to apply the inheritance policy.
5. To save all changes, click the Ok button located in the pop-up box.
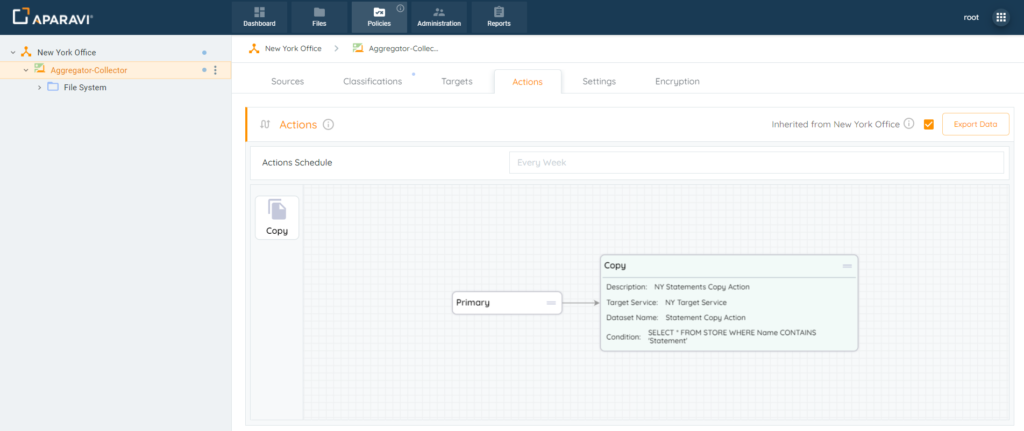
From now on, the node will have the same copy actions configured as the node above it.

Uninheriting Actions Subtab
1. Click on the Policies tab, located in the top navigation menu.
2. Click on the Actions subtab.
3. If the checkbox located next to “Inherited from [Name of Node]” is checked, click the checkbox to deselect it.

4. Once the checkbox is deselected, a Save All Changes button will appear in the bottom right-hand corner of the screen. Click this button to remove the inheritance policy.

5. To save all changes, click the Ok button located in the pop-up box.
At this point the node should be able to set up its own set of copy actions.

Editing a Previously Configured Copy Action
1. Click on the Policies tab, located in the top navigation menu.
2. Click on the Actions subtab.
3. Click on the wheel icon, located inside the copy action to view the configured query.
4. Alter the fields or search filters and click the Save button when completed.
5. Click on the Save All Changes button.
6. To save the changes, click the OK button.
From this point on, the system will copy the selected files to the target service on the time interval chosen.
Deleting a Copy Action
1. Click on the Policies tab, located in the top navigation menu.
2. Click on the Actions subtab. Located inside the action grid, click on the trash can icon. Once clicked, the copy action will disappear from the Action grid and only the Primary box will remain.
3. Click on the Save All Changes button.
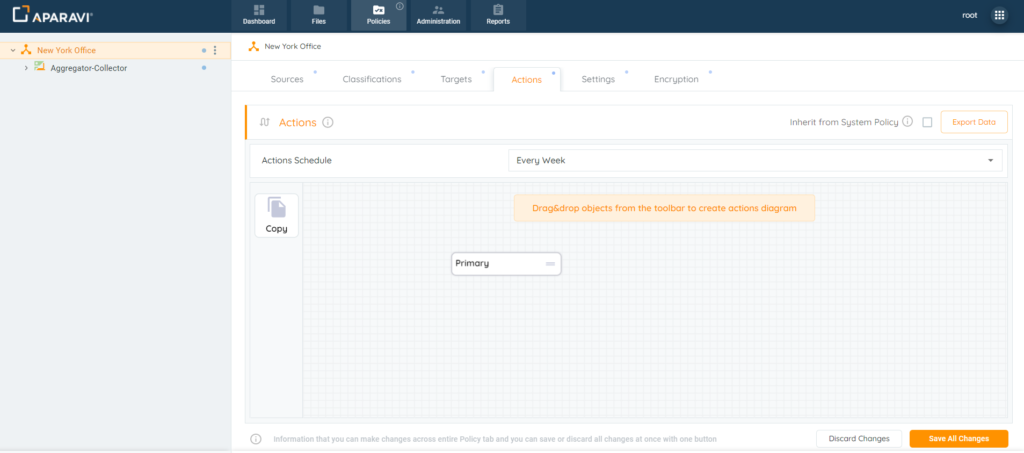
4. Click the OK button to confirm all changes.
From this point on, the system will no longer copy the files to the target service.